Established in 2001, Code 42 is an IT consulting company that designed and released Crashplan in 2007. The group aimed to create a desktop application similar to Facebook. In the end, the company directed its resources to the online storage elements of the software, hence the birth of Crashplan.
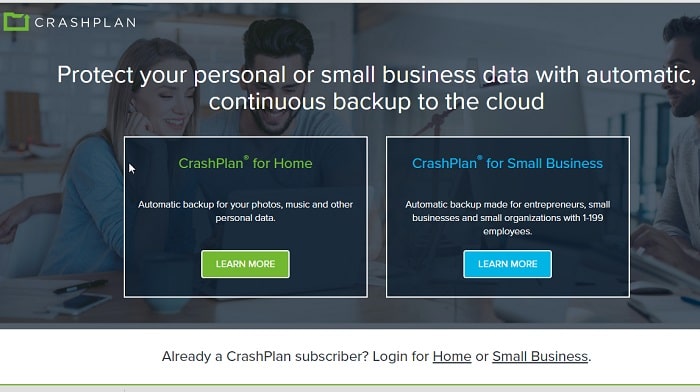
The application is mainly used for constantly backing up files to a cloud– implementation by the company to the consumer. Promising safety from hardware failure, natural disasters, theft, and ransomware, Crashplan is used to give the user the choice of two plans. The first package by the company is mainly designed for domestic use or families.
You can learn more in this article about solving the “CrashPlan Unable to Connect to Backup Engine.”
See Also: 3 Best Free Online CPU Stress Test Software
Table of Contents
Introduction
Unfortunately, the company has shut down the division focussing on domestic purposes, giving Carbonite the right to cover them. This has moved their abilities to outfit the organization to provide a better backup solution to any enterprise willing to pay a small fee. The company’s second and only option to offer to the public is Crashplan for small businesses.
Crashplan as Real promises to deliver to their loyal customer’s free access to twenty-four hours, always-on servers with unlimited storage and top-notch security for a small monthly fee of ten dollars.
The specialty of the services this organization provides does not lie in what they offer but in the execution of what is provided by them. The backup service of a subscribed consumer kicks up initially, which might take several hours or days, depending on the connection the subscriber uses.
But soon, with the habit of continuous automatic backing up, the speed at which each backup is executed increases at a steady pace. The data stored on the server will be highly encrypted to ensure the security of the media. It is also password protected.
See Also: How To Solve Error 924
The Fall of CrashPlan
In this day and age, where automatic backing up to cloud servers is a common thing. The Wall Street Journal, irrespective of the derogatory remark that the software was lacking in “fine print,” favored the software over four similar services they compared it to. Soon, PC Mag followed suit, awarding the well-renowned software a four-point five out of five stars.
CrashPlan, even though it provides flawless hardware to the ones needing it and rarely has any significant issues server-side, the software isn’t on the best terms with its users.
![]()
Crashplan’s unable to connect to the backup engine is one of the many problems that its users face. This is a very disappointing and disheartening error to encounter. This is because the user uses CrashPlan mainly to back up files, and it still fails to connect even though you have mashed the retry button over a hundred times.
So today, we will show you how to solve the Crashplan unable to connect to the backup engine error.
See also: – 7 Best 7z File Opener Software [Free & Paid]
How to Fix CrashPlan Unable to Connect to Backup Engine
Parameters
The CrashPlan is unable to connect to the backup engine error occurs when the memory allocation has a small malfunction with its parameters. Parameters are defined as unusual kinds of variables used in a subroutine. To solve the standard error with the parameters of Crashplan, one has to access the CrashPlanService.ini file, which can be sought out in the program files.

Once reach the destined file, look into the CrashPlan file to find the desired document. Once found, open the document using Notepad. After the document is open, seek the line which starts with “Virtual Machine Parameters.” Once found, change the parameter value from “-Xmx1024m” to “-Xmx512m”.
Once done, this line reduces the program’s memory usage from 1024M to 512M. After which, save the changes to the file. Execution of the above steps will ensure that the CrashPlan unable to connect to the backup engine doesn’t show up again. If the error is still present, the following solution should solve your problem.
See also: – How To Fix Avast UI Failed To Load Error [Complete Guide]
In-depth fresco install
Meaning “fresh install” from the Spanish language, fresco install will help you to get rid of the CrashPlan unable to connect to the backup engine error. The in-depth part comes after installing a fresh version of the program.
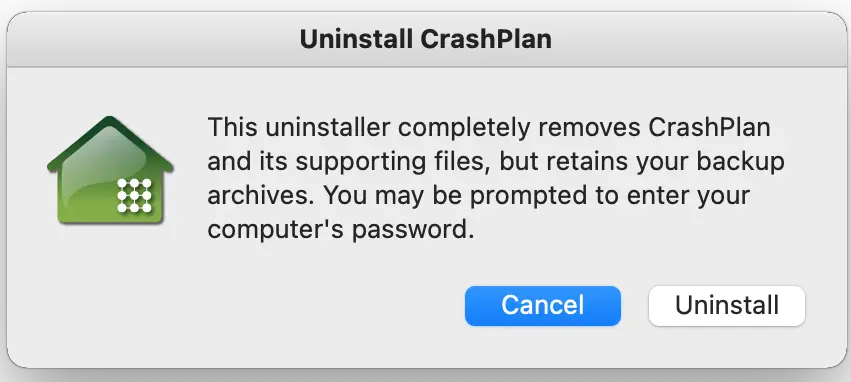
To execute the solution’s first step, the user must ensure the program is uninstalled fully. Achieving total eradication of the software from one’s computer is easy, and it starts with regular uninstallation. To uninstall the software, usually, access the control panel and select the option to uninstall a program. This will lead you to a list of programs from which the user should seek out Crashplan.
See also: –[Solved] GeForce Experience Unable to Connect to NVIDIA
Final Steps
After which, right-clicking on it will give a drop-down menu to offer you the option to uninstall the software. Once uninstall the program, proceed to the program data file in the “C” drive. And delete the folder aptly named Crashplan. After the user deletes the folder, the user can do a fresh application install.
During installation, install the program in the default location the installer insists. This can solve future problems if any escalates. Once the installation is over, log in to your CrashPlan account. Now the in-depth part begins. Once inside, proceed to the backup option and follow the “continue backup” dialog box. After which, clicking on the adopt button will lead you to adopt a previous computer.
The user can aptly select by looking at the computer name, the chronology of the last backup, and its archive size. Once you perform the last step, the user will behave to sign in. Which in turn will give you the message of a successful adoption. This solution should fix the Crash plan’s unable to connect to the backup engine error.
See Also: 3 Ways to Fix Exodus Failed to Install a Dependency
Alternate Method: Editing the Host File
Before you continue to follow this step, hear the word of warning. The host file of the Windows operating system is pretty sensitive to changes. If you mess around with the settings or the default values you do not know about, you might show up the normal functioning of your network connections. So only those things in the following steps, and don’t try to tinker with any of the other lines.
Windows
- Open the Windows search menu from the start button and search for Notepad.
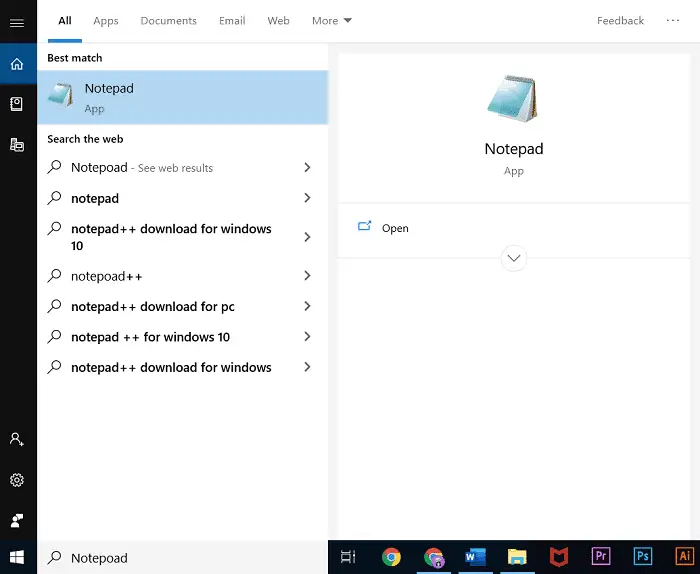
2. When you see the search result for Notepad, right-click and select run as administrator. It will ask you a confirmation prompt of whether you want this program to get administrative authority. Click Yes to continue.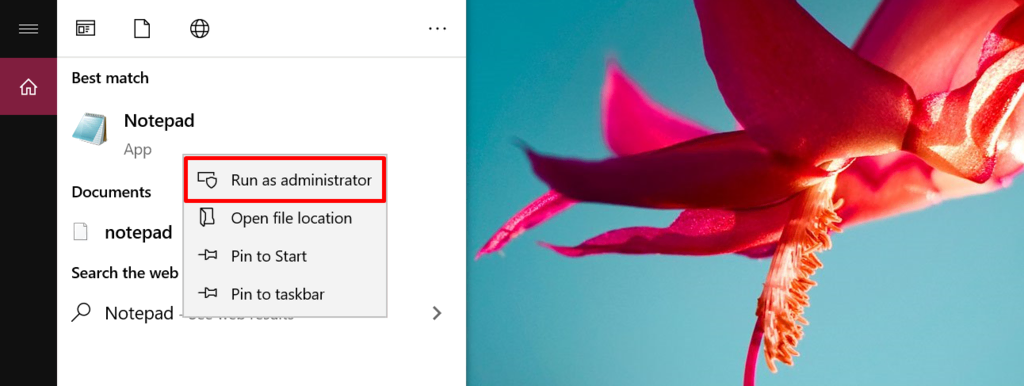
3. Notepad will open up as usual. In the app, click on the file and select the open option from the drop-down menu. Then, navigate to this path. Windows host file will now open up.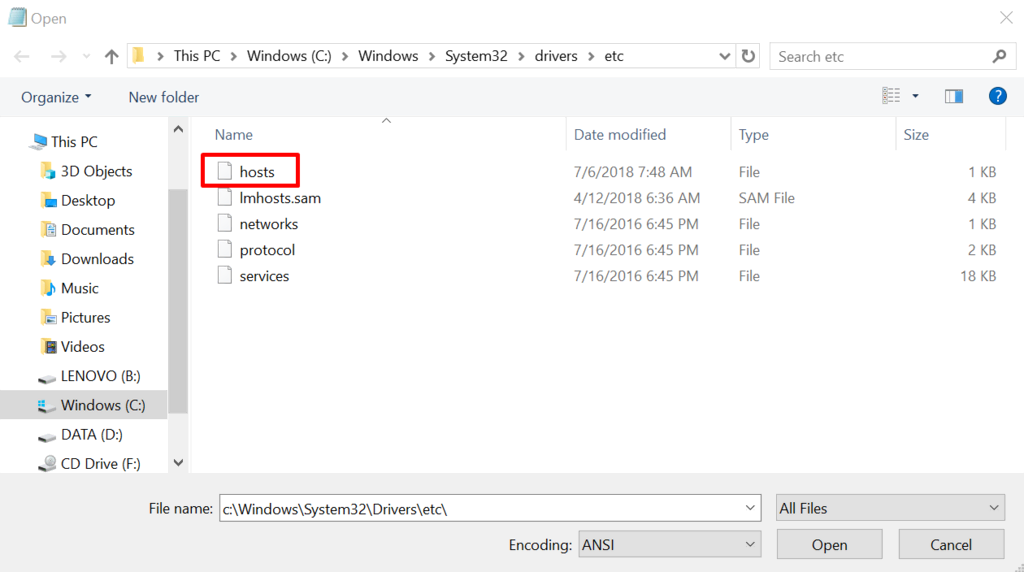
4. Now, we have to edit or remove any local host entries in that file so that only the following entries of localhost addresses remain in the wild. As we have warned you earlier, do not try to edit any other entries in that while. Only change the ones that we just specified. Once you are over with that, save the file and exit Notepad.
You can restart your system if you want to. I recommended it. Once you reboot the system, you can try to start the CrashPlan service once again.
See Also: 9 Best Affordable Online File Hosting Services | Updated
Mac OS
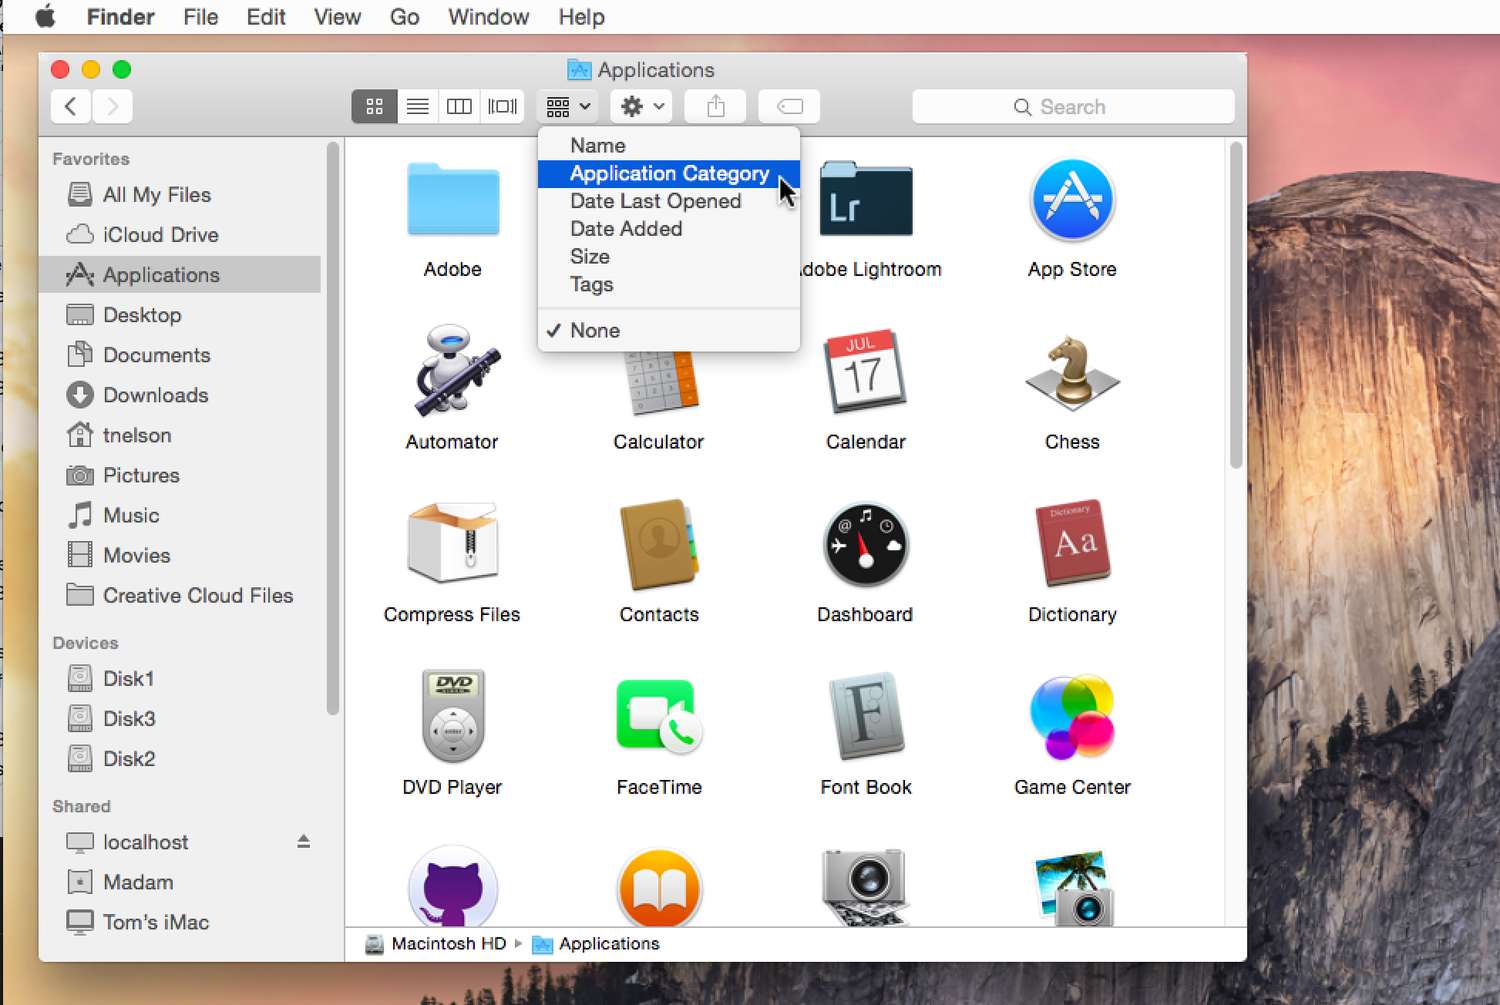
- You have to open the finder.
- Then, it would be best if you went to applications, followed by utilities, and then opened the terminal.
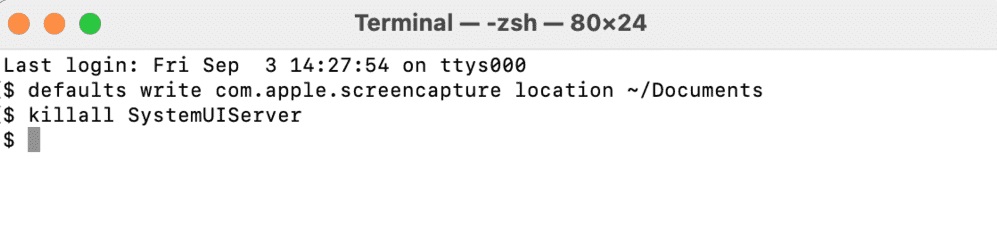
3. Close the terminal open; you need to type this command in it. You might get a prompt to enter your administrative password since you are using the Sudo keyword here. If that is the case, enter the admin password and click ok.
4. How far is that? It’s the same drill here as well. You have to remove or edit any of the local host entries in the file so that the following local host addresses remain. Make sure you do not delete any other entries in the file. It can cause trouble here as well.
5. Now, Exit The Window by pressing Control + x.
6. Then, PSY to confirm the changes you have made.
7. Press the enter key to save to the existing location of the file. And then start the CrashPlan service once again.
Doing this will probably fix the Crash plan’s unable to connect to the backup engine on devices with a custom localhost address error on your backup engine. Try this before the second step, which involves an in-depth fresh install. You never know. Restarting the service might work just as well as a clean install. You can also create offsite backups using Crashplan.
See Also: Avast Firewall Won’t Turn On? Here’s How to Fix It
FAQs
Are there specific error messages associated with being unable to connect to the CrashPlan backup engine?
Yes, error messages like Unable to connect to backup engine or Backup engine not running may indicate the issue and provide further troubleshooting information.
Can antivirus software or security programs interfere with the CrashPlan backup engine connection?
Antivirus software or security programs may block or interfere with the CrashPlan backup engine. Temporarily disabling or configuring them appropriately can help resolve the issue.
Could a recent system update or software change be the cause of the connection issue with the CrashPlan backup engine?
Recent system updates or software changes can sometimes disrupt the connection to the CrashPlan backup engine. Reverting the changes or performing a clean reinstall of CrashPlan may help.
Is any specific port or network configuration required for connecting to the CrashPlan backup engine?
Yes, CrashPlan relies on specific ports and network configurations for communication. Ensuring these ports are open and the network settings are correctly configured can help establish the connection.
Can a corrupt CrashPlan cache or metadata cause connection issues with the backup engine?
Yes, a corrupted CrashPlan cache or metadata can lead to connection problems. Clearing the cache or resetting the metadata may resolve the issue.
Conclusion
This is the best way to solve the CrashPlan Unable to Connect to Backup Engine problem. Hope you found this helpful article. Let us know in the comments. Have a nice day!
See Also: How To Fix “ERR_SPDY_PROTOCOL_ERROR” In Google Chrome