Last updated: November 13, 2025
Table of Contents
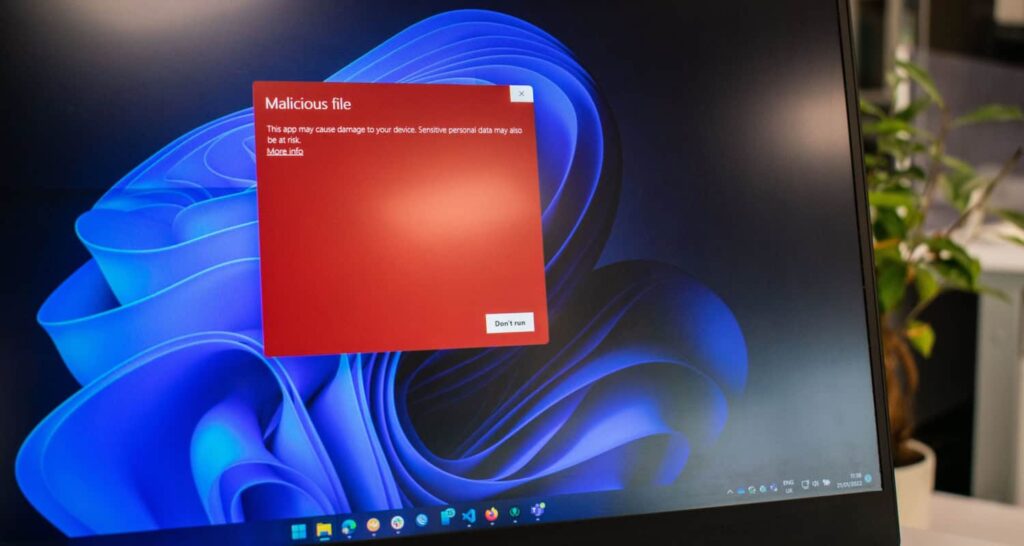
Trezaa is a classic example of adware—a type of Potentially Unwanted Program (PUP) that floods your web browser with unwanted advertisements, banners, and pop-ups. While it is not designed to destroy system files like a traditional virus, it is highly irritating, degrades system performance, and poses a major privacy risk by tracking your online activity.
Removing this type of persistent malware requires a methodical, multi-step approach that combines automated scanning with critical manual cleanups.
See also: Adware Alert: Why You See Gstatic.com Redirects and 5 Ways to Remove the Cause
Phase 1: Preparation and Neutralization
Step 1: Disconnect and Boot into Safe Mode
To prevent the adware from communicating with its servers or executing all its malicious files, you must isolate the system.
- Disconnect from the Internet: Physically unplug your Ethernet cable or disconnect from your Wi-Fi network.
- Enter Safe Mode with Networking: This loads only essential Windows services and drivers, stopping the adware from starting its processes.
- Click Start > Power.
- Hold the Shift key and click Restart.
- Select Troubleshoot > Advanced options > Startup Settings > Restart.
- Press 5 or F5 to select “Enable Safe Mode with Networking.” (You need networking for the next step).
Phase 2: Automated Removal (Recommended)
Step 2: Run a Comprehensive Anti-Malware Scan
Adware often hides deep in the system, making manual removal incomplete. Start by using specialized tools.
- Download and Install: Reconnect to the Internet briefly to download the latest version of a reputable, second-opinion anti-malware tool (such as Malwarebytes or SpyHunter). Disconnect the internet again once the download is complete.
- Update Database: Ensure the tool’s virus definitions are up-to-date.
- Run Full Scan: Execute a Full Threat Scan (or equivalent deep scan).
- Quarantine and Remove: Allow the software to Quarantine and Remove all detected threats, especially anything flagged as PUP (Potentially Unwanted Program), Adware, or Browser Hijacker.
See also: Top 10 Free Malware Removal Tools for Windows (2025 Edition)
Phase 3: Manual Removal of Leftovers
Step 3: Remove the Adware Program
You must ensure the core program file is uninstalled from the system.
- Open the Run dialog by pressing Windows Key + R.
- Type
appwiz.cpland press Enter to open the Programs and Features window. - Sort the list by “Installed On” date.
- Look for any program named Trezaa or other suspicious, unknown programs that were installed recently. Common adware names often sound like legitimate utilities (e.g., “Web Helper,” “Update Checker,” “Savings Genie”).
- Right-click the suspicious entry and select Uninstall/Change. Follow the prompts to remove it.
Step 4: Clean Up Browser Shortcuts and Extensions
Adware often edits your browser shortcuts to force a specific homepage or search engine.
A. Clean Browser Shortcuts
- Locate the shortcut icon for your web browser (Chrome, Edge, Firefox) on your desktop or Start Menu.
- Right-click the shortcut and select Properties.
- Go to the Shortcut tab.
- Examine the Target field. Remove any web address (URL) that appears after the main executable file (e.g., after
chrome.exe"). - Click Apply and then OK.
B. Remove Malicious Extensions and Reset Browser
- Open your browser.
- Navigate to the Extensions/Add-ons settings.
- Remove any extension you did not knowingly install, especially those related to coupons, shopping, or optimization.
- Reset Your Browser: The most effective way to eliminate lingering changes is to reset the browser to its factory defaults (this usually preserves bookmarks and passwords, but deletes temporary data and cookies):
- Chrome: Settings > Reset and clean up > Restore settings to their original defaults.
- Edge: Settings > Reset settings > Restore settings to their default values.
See also: How To Hide Extensions In Chrome: An Updated Step-By-Step Guide
Step 5: Correct DNS Settings (Crucial Step)
Trezaa and similar malware often change your DNS settings to force traffic through their ad servers. You must reset these to automatic.
- In the Windows Search bar, type “View Network Connections” and open the result.
- Right-click on the network connection you use (Wi-Fi or Ethernet) and select Properties.
- Under the Networking tab, find and select “Internet Protocol Version 4 (TCP/IPv4).”
- Click Properties.
- Ensure both options are set to “Obtain an IP address automatically” and “Obtain DNS server address automatically.”
- Click OK to save changes.
Conclusion and Prevention
After completing these five steps, restart your computer and reconnect to the Internet. Your system should be free of the Trezaa adware.
Prevention Tips
- Be Skeptical of Bundled Software: The primary way adware is distributed is through software bundling. When installing any free software, always choose the “Custom” or “Advanced” installation path and decline any extra offers (toolbars, search protectors, etc.).
- Keep Software Updated: Regularly update your operating system (Windows) and web browsers to patch security vulnerabilities that adware exploits.
- Use Ad-Blockers: A reputable ad-blocker extension can prevent the ads themselves from loading, reducing both irritation and the risk of accidental clicks.
See also: The Ultimate Guide to Ad Blockers in 2025: Adblock Plus vs AdBlock vs uBlock Origin


