
Last updated: October 29, 2025
Introduction: Preserve Your 3DS Library—Legally
Nintendo 3DS emulation lets you preserve games you already own and enjoy them with modern benefits. You can upscale resolution, smooth frame rates, remap controls, and add accessibility options the original handheld never offered. Because the 3DS eShop has closed and hardware is aging, emulation is now a practical way to keep your collection playable—as long as you stay compliant with copyright law.
This guide explains the legal framework, the best emulators in 2025, a step-by-step setup, and troubleshooting. Along the way, you’ll find tips that improve performance without risking your PC or your account.
See also: 7 Best Safe Sites to Download PS3 Game Files & Emulators
Table of Contents
Legal & Ethical Basics
What is Legal
- Emulators are legal. Courts have repeatedly affirmed this (e.g., Sony v. Connectix, Sony v. Bleem).
- Personal backups are allowed in many jurisdictions:
- Dump cartridges you physically own.
- Back up digital purchases from your 3DS.
- Use backups only for personal use.
- System files from your device are fine when you extract them.
What is Illegal
- Downloading copyrighted games you don’t own—even if they’re “abandonware,” “for testing,” or “no longer sold.”
- Sharing your backups with anyone else.
- Grabbing BIOS/firmware/keys from the internet instead of your own console.
- Bypassing protections for piracy.
Stay Compliant (Quick Checklist)
- Own the game.
- Dump it yourself.
- Extract your own system files.
- Keep backups private.
- Buy official remasters and re-releases when available.
Understanding 3DS Emulation Technology
What is a 3DS Emulator?

A Nintendo 3DS emulator is sophisticated software that replicates the 3DS hardware architecture on PC, including:
- CPU simulation: Mimicking the ARM11 MPCore processor
- GPU emulation: Replicating the PICA200 graphics processor
- Operating system: Simulating the 3DS firmware environment
- Hardware features: Touchscreen, gyroscope, accelerometer, stereoscopic 3D
Rather than running native PC ports, emulators translate 3DS instructions in real-time, allowing your legally dumped games to run as if on actual hardware—often with substantial improvements.
Modern Emulation Enhancements
Visual Improvements:
- Internal resolution scaling (native 400×240 up to 4K resolution)
- Anti-aliasing and texture filtering
- Custom shaders and post-processing effects
- Higher-quality rendering than original hardware
- Elimination of screen tearing
Performance Enhancements:
- Frame rate improvements and stabilization
- Faster loading times (especially with SSD storage)
- Reduced input latency
- Optional speed-up functions for grinding or slow sections
Quality of Life Features:
- Save states for instant save/load
- Screenshot and video recording
- Customizable control schemes
- Per-game configuration profiles
- Accessibility options (button remapping, speed adjustment)
Multiplayer Capabilities:
- Local wireless emulation between emulator instances
- Trade and battle features in supported games
- No dependency on Nintendo’s discontinued online services
Performance Requirements
Emulation is more demanding than native PC gaming because the entire console must be simulated in software, with all instructions translated in real-time.
CPU Impact: The 3DS used ARM-based processors, while PCs use x86/x64 architecture. Every instruction must be translated, making strong single-thread CPU performance critical.
GPU Considerations: While the PICA200 GPU is modest by modern standards, upscaling to high resolutions requires substantial GPU power. Native resolution requires minimal GPU resources, while 4K upscaling demands modern dedicated graphics.
Hardware Requirements
Minimum (entry level)
- CPU: Intel Core i5-8400 / Ryzen 5 2500U
- RAM: 8 GB
- GPU: iGPU that supports OpenGL 4.3 or Vulkan 1.1
- Storage: SSD recommended
- Operating System: Windows 10/11, modern Linux, or macOS 11+
You can play at native resolution. Demanding games may stutter.
Recommended (smooth 2×–3× scaling)
- CPU: Intel Core i5-10400 / AMD Ryzen 5 3600 or better
- RAM: 8GB system memory (16GB preferred)
- GPU: NVIDIA GTX 1050 Ti / AMD RX 560 or better
- Storage: 100GB+ available space on SSD
- Operating System: Windows 10/11 (64-bit), recent Linux distribution, or macOS 11+
Optimal (high-end upscaling)
- CPU: Intel Core i7-12700 / AMD Ryzen 7 5800X or better
- RAM: 16GB system memory
- GPU: NVIDIA RTX 3060 / AMD RX 6600 XT or better
- Storage: NVMe SSD with 200GB+ available space
- Operating System: Windows 11 (64-bit) or latest Linux distribution
Best 3DS Emulators in 2025
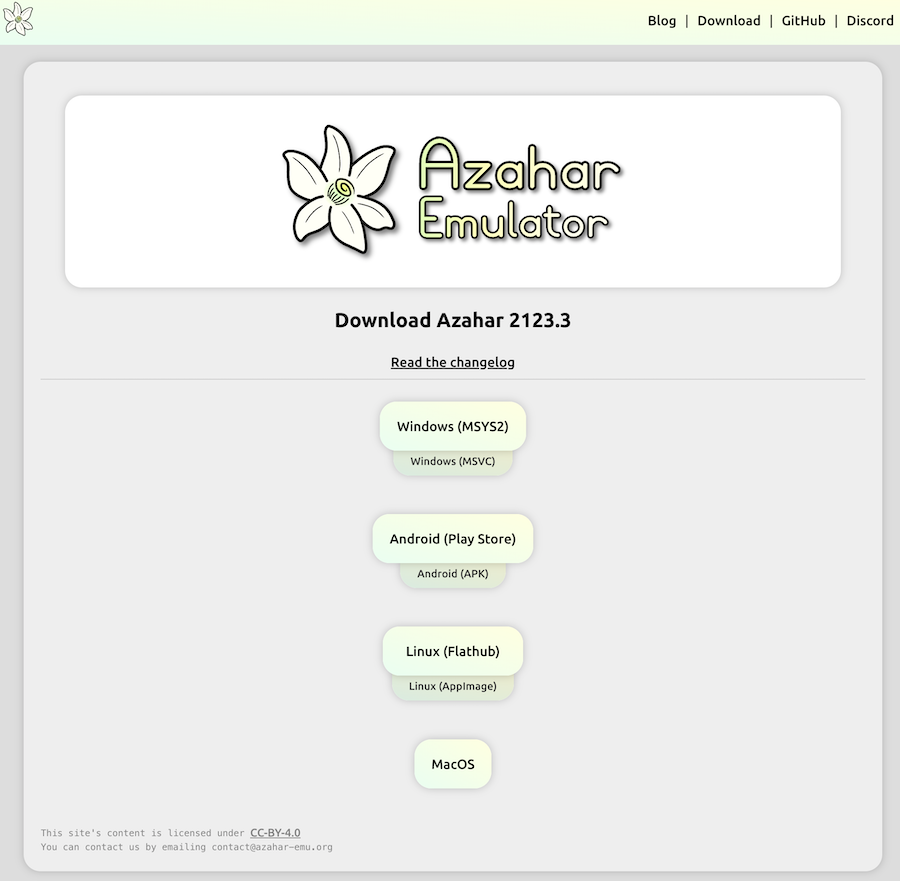
1. Azahar Emulator — The New Standard for 3DS Emulation
Overview: Azahar is the leading Nintendo 3DS emulator in 2025, created from the merger of two major community projects — Lime3DS and PabloMK7’s fork. It’s recognized as the official successor to the original emulator and currently offers the best standalone 3DS experience across all platforms.
Why Azahar Stands Out
Azahar unifies years of community development into one actively maintained project. With a dedicated team, frequent updates, and cutting-edge optimizations, it delivers the most stable, compatible, and feature-rich 3DS emulation available today.
- Regular updates ensure smooth performance and bug fixes.
- Built with modern frameworks and legal preservation in mind.
- Offers excellent visual quality, broad compatibility, and user-friendly design.
Platform Support
Azahar runs on nearly every modern system:
- Windows 10/11 (64-bit)
- macOS 10.13+
- Linux distributions
- Android (available directly from the Google Play Store)
Core Capabilities
- Over 95% game compatibility across the 3DS library
- Resolution scaling up to 10× (from 400×240 to 4K and beyond)
- Custom shaders, post-processing, and texture filtering
- Save states for quick saves and loads
- Local multiplayer via wireless emulation between instances
- Per-game settings profiles for optimized performance
- Screenshot and video recording tools
- Full controller support for Xbox, PlayStation, Switch, and generic gamepads
- Regular updates with new features and community-driven improvements
File Format Note
Azahar now supports only .cci and .zcci game formats.
Older .3ds files are no longer compatible for legal and preservation reasons.
✅ When dumping your games, always create .cci format files for best results.
Graphics Enhancements
- Resolution scaling: Native 400×240 up to 4K+
- Hardware acceleration: OpenGL and Vulkan APIs supported
- Custom shaders and texture filtering options
- Post-processing effects for modern visuals
- Stereoscopic 3D support (for compatible hardware)
Audio Features
- Multiple audio backends for better compatibility
- Audio stretching to reduce stutter on slower PCs
- Microphone input for compatible games
- Adjustable volume controls per game
User Interface
Azahar is designed for simplicity and accessibility:
- Clean, intuitive layout with easy navigation
- Game library view with cover art and metadata
- Quick-access settings panel for fast tweaks
- Per-game configuration system for individual tuning
- Organized settings menus for advanced customization
Active Development & Community
Azahar’s unified dev team keeps updates flowing regularly, ensuring stability and new features arrive quickly. The community surrounding the project is also strong and supportive.
Highlights:
- Comprehensive setup guides and FAQs
- Active Discord for user support
- Transparent development via GitHub
- Frequent patch notes and performance reports
- Continuously expanding compatibility database
Who Should Use Azahar
✅ Highly Recommended For:
- New users who want a plug-and-play experience
- Players seeking maximum compatibility and stability
- Users who prefer modern visuals and regular updates
- Android users who want full 3DS emulation on mobile
Bottom Line:
Azahar is the definitive 3DS emulator of 2025 — fast, reliable, and easy to use. It’s the perfect choice whether you’re a beginner setting up your first emulator or an experienced player looking for high-end performance and visual enhancements.
Download: Azahar Emu
2. RetroArch
Overview: RetroArch is not a standalone emulator but a powerful, unified frontend that runs multiple emulators as “cores.” It provides a comprehensive all-in-one solution for retro gaming across dozens of platforms, including 3DS emulation through its dedicated core.
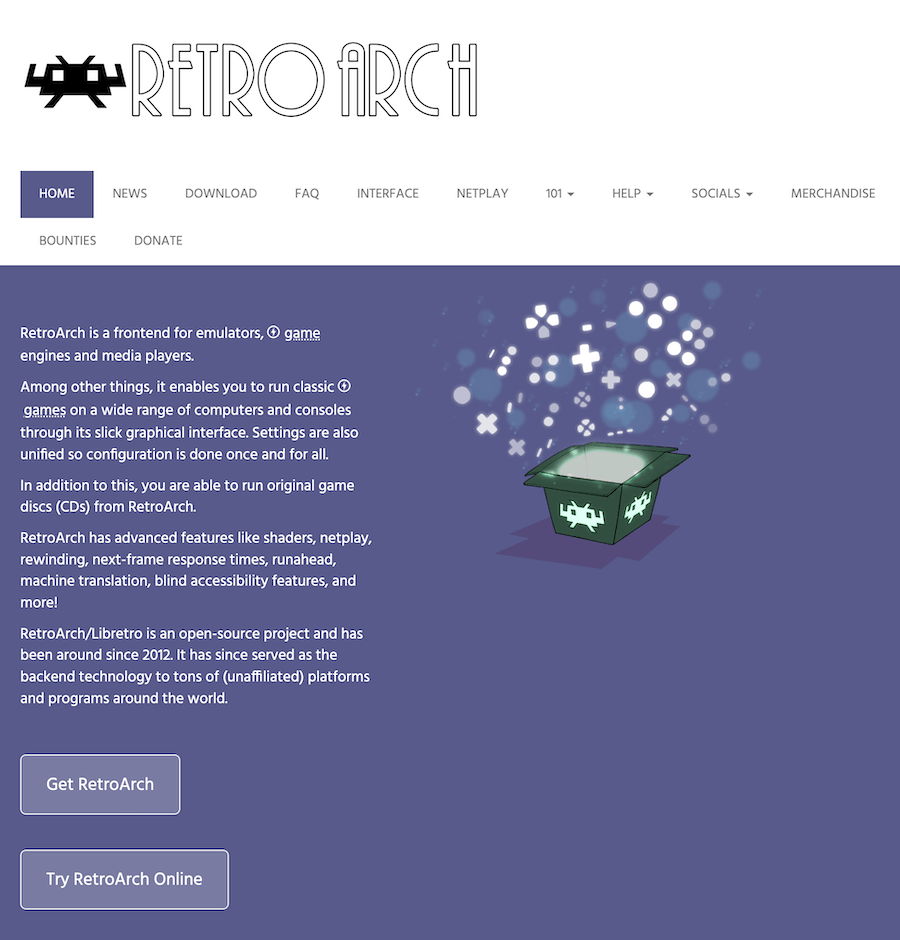
How RetroArch Works
RetroArch separates its frontend (the user interface and settings) from its cores (the emulators themselves).
- To play 3DS games, you install RetroArch first.
- Then, you download and load the 3DS core inside it.
This modular setup lets you manage your entire retro game library — from NES and PlayStation to PSP and 3DS — all in one place.
Key Features
Universal Platform Support
You can install and use RetroArch on almost any device:
-
Windows, macOS, and Linux
-
Android and iOS
-
PlayStation, Xbox, and Nintendo Switch (via homebrew)
-
Raspberry Pi and other single-board computers
-
Steam Deck
If it has modern hardware, chances are RetroArch runs on it.
Advanced Capabilities
- Unified Interface — One consistent layout across all systems.
- Shader Library — Hundreds of filters for retro or modern visuals (CRT, scanlines, smoothing).
- Netplay — Online multiplayer support for compatible games.
- Achievements — Integration with RetroAchievements for tracking milestones.
- Cloud Saves — Sync progress between devices.
- Rewind — Instantly reverse gameplay moments.
- Fast-Forward — Skip slow scenes or grinding sections.
- Frame Advance — Step through gameplay frame by frame.
- Custom Overlays — Add bezels, frames, and screen layouts.
- Controller Auto-Setup — Plug in and play with most modern gamepads.
3DS Core Support
RetroArch’s 3DS core is based on the final public build of the original emulator project. While that specific core is now feature-complete (not actively updated), RetroArch itself continues to evolve — bringing new interface tools, better performance, and quality-of-life upgrades.
In short:
You get stable, proven 3DS emulation plus all of RetroArch’s global features like shaders, netplay, and cloud saving.
Benefits of Using RetroArch
- A single hub for every console generation — NES, SNES, N64, PS1, PSP, GBA, DS, 3DS, and more.
- Unified controls — Consistent key mapping across systems.
- Visual flexibility — Apply shaders or CRT effects easily.
- Achievement integration for completionists.
- Cloud save sync — Continue where you left off, anywhere.
- Online netplay for remote multiplayer sessions.
- Highly customizable interface and performance options.
Things to Consider
- Steeper learning curve: Setup can be complex for beginners.
- Extra setup step: You must download each system’s core manually.
- Many options to tweak: Great for power users, but overwhelming at first.
- 3DS core updates: May trail behind standalone emulators like Azahar or Panda3DS.
Best suited for: players who manage several emulated systems, not just 3DS.
Quick Setup Guide
- Download & Install RetroArch from the official website.
- Launch RetroArch and go to
Load Core → Download Core. - Find the Nintendo 3DS core and install it.
- Add your game directory (
Load Content → Select File or Directory). - Load your game and start playing.
You can then fine-tune settings for graphics, shaders, input, or audio from within the RetroArch menu.
Who Should Use RetroArch
✅ Best for:
- Users who emulate multiple consoles
- Players who want one unified launcher for everything
- Enthusiasts who enjoy tinkering with visual filters, achievements, and shaders
- People who use multiple devices (RetroArch supports syncing)
🚫 Not ideal for:
- Absolute beginners new to emulation
- Users interested only in 3DS gaming
- Players who prefer minimal setup or latest 3DS-specific features
Bottom Line:
RetroArch is a feature-rich powerhouse for gamers who want to centralize all emulation under one roof. While it takes a little time to learn, its flexibility and cross-platform reach make it an excellent option — especially if you play retro games across many systems, not just the 3DS.
Download: RetroArch
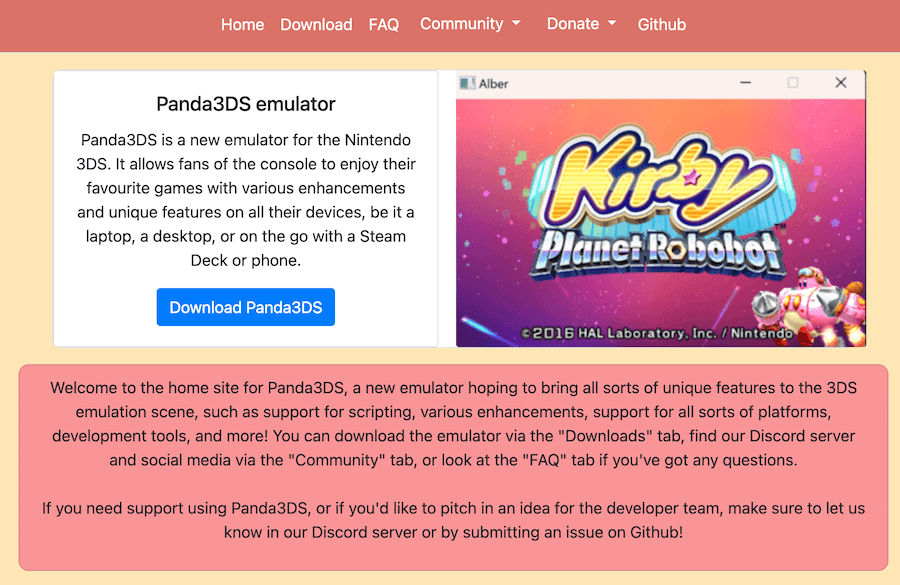
3. Panda3DS
Overview
Panda3DS is a newer, ground-up 3DS emulator built with modern coding practices and a clean, readable codebase. It’s earlier in development than Azahar, but it’s progressing quickly and already runs many popular titles.
Development philosophy
- Modern, maintainable architecture
- Clear code that’s friendly to new contributors
- Feature work guided by community feedback
Platforms: Windows, macOS, Linux
Core Capabilities
- Open-source with a transparent repository
- Simple, intuitive interface
- Regular updates and bug fixes
- Standard essentials: save states, controller support, per-game settings
Current Status (2025)
- Good compatibility for many well-known games
- Improving support across the library with each release
- Growing feature set; active devs responding to issues
Limitations to know
- Lower overall compatibility than Azahar (~70–80% vs. 95%+)
- Occasional bugs or stability hiccups in specific titles
- Possible graphical or audio glitches
- Fewer advanced features for power users (for now)
- Smaller community and lighter documentation
Why you might pick Panda3DS
- Your game misbehaves in other emulators and you want a second engine to try
- You prefer a clean, modern UI and straightforward options
- You want to contribute to an active open-source emulator
- You like supporting alternative projects that diversify the ecosystem
Who it’s best for
- Experienced emulation users comfortable testing builds
- Players troubleshooting a problem title from another emulator
- Open-source enthusiasts and developers looking to contribute
- Users okay with the occasional bug or missing feature
Who should wait (for now)
- New users who want maximum “it just works” compatibility on day one
- Players of niche or demanding titles that need mature workarounds
- Anyone prioritizing rock-solid stability over experimentation
Outlook: Development is active and fast-moving. If the current pace continues, Panda3DS could reach parity with established options for many games—and might even surpass them in select areas.
Bottom line: Panda3DS is a capable alternative and a smart second option to test—especially if your game struggles elsewhere. It’s also a great project to follow (or join) if you care about the future of 3DS emulation.
Download: Panda3DS
What to Avoid
Outdated and Unsupported Emulators:
TronDS/3dmoo: Historical experimental projects no longer relevant or functional for end users in 2025. These were early proof-of-concept emulators that have been completely superseded.
“Enhanced” or “Modified” Builds: Beware of websites offering “faster than Azahar” builds, “pre-configured” packages with games included, or mysterious binaries from unknown sources. These often contain malware, pirated content, or stolen code.
Red Flags to Watch For:
- Sites bundling game files with emulator downloads
- “Packs” including encryption keys or firmware
- Claims of dramatic performance improvements without evidence
- Requests for payment to download free emulators
- No clear source code or development transparency
- Downloads from file-sharing sites or torrents
- “All-in-one” packages with games pre-loaded
Wrong System Emulators:
DeSmuME: Excellent Nintendo DS emulator, but does NOT support 3DS games. Despite similar naming, DS and 3DS are completely different systems requiring different emulators. DeSmuME is for the original dual-screen DS, not the 3DS.
MelonDS: Another excellent DS emulator, but like DeSmuME, it only emulates the original Nintendo DS, not the 3DS. Don’t confuse these systems.
Complete Setup Guide: Azahar Emulator
Prerequisites
Before beginning, ensure you have:
- ✅ Legally owned 3DS games (physical cartridges or digital purchases)
- ✅ Your own Nintendo 3DS console for dumping games
- ✅ Adequate PC meeting recommended specifications
- ✅ External SD card reader (for extracting files from 3DS SD card)
- ✅ Patience for first-time setup (30-60 minutes)
Step 1: Legally Dumping Your Games
Required Tools:
- Your 3DS console with custom firmware (CFW) installed
- GodMode9 or similar game dumping tools
- SD card with adequate free space
Dumping Physical Cartridges to .CCI Format:
- Install custom firmware on your 3DS (follow current guides at 3ds.hacks.guide)
- Install GodMode9 homebrew application
- Insert your game cartridge
- Launch GodMode9
- Navigate to
[C:] GAMECART - Select your game file
- Choose “NCSD image options” → “Build .CCI from file” (for Azahar compatibility)
- Wait for dumping process to complete (5-15 minutes per game)
- Copy generated .cci file from SD card to your PC
Creating Compressed .ZCCI Files (Optional):
For storage savings, you can compress .cci files to .zcci format:
- Use compression tools compatible with the format
- Azahar can directly load .zcci files
- Reduces file size while maintaining full game functionality
Dumping Digital Purchases:
- Launch GodMode9 on your 3DS
- Navigate to
[A:] SYSNAND SD - Browse to title folder containing your game
- Select appropriate files and dump to .CCI format
- Transfer to PC via SD card
Important: Keep physical cartridges and maintain records proving ownership. Dumped files are legal backups of games you own, not replacements for ownership proof.
Step 2: Extracting System Files
Why System Files are Needed: Certain emulator features require 3DS system files, firmware, and encryption keys. These must come from your own console to remain legal.
Required Files:
- System firmware files (optional but improves compatibility)
- AES keys for decryption
- System archives (fonts, shared data)
Extraction Process:
- Use GodMode9 or similar tools on your CFW-enabled 3DS
- Dump required system files following current extraction guides
- Transfer files to appropriate emulator directories on PC
For Azahar Specifically:
- System files go in the
sysdatafolder within Azahar directory - The emulator will notify you if specific files are required for a game
- Not all games require system files; many work without them
Legal Reminder: Downloading these files from the internet is illegal. Extract them from your own hardware.
Step 3: Installing Azahar
Windows Installation:
- Visit Azahar official website
- Navigate to Downloads section
- Download the latest Windows release
- Extract the archive to a dedicated folder (e.g.,
C:\Emulators\Azahar) - Launch
azahar.exe
macOS Installation:
- Download macOS build from official site
- Extract the application
- Move Azahar.app to Applications folder
- First launch: Right-click → Open (to bypass Gatekeeper)
- Grant necessary permissions when prompted
Linux Installation:
- Download Linux build appropriate for your distribution
- Extract to desired location
- Make executable:
chmod +x azahar - Run from terminal:
./azahar - Alternatively, use package managers if available
Android Installation:
- Download from Google Play Store
- Or download APK from official GitHub releases
- Install following standard Android app installation
- Grant storage permissions when prompted
Installation Tips:
- Use dedicated emulator folder with write permissions
- Avoid installing in system-protected directories
- Create separate folders for games, saves, and system files
- Keep emulator updated through official channels
Step 4: Initial Configuration
First Launch Setup:
1. Configure Controls:
- Navigate to Emulation → Configure → Controls
- Keyboard mapping:
- WASD or Arrow keys for D-pad
- Number pad for face buttons
- Q/E for shoulder buttons
- Space for Start, Shift for Select
- Gamepad mapping:
- Azahar auto-detects most controllers
- Manual mapping if needed through the interface
- Test all buttons including D-pad, face buttons, shoulders
- Configure touchscreen input (mouse or touchpad)
- Map Circle Pad and C-Stick if applicable
Recommended Controller Setup:
- Xbox controllers: Work natively with excellent compatibility
- PlayStation controllers: Use DS4Windows (Windows) for best results
- Nintendo Switch Pro Controller: Native support via Bluetooth
- Generic controllers: May require manual mapping
- Steam Input: Disable if using Steam; can conflict with Azahar
2. Graphics Settings:
Access Emulation → Configure → Graphics
Essential Settings:
- Internal Resolution: Start with 2× native (800×480)
- 1× for weaker hardware
- 3×-4× for powerful systems
- Up to 10× possible on high-end hardware
- Renderer: Hardware Renderer (GPU-accelerated, recommended)
- Graphics API:
- OpenGL: Best compatibility, works on most systems
- Vulkan: Better performance if GPU supports it
- Texture Filter: Linear (smooths textures) or None (authentic pixelation)
- Shaders: Leave default initially; experiment later if desired
- VSync: Enable to eliminate screen tearing
- Texture Sampling: Anisotropic filtering for sharper textures
Advanced Graphics (Optional):
- Hardware Shader: Usually enabled for performance
- Accurate Multiplication: Enable for accuracy, disable for performance
- Disk Shader Cache: Enable to reduce stuttering
- Stereoscopic 3D: Configure if you have compatible display
3. Audio Configuration:
Navigate to Audio settings:
- Output Engine: Auto (recommended) or specific (Cubeb, SDL)
- Audio Stretching: Enable for smoother audio during performance dips
- Volume: Adjust to comfortable level (0-100%)
- Microphone: Configure if playing games requiring mic input
- Output Sample Rate: Usually leave at default (48000 Hz)
4. System Settings:
Configure system preferences:
- Region: Set to match your games (USA, Europe, Japan, Australia)
- Language: Configure language preferences
- System Clock: Enable for games requiring real-time features
- New 3DS Mode: Enable if emulating New 3DS exclusive titles
- User Directories: Set up paths for ROMs, saves, screenshots, and system files
5. General Settings:
UI Preferences:
- Theme: Choose between light, dark, or system theme
- Game List View: Grid or list view preference
- Screenshot Path: Set location for captured images
- Save State Path: Configure save state directory
Performance Options:
- Frame Limit: Usually 100% (native speed)
- Fast Forward Speed: Set speed multiplier (200-400%)
- Enable Frame Limiter: Keep enabled for proper game speed
Step 5: Adding Your Games
Creating Game Library:
- Create dedicated folder for dumped games (e.g.,
C:\3DS\Games) - Organize games logically:
- By genre (RPGs, Action, Puzzle)
- By series (Pokémon, Zelda, Mario)
- Alphabetically
- Place your legally dumped .cci or .zcci files in this folder
Importing to Azahar:
- In Azahar: File → Select Game Directory
- Navigate to your games folder
- Confirm selection
- Azahar scans and displays games with metadata
- Cover art downloads automatically if available
Game Organization Tips:
- Keep original file names for clarity
- Create separate folders for DLC and updates
- Maintain backup copies of game files
- Document which cartridges correspond to which files
- Use descriptive folder names (e.g., “3DS_Action_Games”)
DLC and Updates:
If you own DLC or game updates:
- Dump them from your 3DS in appropriate format
- Place in dedicated subfolder
- Azahar can load DLC/updates alongside base games
- Configure per-game settings to recognize additional content
Step 6: Per-Game Configuration
Some games benefit from specific settings for optimal performance or compatibility.
Accessing Per-Game Settings:
- Right-click game in library
- Select “Properties” or “Open Custom Configuration”
- Adjust settings specific to that game
- Changes apply only to selected game
Common Per-Game Adjustments:
Demanding Games (Monster Hunter, Pokémon Sun/Moon):
- Lower internal resolution to 1×-2×
- Disable texture filtering
- Turn off advanced shader features
- Prioritize performance over visuals
2D Games (Professor Layton, Phoenix Wright):
- Increase resolution to 3×-4× (minimal performance impact)
- Enable texture filtering for smoother sprites
- Use shaders for enhanced visual effects
Fast-Paced Games (Mario Kart 7, Smash Bros):
- Prioritize frame rate stability
- Disable CPU-intensive features
- Ensure consistent 60 FPS
- Reduce resolution if necessary
RPGs (Fire Emblem, Bravely Default):
- Enable save states for convenience
- Higher resolution for better text readability
- Use fast-forward during grinding sections
Games with Special Features:
- Configure gyroscope mapping for motion controls
- Enable microphone for games requiring voice input
- Adjust touchscreen sensitivity
Step 7: Performance Optimization
If Experiencing Slowdown:
Reduce Internal Resolution:
- Start at 1× (native 400×240)
- Gradually increase until performance balances with quality
- 2× usually provides good balance
Disable Accuracy Features:
- Turn off “Accurate Multiplication” for performance gain
- Disable “Geometry Shader” if available and causing issues
- Use “Skip Slow Draw” option if present
Enable Caching:
- Activate “Disk Shader Cache”
- First playthrough builds cache (may stutter initially)
- Subsequent plays benefit from cached shaders
System Optimizations:
- Close background applications: Browser, Discord, etc.
- Update GPU drivers to latest versions
- Windows Power Plan: Set to “High Performance” or “Best Performance”
- Laptop users:
- Ensure discrete GPU is active (not integrated)
- Connect to AC power (prevents throttling)
- Check power settings don’t limit performance on battery
Graphics Settings Adjustments:
- Switch graphics API: Try OpenGL vs. Vulkan
- Disable post-processing: Turn off shaders and filters
- Reduce texture filtering: Use bilinear instead of trilinear
- Turn off anti-aliasing: Disable MSAA or FXAA
Monitor Performance:
- Enable FPS counter in Azahar settings
- Watch for frame drops during gameplay
- Note which areas or effects cause slowdown
- Adjust settings accordingly
Step 8: Save Management
In-Game Saves: Function exactly as on real hardware, creating save files in Azahar’s save directory. These are stable and recommended for important progress.
Save Location:
- Windows:
C:\Users\[YourName]\.config\Azahar\saves\ - macOS:
~/Library/Application Support/Azahar/saves/ - Linux:
~/.config/Azahar/saves/
Save States: Provide instant save/load functionality at any point:
Creating Save States:
- Emulation → Save State → Select Slot (or hotkey)
- Multiple slots available (usually 10 per game)
- States save exact game position, mid-action if needed
Loading Save States:
- Emulation → Load State → Select Slot (or hotkey)
- Instantly returns to saved position
- Can load states created at any point
Configuring Hotkeys:
- Settings → Hotkeys
- Assign keys for quick save/load (e.g., F5/F9)
- Set up fast-forward hotkey
- Configure screenshot capture
Save State Best Practices:
- Use multiple slots for important points
- Maintain regular in-game saves as primary backups
- Don’t rely solely on save states (they can become corrupted)
- Create save states before:
- Difficult boss battles
- Risky in-game decisions
- Rare shiny Pokémon encounters
- Time-sensitive events
Transferring Saves from Real 3DS:
- On your 3DS: Use save management tools (Checkpoint, JKSM)
- Extract save files to SD card
- Transfer to PC via SD card reader
- Place in Azahar’s save directory
- Rename to match Azahar’s save file naming convention
- Launch game to verify save loads correctly
Backing Up Saves:
- Regularly copy save directory to external storage
- Cloud storage (Dropbox, Google Drive) for automatic backup
- Keep multiple backup generations
- Test restore process occasionally
Step 9: Multiplayer Setup
Local Wireless Emulation: Citra and Lime3DS support local wireless features between emulator instances.
Setup Process:
- Multiplayer → Create Room (on host)
- Configure room name and password
- Share connection information with others
- Multiplayer → Join Room (on client)
- Enter room details provided by host
Compatible Features:
- Pokémon trading and battling
- Mario Kart 7 local races
- Animal Crossing: New Leaf visiting
- Monster Hunter local co-op
Limitations:
- Does NOT connect to Nintendo’s official online services
- Only works between emulator instances
- Both parties must have legally dumped copies of the same game
- Internet connection required for remote multiplayer between emulators
Legal Considerations and Best Practices
Supporting Developers and Publishers
When Available, Purchase Official Releases:
- Nintendo Switch ports and remasters
- Official digital releases on current platforms
- Physical re-releases and collections
Why This Matters: Purchasing shows publishers there’s demand for these titles, encouraging future preservation efforts and demonstrating the commercial value of maintaining access to classic games.
Responsible Preservation
Documentation:
- Maintain records of game ownership
- Keep physical cartridges accessible
- Document your dumping process
- Store backups securely
Ethical Guidelines:
- Only dump and emulate games you own
- Never share dumped games with others
- Don’t stream or monetize gameplay of games you haven’t purchased
- Respect intellectual property while exercising fair use rights
Privacy and Security
Download Safety:
- Only download emulators from official sources
- Verify file signatures when possible
- Scan downloads with updated antivirus software
- Avoid sites bundling games or system files with emulators
Account Security:
- Never enter Nintendo Network credentials in emulators
- Don’t use emulators claiming to connect to official Nintendo services
- Protect personal information and payment details
FAQs
Is 3DS emulation legal?
Yes, emulators are legal software. What determines legality is how you obtain games—dumping games you own for personal backup is legal; downloading games from the internet is copyright infringement. Always ensure you own games before emulating them and extract system files from your own hardware.
Can I play all 3DS games on PC?
Approximately 95% of the 3DS library is playable with Citra or Lime3DS, with most running excellently. A small percentage of demanding titles may have performance issues on modest hardware, and a few games have specific compatibility problems. Check the official Citra compatibility list for specific game status before dumping.
Do I need a powerful PC for 3DS emulation?
For native resolution, modest hardware suffices (Intel i5/AMD Ryzen 5 with integrated graphics). For 2×-3× resolution upscaling, mid-range dedicated GPU recommended (GTX 1050 Ti / RX 560). For 4K and maximum enhancements, modern gaming PC needed (RTX 3060 / RX 6600 XT or better). Most users find mid-range hardware provides the best balance.
Can I use my 3DS saves in the emulator?
Yes, you can transfer saves from your real 3DS to emulator using save management homebrew (Checkpoint, JKSM). Export saves from your 3DS, transfer files to PC, and place in emulator’s save directory with proper naming. This allows continuing your progress from physical hardware to emulator seamlessly.
How do I improve performance if games run slowly?
Lower internal resolution to 1× native, disable texture filtering and enhancements, enable disk shader cache, update GPU drivers, close background applications, and ensure you’re using performance power plan (Windows). Laptop users should verify discrete GPU is active. Some games are simply demanding and require better hardware.
Can I play online multiplayer?
Official Nintendo online services are not accessible through emulators. However, local wireless features work between emulator instances, allowing trading/battling in Pokémon, racing in Mario Kart 7, and co-op in Monster Hunter between players both using Citra/Lime3DS with internet connection for connection between emulator instances.
What’s the difference between Citra and Lime3DS?
Citra is the original, mature emulator with established compatibility and extensive documentation. Lime3DS is an active community fork providing more frequent updates, modern OS support, and ongoing improvements. Both offer excellent compatibility—Citra for stability, Lime3DS for cutting-edge features. Try both to see which suits your preferences.
Do I need BIOS or firmware files?
Most games run without system files, but certain features or specific titles may require them for full functionality. If needed, extract from your own 3DS console using homebrew tools—never download from internet sources, as this is illegal. The emulator will notify you if specific system files are required.
Why do some games look better on emulator than on real 3DS?
Emulators can render at resolutions far beyond the 3DS’s native 400×240 screens. At 2×-4× resolution with texture filtering, games display significantly sharper graphics. Additionally, emulators eliminate screen tearing, improve frame stability, and allow graphical enhancements impossible on original hardware while maintaining authentic gameplay.
Can I get banned for using 3DS emulators?
Since emulators don’t connect to Nintendo’s online services and you’re using legally dumped games for personal use, there’s no mechanism for bans. Never attempt to connect emulators to official online services or use them for piracy. If you continue using your physical 3DS for online features while emulating offline games, there’s no issue.
Conclusion: Preserving Gaming History Responsibly
Nintendo 3DS emulation in 2025 represents a mature, accessible method for preserving and enhancing your handheld gaming collection. With the 3DS eShop permanently closed and hardware increasingly scarce, emulation provides legitimate owners a path to continued enjoyment of their purchases with modern improvements.
Key Takeaways:
Legal Compliance is Essential: Only emulate games you’ve purchased and dumped yourself. Download emulators from official sources and extract system files from your own hardware.
Choose the Right Emulator: Citra offers maturity and stability; Lime3DS provides active development and modern features. Both deliver excellent results.
Performance Varies: Match your expectations to your hardware. Native resolution works on modest PCs; high-resolution enhancement requires dedicated GPUs.
Preservation Matters: With digital storefronts closing and hardware aging, proper backups protect your gaming investment and preserve cultural heritage.
Support Developers: When Nintendo releases official ports or remasters, purchase them to demonstrate commercial viability and encourage continued preservation efforts.
The 3DS library contains exceptional games deserving preservation for future generations. By following legal methods, respecting intellectual property, and using emulation responsibly, you ensure these experiences remain accessible while honoring the creative work of developers.
Your 3DS collection represents memories, achievements, and entertainment. Preserve it properly, enjoy it legally, and appreciate the technology enabling continued access to these remarkable games.
This guide reflects 3DS emulation technology and copyright law as of 2025. Legal interpretations vary by jurisdiction. This article provides educational information, not legal advice. Consult legal professionals for specific situations. Always respect intellectual property rights while exercising fair use for personal game preservation.
See also: Best GBA Emulators for PC
1 Comment
Thank you for the good writeup. It in fact was a amusement account it. Look advanced to far added agreeable from you! However, how could we communicate?