The GeForce Experience is a companion application to your GeForce GTX graphics card. It keeps all your NVIDIA drivers up to date and automatically optimizes your game settings, thus giving you the easiest way to share your greatest gaming moments with friends. Also, if you cannot find any driver, that needs to be deleted for a better experience. You should know “How to find Missing Driver in Windows 10“.
If you’re using an NVIDIA graphics card and you keep seeing the “Unable to connect to NVIDIA. Try again later” message when you try to use GeForce Experience to update your display driver, you’re not alone. Reportedly, many Windows users have experienced the same problem in the past.
When the error “unable to connect to NVIDIA” appears, GeForce Experience opens. However, due to this problem, customers cannot obtain NVIDIA drivers or use the software’s additional capabilities, such as ShadowPlay. Thus, the following instructions will help you resolve the “unable to connect to NVIDIA” error in Windows 11 and 10.
Below are some fixes known to solve the problem. Scroll down one by one to find out which one works for you.
How to Fix GeForce Experience Unable to Connect to NVIDIA
Upgrade GeForce Experience
You may be running an earlier version of GeForce Experience itself. This will always give you the error “Unable to connect to NVIDIA” There’s no other way around it. Just head over to their website and download the latest version from there.
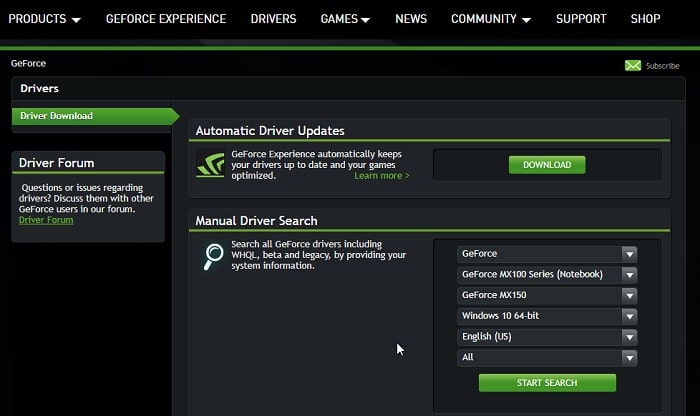
If the error message Unable to Connect to NVIDIA persists even after installing the latest version of GeForce Experience, scroll below to try out other known solutions.
Disabling the NVIDIA Services Manually
One of the possible causes for the display message Unable to connect to NVIDIA could be that the NVIDIA Network Service is stuck in its starting-up process. This, in turn, will initiate network connectivity problems and make it impossible for you to download anything via the GeForce Experience.
Follow the steps given below to fix this error:
- Open the RUN command window by pressing “Windows Key” and “R” together. Type “services. msc” here and press Enter on your Keyboard.

- Scroll down to find “NVIDIA Network Service,” and in the column next to it, check if the status shows “Starting” Once you have identified this, it’s time to move on to the next step.
- Redirect to C:\ProgramData\NVIDIA Corporation\NetService\ in your Windows Explorer’s address bar. Find and delete “NSManagedTasks.xml” over here. If you do not see the file here, ensure all “Hidden” folders are visible by using the “Show Hidden” option from the View button in the current Window.
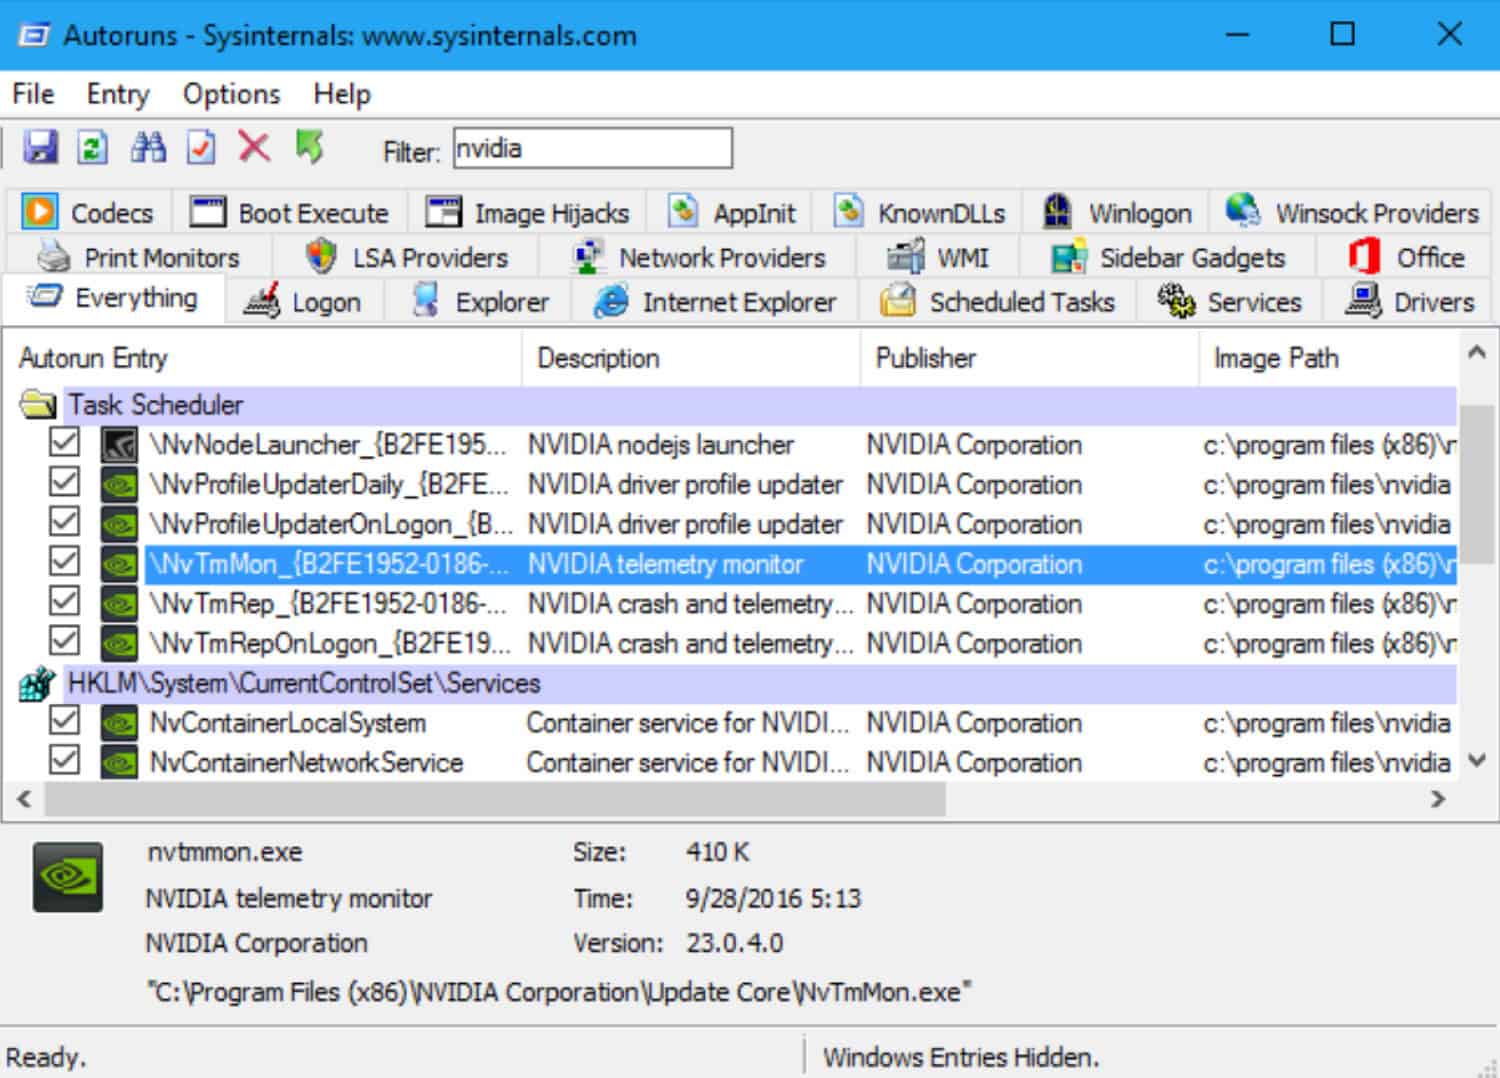
- While keeping the Services Window open, open your Task Manager by pressing down “Ctrl,” “Alt,” and “Delete” together or press “Windows Key” or “X” together to access the Task Manager from there.

- Click on the “Details” tab in your Task Manager and then find “NVNetworkService.exe” You will need to end the task first. After you are done here, return to the Services Window that was opened previously and start the NVIDIA Network Services from the Right-Click menu.
See Also: What Are NVIDIA Cuda Cores? All You Need To Know
You should no longer see the Unable to Connect to NVIDIA message in your GeForce Experience application.
WiFi Connectivity Problem
Usually, following either of the two methods stated above should fix your problem. But if you still keep getting the message “Unable to Connect to NVIDIA” even after updating your application, something might have gone wrong with your IPv4 settings.
It concerns the “Automatic metric” properties you enable in Windows. We will learn what this means in a few minutes.
What is the Automatic metric feature?
A metric is a value that an IP route assigns for a particular network interface, identifying the cost of using this route.
For example, the link hop count, speed, or time delay metric can be valued. Automatic Metric is a new feature introduced in Windows that automatically configures the metric for local routes based on your link speed. The Automatic Metric feature is usually enabled by default and can be manually configured to assign a specific metric value. Follow these steps to configure it properly:
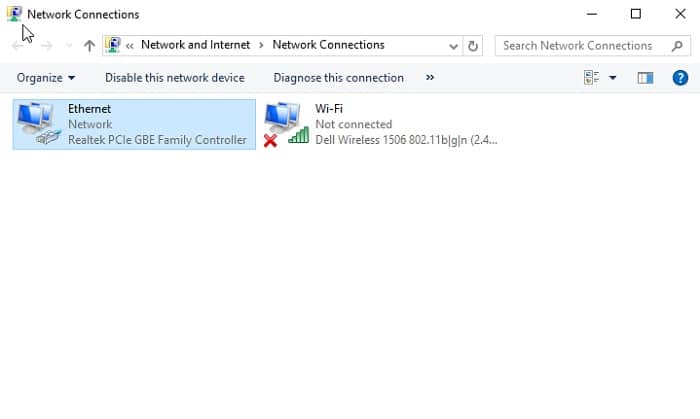
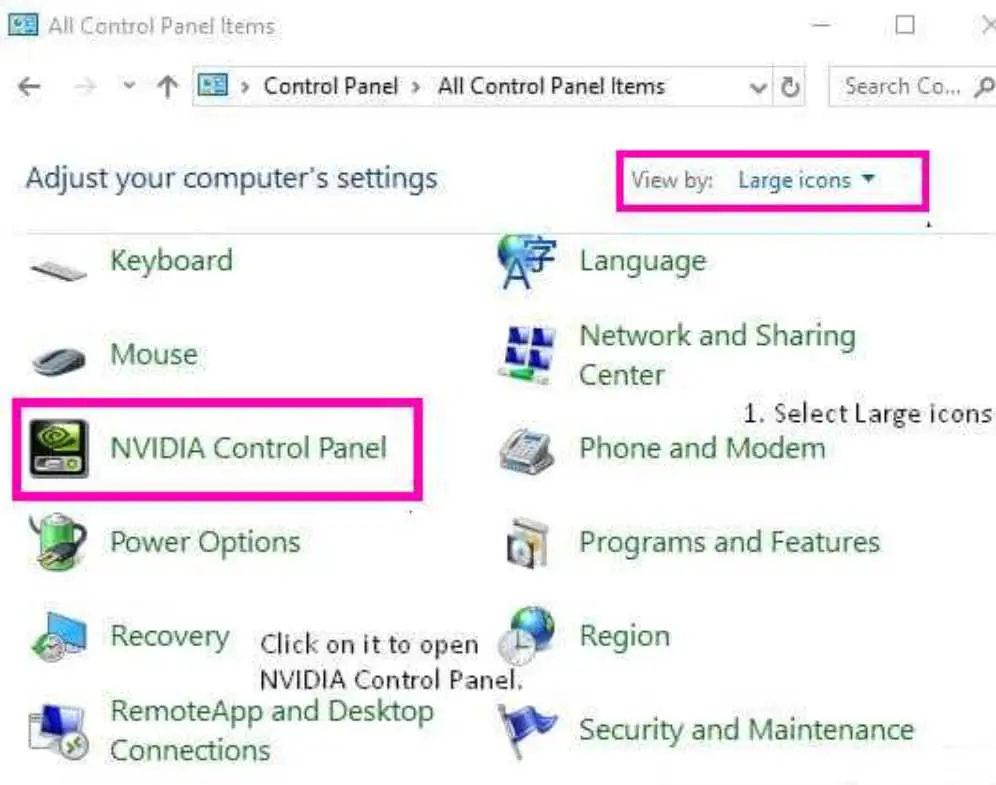
- Open “Control Panel” from your Desktop or search in the Start Menu. Go to “Network and Internet.”
- Click on “Network and Sharing Center” Here to see your active WiFi network connecting to the internet. Click and open this connection.
- A new dialogue box should appear which says “WiFi status. Click on “Properties” here. It should open another dialogue box that says “WiFi Properties.”
- Make sure that you are in the “Networking” tab. From here, scroll down to IPv4 settings under a line saying, “This connection uses the following items:” In the IPv4 Properties window, under the “General” tab on the bottom right, there should be a button that says “Advanced….” Click on this button.

- • A new dialogue box will appear with three tabs in it. Under the IP Settings tab, look below for a section that reads “Automatic metric” and uncheck the tick box next to it. Enter “1” in the box and click “OK.” Close all other windows and then return to your NVIDIA GeForce Experience application.
The “GeForce Experience is unable to Connect to NVIDIA” message should no longer bother you. Did this solution help you? Share the link with others who may be experiencing the same problem. Comment in the comments section if one of these fixes worked for you. Want to learn how to turn off NVIDIA overlay? Click here
Have another solution to this problem? Feel free to leave your suggestion in the comments section below!
See also: How To Turn Off NVIDIA Overlay | Explained With Pictures
FAQs
Can antivirus software cause GeForce Experience connection problems?
Antivirus software can sometimes interfere with GeForce Experience's connection to NVIDIA servers. Temporarily turning off the antivirus or adding exceptions for GeForce Experience in the antivirus settings can help determine if it's causing the issue. If necessary, consult the antivirus documentation or support for further guidance.
Are there any specific network requirements for GeForce Experience to connect?
GeForce Experience requires a stable internet connection to connect to NVIDIA servers. Ensure that your network has proper connectivity and that no restrictions or firewalls block the link. Using a wired connection instead of wireless can also help improve stability and reduce connectivity issues.
Can a VPN affect GeForce Experience's connection to NVIDIA?
Yes, a VPN (Virtual Private Network) can sometimes interfere with GeForce Experience's connection to NVIDIA servers. Try disconnecting the VPN temporarily to see if it resolves the issue. If you need a VPN, ensure it is appropriately configured to allow GeForce Experience to connect to NVIDIA servers.
What should I do if GeForce Experience still can't connect after troubleshooting?
If troubleshooting steps don't resolve the issue, you can try installing the NVIDIA graphics drivers cleanly. Uninstall the current drivers using Display Driver Uninstaller (DDU) and then reinstall the latest drivers from the official NVIDIA website. This can help resolve any potential driver conflicts causing the connection problem.
Can a proxy server affect GeForce Experience's connection?
Yes, if you're using a proxy server, it can affect GeForce Experience's connection to NVIDIA servers. Ensure that the proxy settings are configured correctly in GeForce Experience, or temporarily turn off the proxy to see if it resolves the issue. Contact your network administrator for assistance with proxy server configuration.
Is there an alternative to GeForce Experience for updating NVIDIA drivers?
Yes, you can manually update your NVIDIA drivers by visiting the official NVIDIA website and downloading the latest drivers for your graphics card model. However, GeForce Experience provides a convenient and automated way to update drivers, optimize game settings, and access additional features, so resolving the connection issue is recommended for an enhanced experience.