The new generation of computers and laptops is highly innovative and has many new features. The manufacturers try to include several improvements to enhance the device’s overall performance. Also, you can precisely find them by uncovering some of the default applications in various systems. How to Get Notepad++’s Dark Mode Available
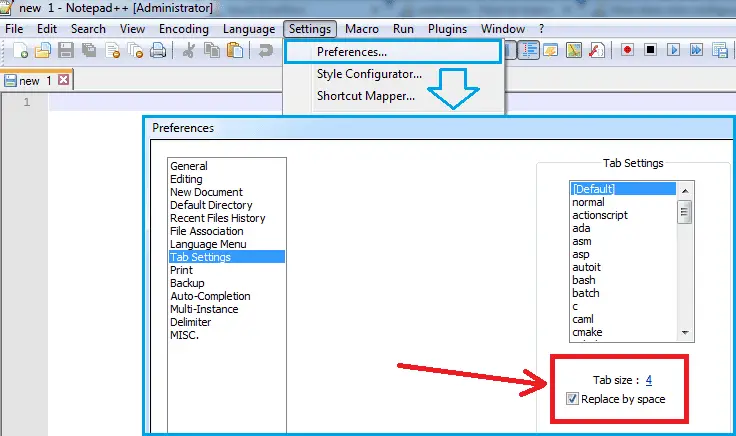
- Go to Settings > Style Configurator after starting Notepad ++.
- Expand the Select theme dropdown in the next window and select Deep Black.
- By altering the app’s overall design, fonts, and colors, you may further personalize it.
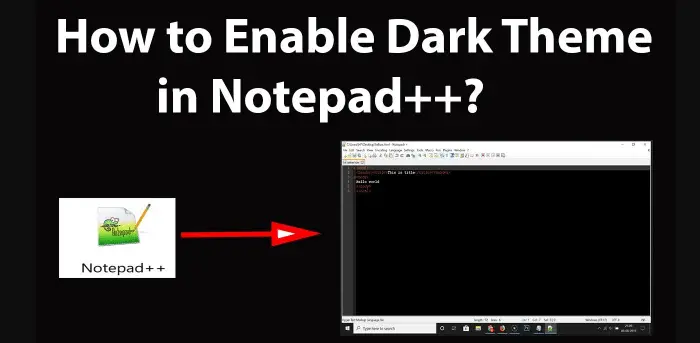
The essential requirement of any PC is to write and edit text, similar to traditional typewriters. However, the 21st century will bring many changes in the earlier methods. Hence, Notepad is one of the most common text editors on computers. Further, we get a better version for the same, ie. Notepad++ dark mode.
Table of Contents
What is Notepad++?
The first thing you need to understand is the basic functionality of Notepad++, as you are already aware that you use it to store data precisely. Moreover, you can copy, paste, delete, or even edit the text as required. Further, you can use it to develop HTML files and any coding language.
It occupies comparatively less space than the original Notepad in Windows. The best thing about Notepadd++ is that it is free. Therefore, you get a load of features without paying a single penny. It is developed exclusively for the Windows operating system and performs well.
As the name suggests, it is an advanced version of the default application present on the PC. You can use this simple user interface to save essential text documents as we move further. Therefore, it is the simplest way to keep information in the memory storage of the system.
But on the contrary, many people are unaware of Notepad++ and haven’t used it. Also, they cannot make several changes in the Notepad to improve the experience. Thus, we will cover details about how to enable Notepad++ dark mode on your laptop. Hence, follow every step in the sequence mentioned in this guide.
If you still don’t have Notepadd++ in the system and wish to install it, follow these steps.
Step 1
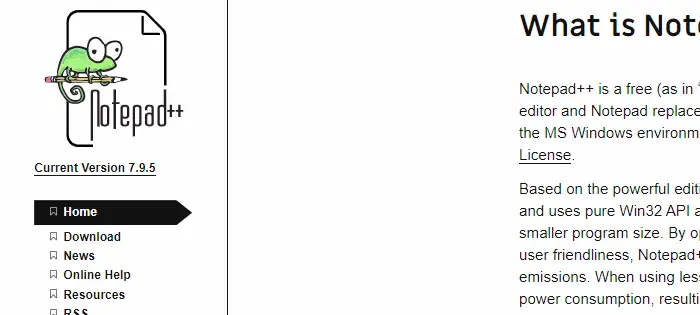
First, you need to visit the official website of Notepad++ or directly search it on Google. Visit the original link that appears on the screen.
Step 2
Click on the download section from the column on the left side of the screen.
Step 3
Next, choose the version of Notepad++ that you wish to install on the computer. It is advisable to go for the top link as it is the latest version.

Step 4
Once the download is complete, click on the file to start the installation process. Follow the guidelines as you move further.
Step 5
Finally, Finish the installation process and run the program on the PC. Make sure that there is no error during the journey.
Notepad++ Themes
In this section, we will learn about different themes available in Notepad++. It is always better to apply other pieces to the text according to the environment. It will enhance the overall look of your application and prevent eye flashes.
Notepad++ Dark Mode is one of the popular themes that users choose for their software. It includes the screen going black instead of the original white color. You can also record your screen while you work in Notepad++.
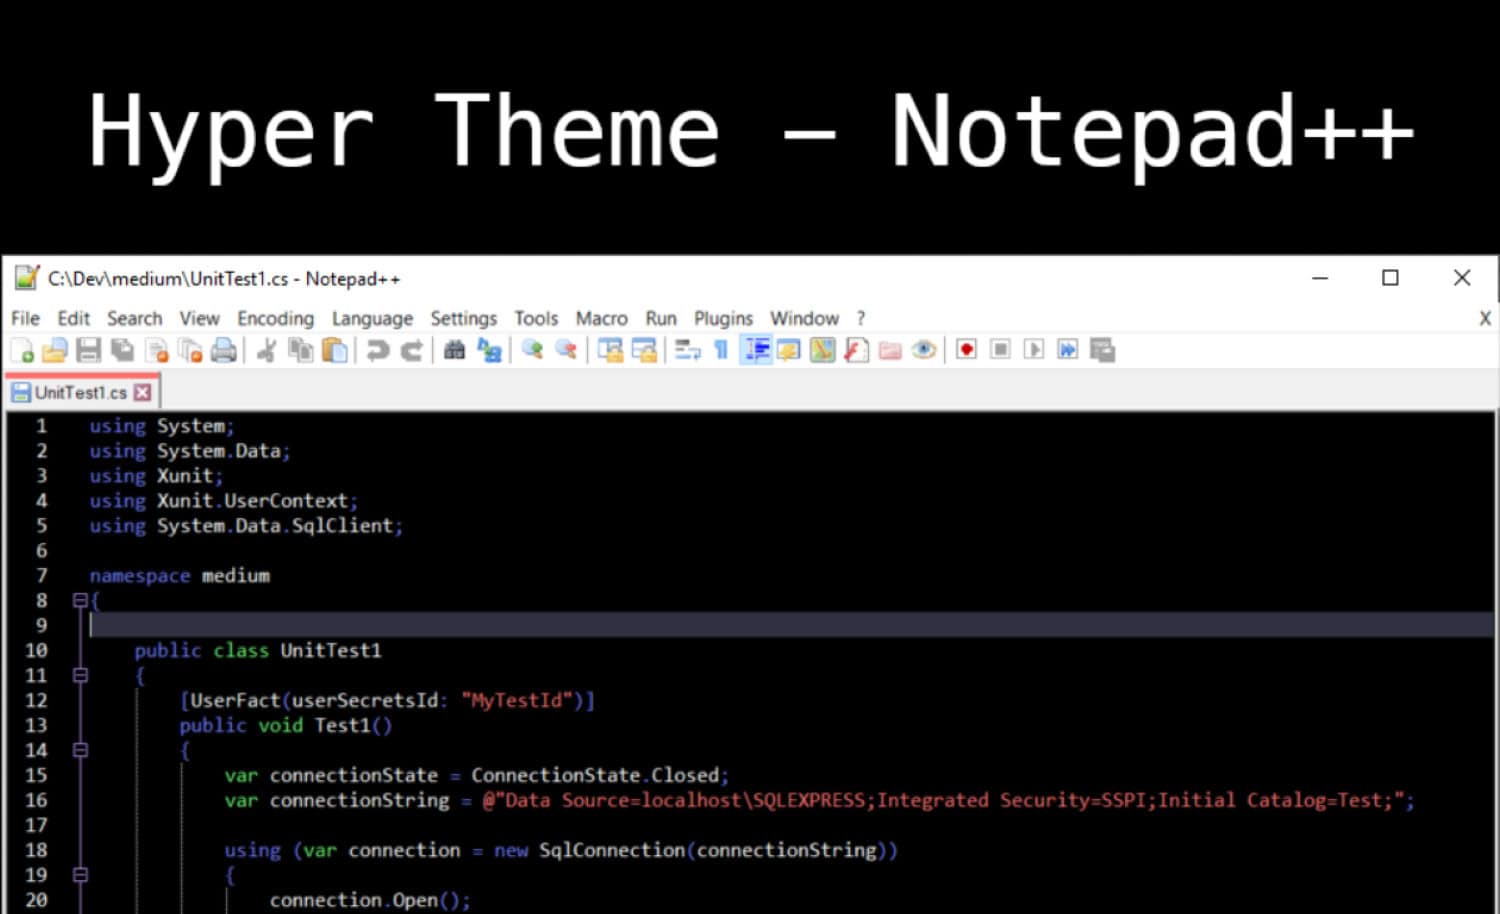
Further, the text color changes to contrasting white for better visibility. Moreover, it looks bold and perfect if you constantly work in low-light areas. There are several types of Notepad++ dark themes present online for your use. However, we will cover the basic version known as Notepad++ dark mode.
How to Apply Notepad++ Dark Mode
We assume you know the various themes available in the system for your convenience.
Also, make sure to have the Notepad++ software on the computer or laptop before moving further. The steps for the same are,
Step 1
Open the Notepad++ application on your computer and write some random text for the configuration check.
Moreover, you can also choose to open a new or existing file.
Step 2
Click on the Settings tab that you can find on the header of the application.
Some users also refer to the header bar as the File Menu.
Step 3
You will find several options but click the Style Configuration button.
Step 4
Next, a new page with the various settings menu will open on the screen. Further, tap on the Select Theme option to open the dropdown box.
Step 5
Choose the appropriate theme that you need to apply to the software. Some common Notepad++ dark themes are BlackBoard, DeepBlack, and Twilight.
Step 6
Further, you can customize the theme according to your needs using the Color Style menu on the panel.
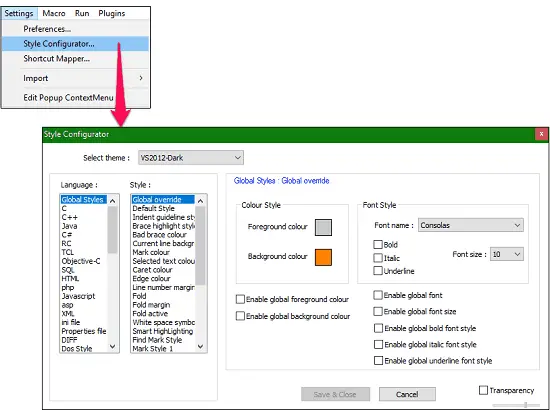
It will improve the dark article on Notepad++ accordingly.
Step 7
Once you are ready with the final settings, click the Save & Close button to apply the changes. Also, you can restart the Notepad++ application with the changes still present. Therefore, you don’t have to follow these steps again.
FAQs
Can I use alternative text editors with a dark mode instead of Notepad?
Yes, there are several alternative text editors or code editors available that offer dark mode or customizable themes, such as Sublime Text, Visual Studio Code, Atom, or Notepad++. These editors allow switching to a dark theme for a more visually comfortable coding or writing experience.
Can I use third-party tools or plugins to enable dark mode in Notepad?
No, no official third-party tools or plugins are specifically designed to enable dark mode in Notepad. As Notepad is a basic text editor, it does not support extensive customization or plugin capabilities like other advanced editors.
Is there a registry tweak or workaround to enable dark mode in Notepad?
No, no known registry tweak or workaround can enable dark mode in Notepad. The visual appearance of Notepad is limited to its default settings, and there are no hidden options or settings to modify the theme or color scheme.
Can I use a high-contrast theme in Windows to make Notepad appear darker?
You can use a high-contrast theme in Windows to make Notepad appear darker. Windows provides high-contrast themes that can be enabled in the personalization settings. However, note that using a high-contrast theme may affect the appearance of other applications and the overall user interface.
Are there alternative lightweight text editors with dark mode?
There are several lightweight text editors with dark mode options, such as Notepad2, Notepad3, or EditPad Lite. These editors offer a similar light experience to Notepad but provide additional features and the ability to switch to a dark theme.
Can I request Microsoft to add dark mode functionality to Notepad?
You can provide feedback or feature requests to Microsoft regarding Notepad, including requesting dark mode functionality. Visit the official Microsoft Feedback website or participate in the Microsoft Community forums to share your suggestions and ideas for future improvements to Notepad.
Conclusion
It is all about how to enable Notepad++ dark mode on your Windows computer. Also, you can check out various other themes in the dropdown box. Try every piece before finding the most effective for your software. We hope you can now change the theme on Notepad++ without any potential issues.
See Also: 3 Methods To Remove WinRAR Password Without Software
