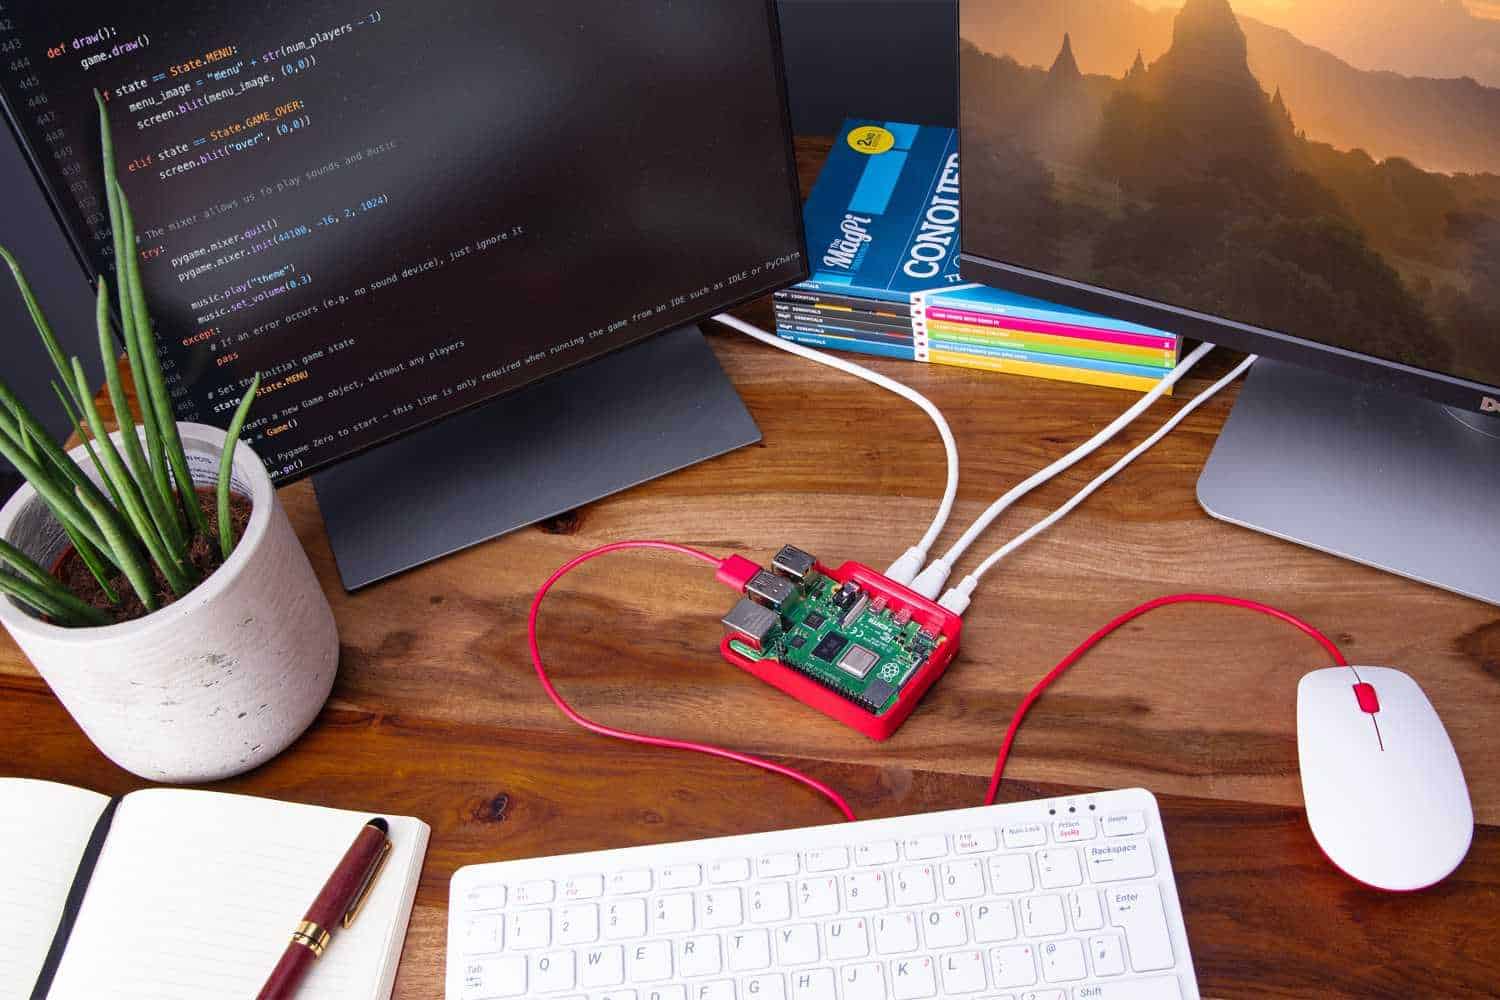
Small and affordable, the Raspberry Pi is a versatile computer that has grown in popularity. For those who want to test the platform or develop software applications, purchasing an actual Raspberry Pi device is seldom feasible or practicable. Setting up a Raspberry Pi emulator for Windows computers might be an excellent solution.
Emulate the Raspberry Pi utilizing QEMU, an open-source machine emulator and virtualizer, at the side an assortment of other systems. You must download and introduce the QEMU emulator program and a Raspberry Pi image file to set up a Raspberry emulator for Windows. The Raspberry Pi picture record incorporates the working framework and program components required to function the emulator.
Once you’ve got these two things, you are almost set to have a Raspberry Pi emulator for Windows; you’ll alter the QEMU command that dispatches the emulator, permitting it to stack the Raspberry Pi picture record and run the Raspberry Pi computer program on your Windows machine.
Table of Contents
Requirements for Raspberry Pi emulator for Windows
The following are the requirements for Raspberry Pi emulators for Windows:
- A computer running Windows (Windows 10 or later is preferable).
- A Raspberry Pi image file
- An emulator (QEMU will be of use)
- Basic familiarity with the Windows command prompt
How to set up Raspberry Pi emulator for Windows
This article will portray setting up a Raspberry Pi emulator on your Windows machine. If you need to play with a Raspberry Pi but need vital equipment, you will mimic the encounter utilizing an emulator.
This is supportive in case you attempt out an idea before contributing to equipment or in case you need to construct a computer program without getting to genuine devices.
Step 1: Download the Raspberry Pi image file.
You will require a Raspberry Pi image record with the required working framework and applications to utilize an emulator. You may discover picture records in many different locations. However, the official Raspberry Pi website is the finest option.
- Choose the working framework you want to use by visiting the Raspberry Pi downloads page at their official website.
- This instructional exercise will utilize the desktop form of Raspberry Pi OS (32-bit).
- To download the picture file, press the “Download” option.
- When the download over, unfasten the information of the record you downloaded to an area on your computer.
- Note down the record way since we’ll require it later.
Step 2: Download the QEMU emulator
We’ll imitate the Raspberry Pi equipment utilizing QEMU, an open-source emulator.
The official QEMU site is where you will get the Windows adaptation of the software.
- Select the Windows form on the QEMU download page.
- Tap the “Download” interface to begin introducing the file.
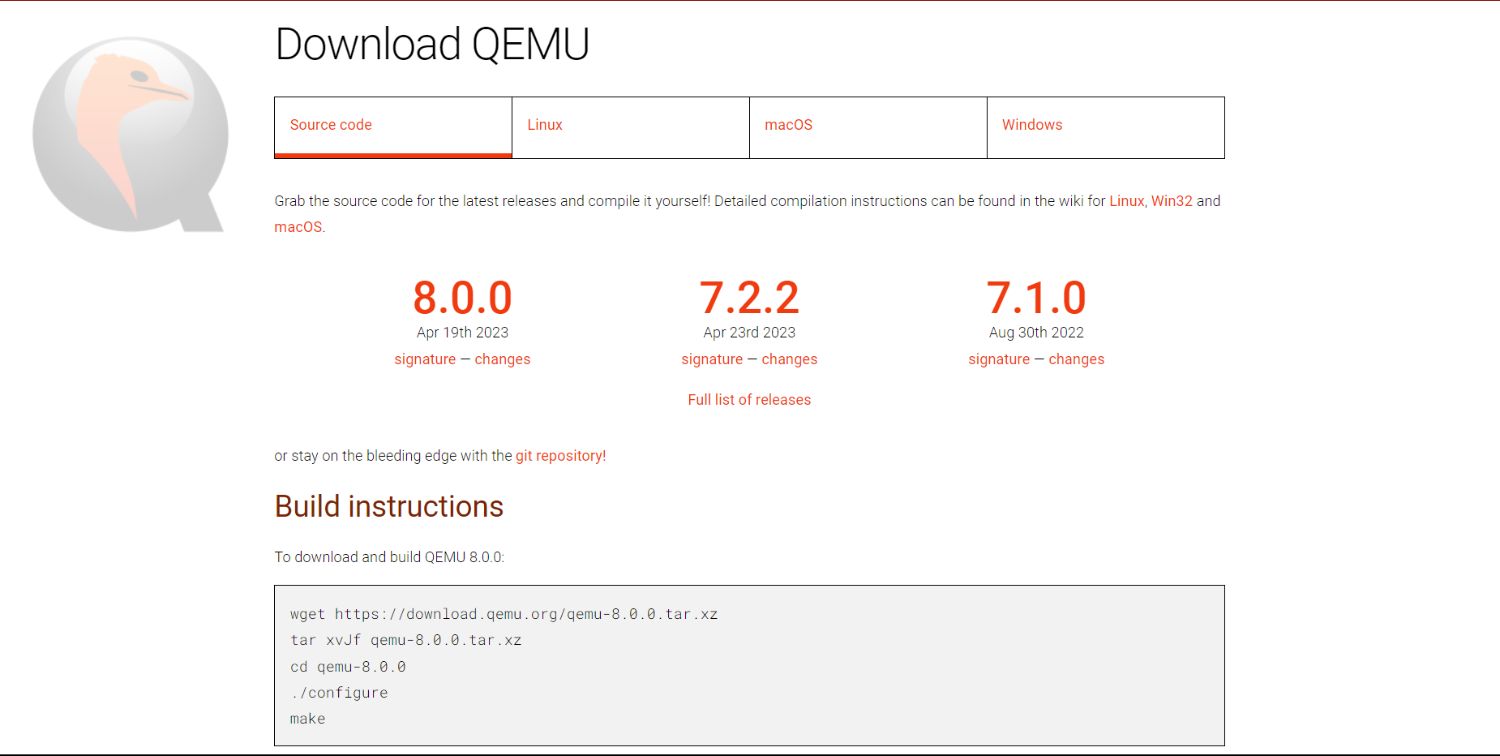
- When the download is over, unfasten the file’s information to an area on your computer.
- Note down the file path since we’ll require it later.
Step 3: Introduce the QEMU emulator.
We have to set up QEMU to imitate the Raspberry Pi picture record presently that we have the emulator application and the picture record for the Raspberry Pi emulator for Windows.
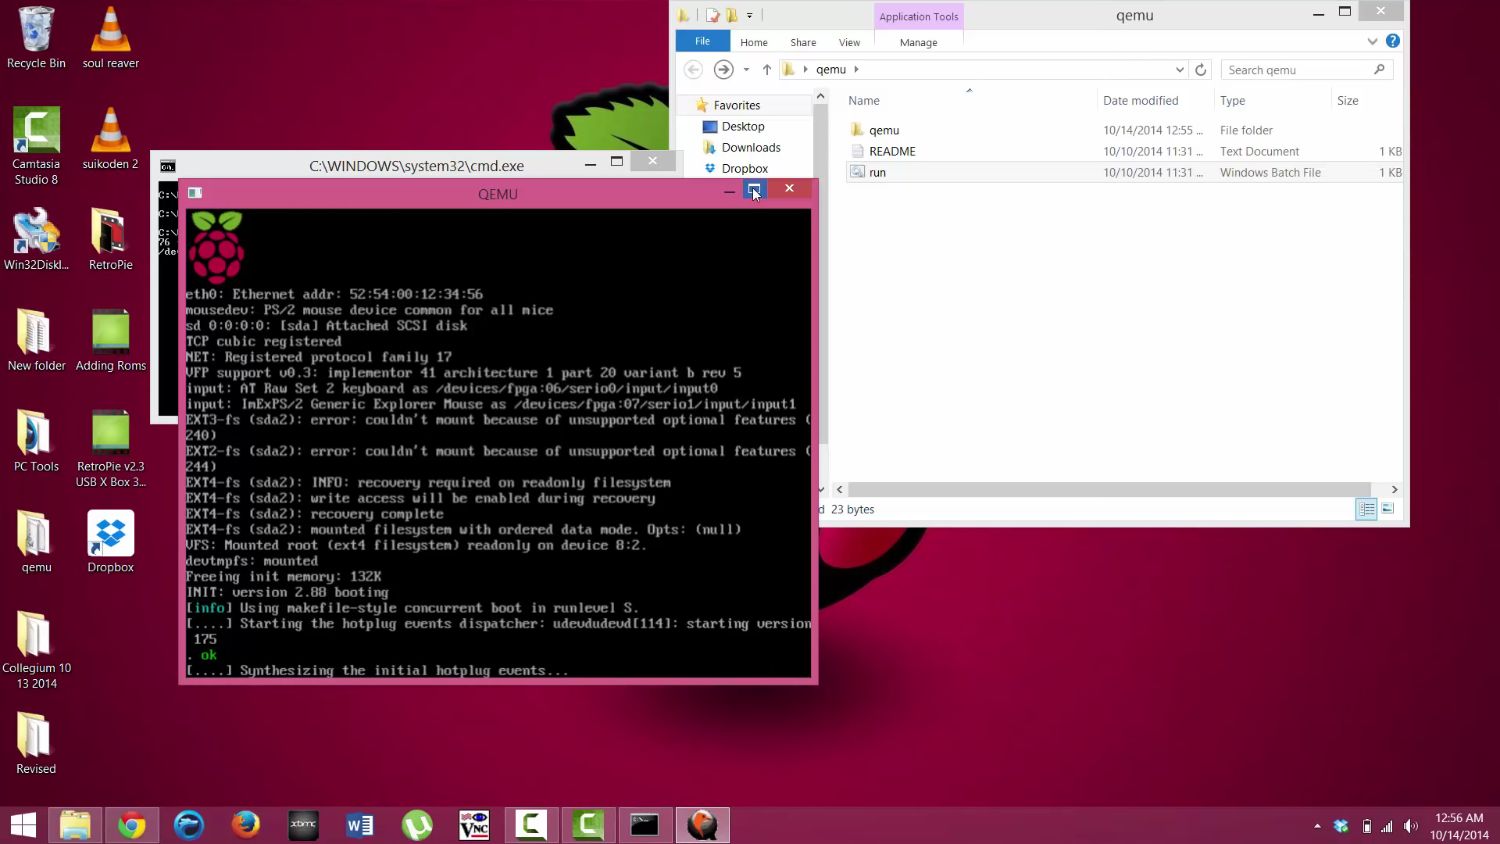
- You will dispatch the command provoke on Windows by hitting the Windows key and R and entering “cmd” within the Run exchange box.
- Use the “cd” command to urge to the QEMU directory.
- If you extricated the QEMU records to “C:QEMU,” you’d enter “cd C:QEMU.”
- For the emulator to dispatch, utilize the taking after command:
CPU arm1176 -m 256 -M qemu-system-arm -kernel kernel-qemu-4.19.50-buster Drive “file=raspbian.img,index=0,media=disk,format=raw” with the command versatilepb -serial stdio -append “root=/dev/sda2 panic=1 rootfstype=ext4 rw”
Note: The command above presupposes you extracted the image file to the same directory as QEMU and are running Raspberry Pi OS (32-bit) on your desktop. You must adjust the command if you’re using a different picture file or extracting it to another directory.
- Press Enter after entering the command. The Raspberry Pi image file will begin booting QEMU once it has started.
- The desktop environment will appear within the emulator window when the Raspberry Pi is completely booted.
- Talking about emulators, If you are a big fan of them you might want to check out windows emulators for mac.
Step 4: Configure Raspberry Pi Settings
Following the emulator’s launch, you may configure the Raspberry Pi with Windows 10 settings precisely as you would on an actual device. Software installation, display setup, and Wi-Fi setup are all required.
- By selecting “Wi-Fi Settings” by clicking on the network symbol at the edge of the display, you may set up Wi-Fi. Once your network username and password have are entered, click “Connect.” The Raspberry Pi can now connect to your wireless network.
- Choose “Preferences” > “Screen Configuration” by clicking the Raspberry Pi symbol at the side of the display.
- Here, you may modify the resolution and orientation of the display.
- Launching the terminal and installing the program may be done by clicking the terminal icon on the taskbar. For instance, to install the Chromium web browser, you would execute the subsequent command:
- Install chromium-browser using sudo apt-get
Step 5: Save the Image File After Modifications
When you quit the emulator, any modifications to the Raspberry Pi’s settings or software installs won’t be retained. You must take a “snapshot” to save these modifications to the picture file.
- Press Ctrl + Alt + 2 to switch to the QEMU monitor in the emulator window.
- To make a snapshot, type the following command:
savevm my_snapshot
Note: You are free to substitute any name for “my_snapshot.”
- To return to the emulator window, press Ctrl + Alt + 1.
- The snapshot file will be updated with any modifications you make to the Raspberry Pi’s settings or software installs. You can load the snapshot file to continue where you left off the next time you use the emulator.
See Also: 10 Raspberry Pi Zero Projects That You Should Consider Implementing
 Step 6: Startup Snapshot Load
You must change the command to start the emulator to load the snapshot file automatically.
- Open a text editor, such as Notepad.
- Replace “my_snapshot” with the name of the snapshot file you made when entering the command line:
CPU arm1176 -m 256 -M qemu-system-arm -kernel kernel-qemu-4.19.50-buster Drive “file=raspbian.img,index=0,media=disk,format=raw” -loadvm my_snapshot with versatilepb -serial stdio -append “root=/dev/sda2 panic=1 rootfstype=ext4 rw”
- Save the document under the name “start_emulator.bat” in the same directory as QEMU and the image file for the Raspberry Pi.
- The emulator will launch with the snapshot file loaded when you double-click the “start_emulator.bat” file, letting you pick up where you left off.
FAQs
What exactly is a Raspberry Pi emulator?
Using a Raspberry Pi emulator, you may run Raspberry Pi software on a Windows or other computer without an actual Raspberry Pi device. This software program simulates the hardware of a Raspberry Pi.
Why would I want an emulator installed on the Raspberry Pi?
Setting up an emulator could be helpful for testing projects and developing software without needing to spend money on actual Raspberry Pi hardware. It may also be a way to try out the Raspberry Pi operating system without having access to a computer directly.
How can I emulate raspberry pi on Windows? What kind of software is needed?
To set up a Raspberry Pi emulator on Windows, you'll require the QEMU emulator application, a Raspberry Pi picture record, and a substance editor to alter the QEMU command utilized to run the emulator.
Where can I download the QEMU emulator?
On the official QEMU location, www.qemu.org, you'll download the QEMU emulator.
Where can I get a record containing a Raspberry Pi image?
You may download a Raspberry Pi picture record from the official Raspberry Pi location at www.raspberrypi.org. You must select the Raspberry Pi form you need to imitate and download the planning picture record.
Conclusion
Setting up a Raspberry Pi emulator for Windows is an extraordinary approach to playing with the Raspberry Pi stage without getting to a physical gadget. By setting up the QEMU emulator and mimicking the Raspberry Pi equipment, as this article portrays, you will test ventures and make a computer program without buying any equipment.