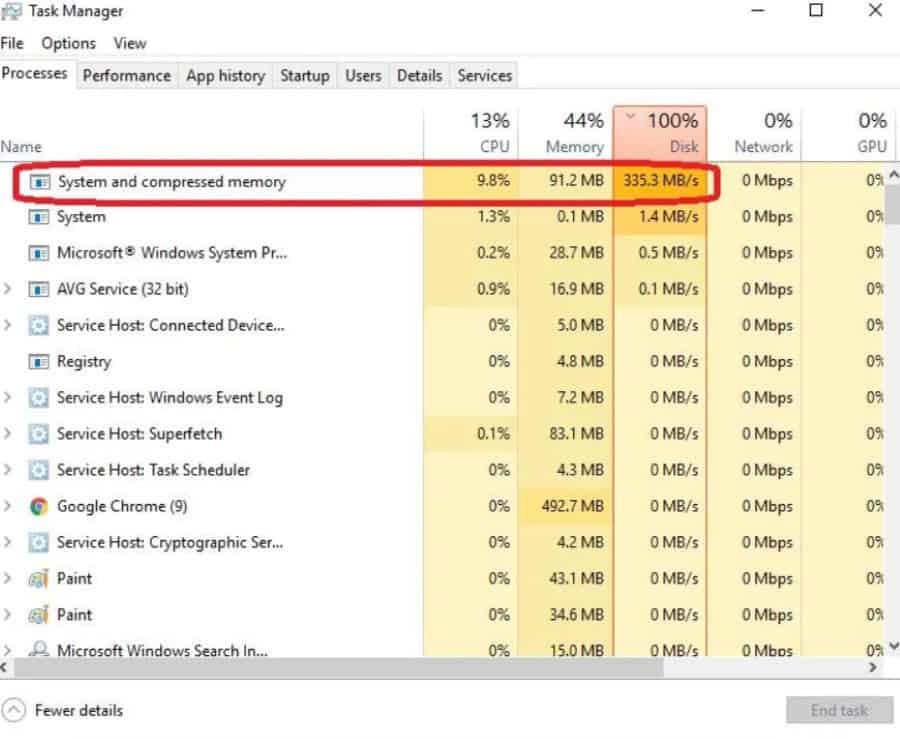
If you are operating on a Windows 10 platform, you would have encountered an issue where your disk space is 100% used up by the system and the compressed memory. By default, the System and Compressed Memory are supposed to use a part of the CPU and disk. But, sometimes, it uses up all the disk memory, causing your system to run slowly and ceasing a few processes.
The management of RAM and the compression of files and folders are under the system’s purview and compressed memory. The System and compressed memory processes consume 100% of the impacted disc if you mess up the virtual memory settings, such as switching the paging file size from Automatic to a specified value.
When the RAM is complete, the system gradually slows down. To fix this issue, you can follow the solutions below, and we guarantee that one or the other solution will improve your problem with disk usage.
Table of Contents
How to Solve 100% Disk Usage by System and Compressed Memory Error
If you want to return to the pages saved on the hard drive, the system imports the page back into the memory. This slowed the system when pages were frequently required to be sent to the hard drive.
In Windows 10, to avoid such imports, a new concept of compressed memory has come. When the RAM is complete of pages and has no memory left to allow new pages to process, the older pages are compressed to a smaller size, freeing up space for the more recent pages. Here, there is no necessity to use external memory to store page files.
All the files are stuffed up in the main memory itself. Therefore, it is considered 100% disk usage whenever the RAM is filled with processes.
This concept of 100% disk usage is not a bug. It is a technique used by the developers to speed up the processes that are newly added to the queue. In earlier versions of Windows, if your RAM was filled up with strategies, the least used pages were copied into a page file and stored on the Hard drive to free up space.
There are so many ways in which you can solve this problem. We have listed all the ways below that can help to resolve this matter. You can go through and apply whichever suits you best. You can also Check out the Best RAM Cleaner For PC.
Set the Paging File Size to Default
If your paging file size has changed by any chance, a memory compression problem might occur, resulting in 100% disk usage due to larger page file sizes. To set the paging file size to a default value, follow the following steps:
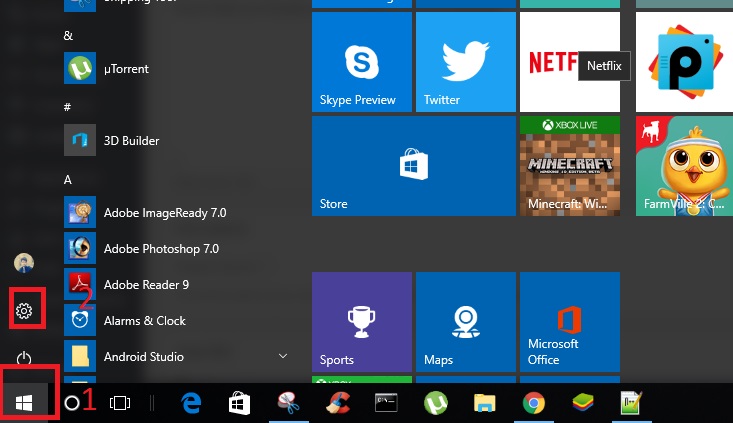
- Open Start Menu.
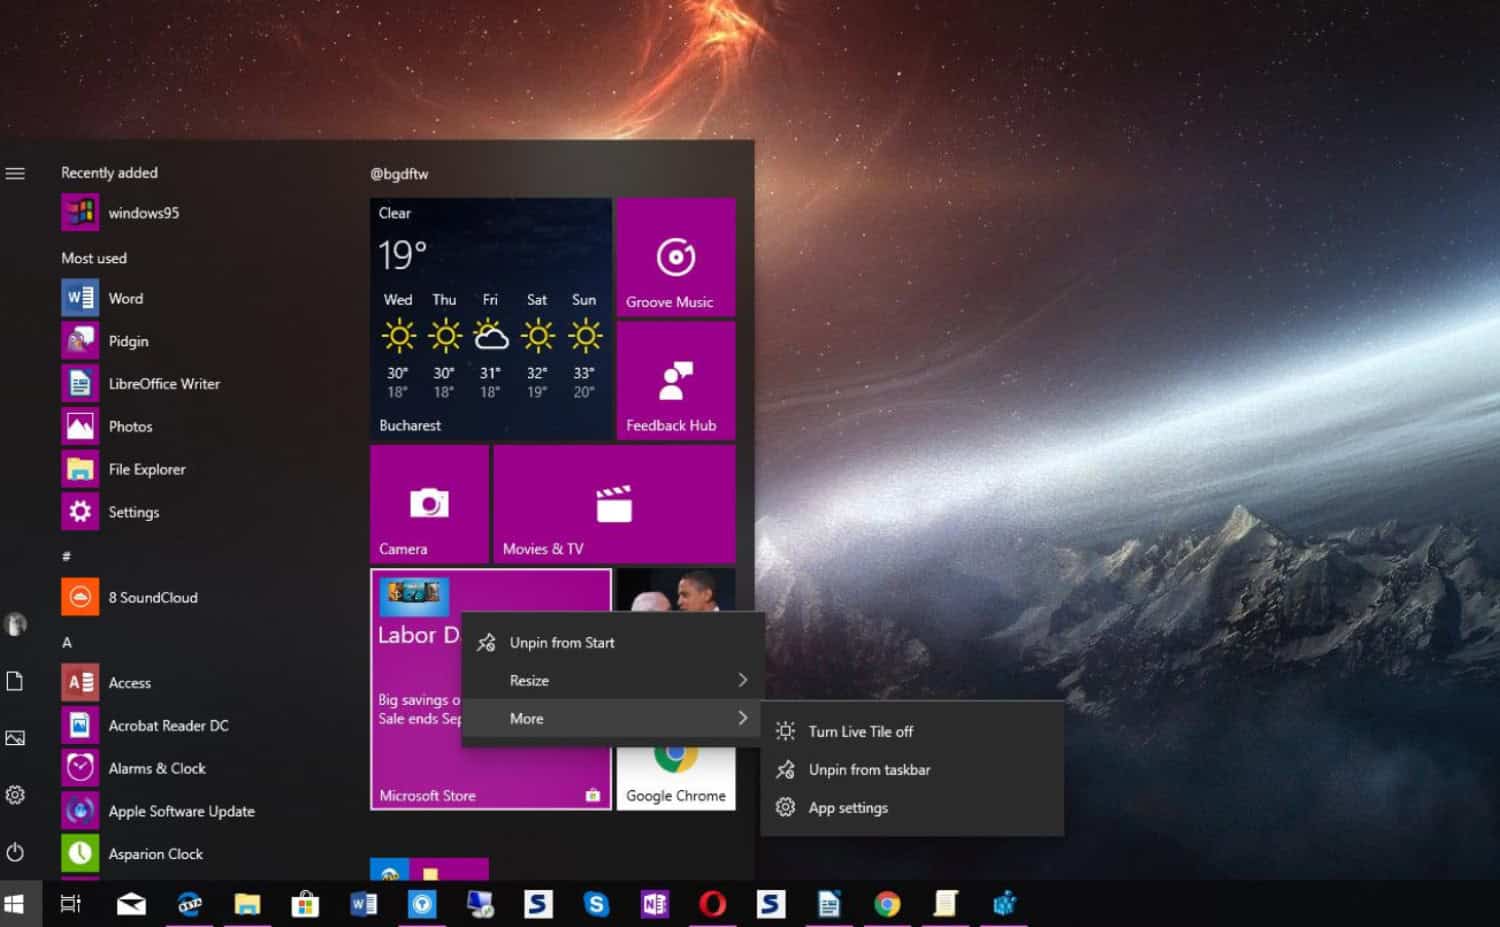
- Click on settings in the left pane.
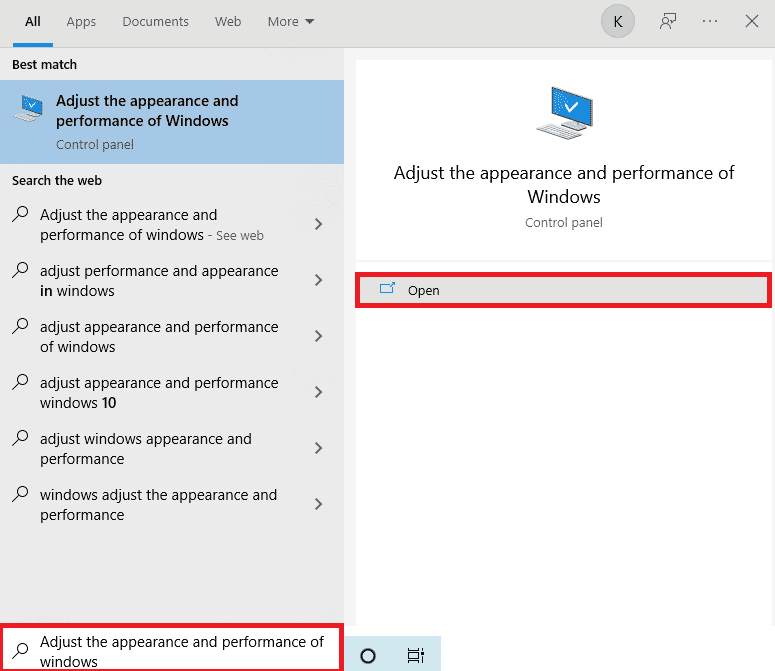
- Type ‘Performance‘
 in the search bar.
 - Select ‘Adjust the appearance and performance of Windows‘ from the results obtained by the search operation.
- A dialog box with the name
 ‘Performance Options‘ will come up.
 - Navigate to the ‘Advanced‘ tab. Under the virtual memory, click on the ‘Change‘ button.
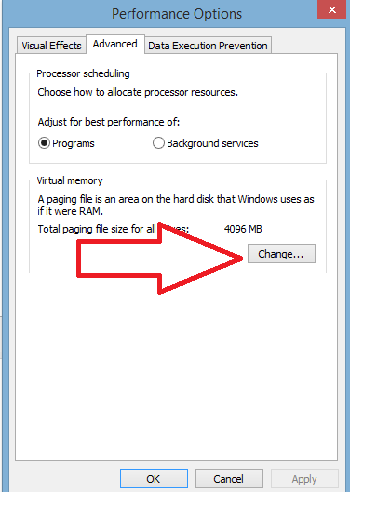
- In the virtual memory window, check the Automatically manage paging file size for all drives option and click OK. If it is complete, click OK.
- A restart request is prompted after clicking on ‘OK.’ Restart the computer and check if the disk usage has reduced its percentage.

See also: What is Hidden Cache in Android And How to Clear It
Scan if There is Any Virus and Malware
Viruses and malware can be a threat to systems in many ways. Underlying viruses and malware can be the reason for System and Compressed Memory’s high disk usage. You can download any antivirus compatible with your system.

Run through and scan your whole system. It will detect and clear the virus. Restart your system and check the design and compressed memory disk usage.
Turn off the System and Compressed Memory Process
The system and compressed memory is the main component that uses most of your disk space. To reduce disk usage, the best option is to stop the process.
- Open Control Panel.
- Open Administrative Tools.
- In the Task Scheduler, click on ‘Task Scheduler Library‘ to expand its contents.
- Click on Microsoft to expand its content too.
- In the left pane, click ‘Windows‘ under Microsoft to expand its contents.
- Under Windows, click ‘Memory Diagnostic‘ in the left pane to view its content in the right pane.
- Right, click on ‘RunFullMemoryDiagnosticEntry.’
- Click on ‘Disable.’
- Now, restart the computer and check if the disk usage is still high.
See also:[Fix] 100% Disk Usage By System and Compressed Memory – TechWhoop
Disable the SuperFetch Service
SuperFetch service is used to monitor the system’s performance. But sometimes, it may degrade the overall performance while monitoring other tasks. Disk usage is one such task that might impair performance. So, to enhance your overall system performance, disable the SuperFetch Service.
- Windows Logo key + R to open run.
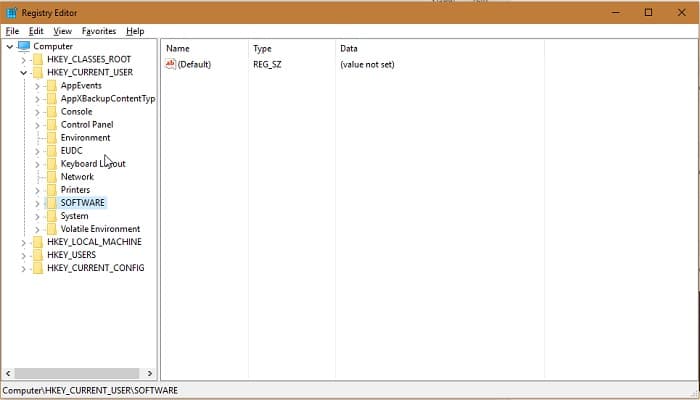
- In the run window, type regedit and press enter to open the Registry Editor.
- In the left pane, click on HKEY_LOCAL_MACHINE.
- Under HKEY_LOCAL_MACHINE, click on SYSTEM.
- Under SYSTEM, expand CurrentControlSet.
- Then navigate to Control >> Session Manager >> Memory Management.
- Under Memory Management, click PrefetchParameters to view its contents in the right pane.
- In the right pane, open EnabelSuperfetch and replace the value with 0.
- Click OK. Close the registry and restart the system.
See also: – 6 Best Diagnostic Computer Software Tools to Download – TechWhoop.
Killing the Speech Runtime Executable process
It is found that a process name speech executable runtime process can also cause system high disk usage. When the speech runtime executable process is the main problem, killing can help your system. To kill it, You can resolve this issue by following the below-mentioned steps:
- Launch task manager by pressing ctr+shift+esc

- Find the speech runtime executable in the process tab of the task manager.
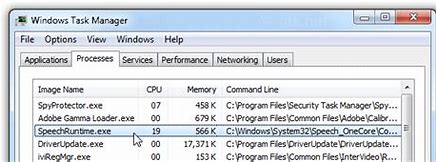
- For the last step, click on end task.

Speech runtime executable process can pop up multiple times as it is a system process. In this case, you have to repeat the steps mentioned above repeatedly to kill the system runtime executable process.
See Also: How Much Hard Drive Do I Need? | Types Of HDD And Usage
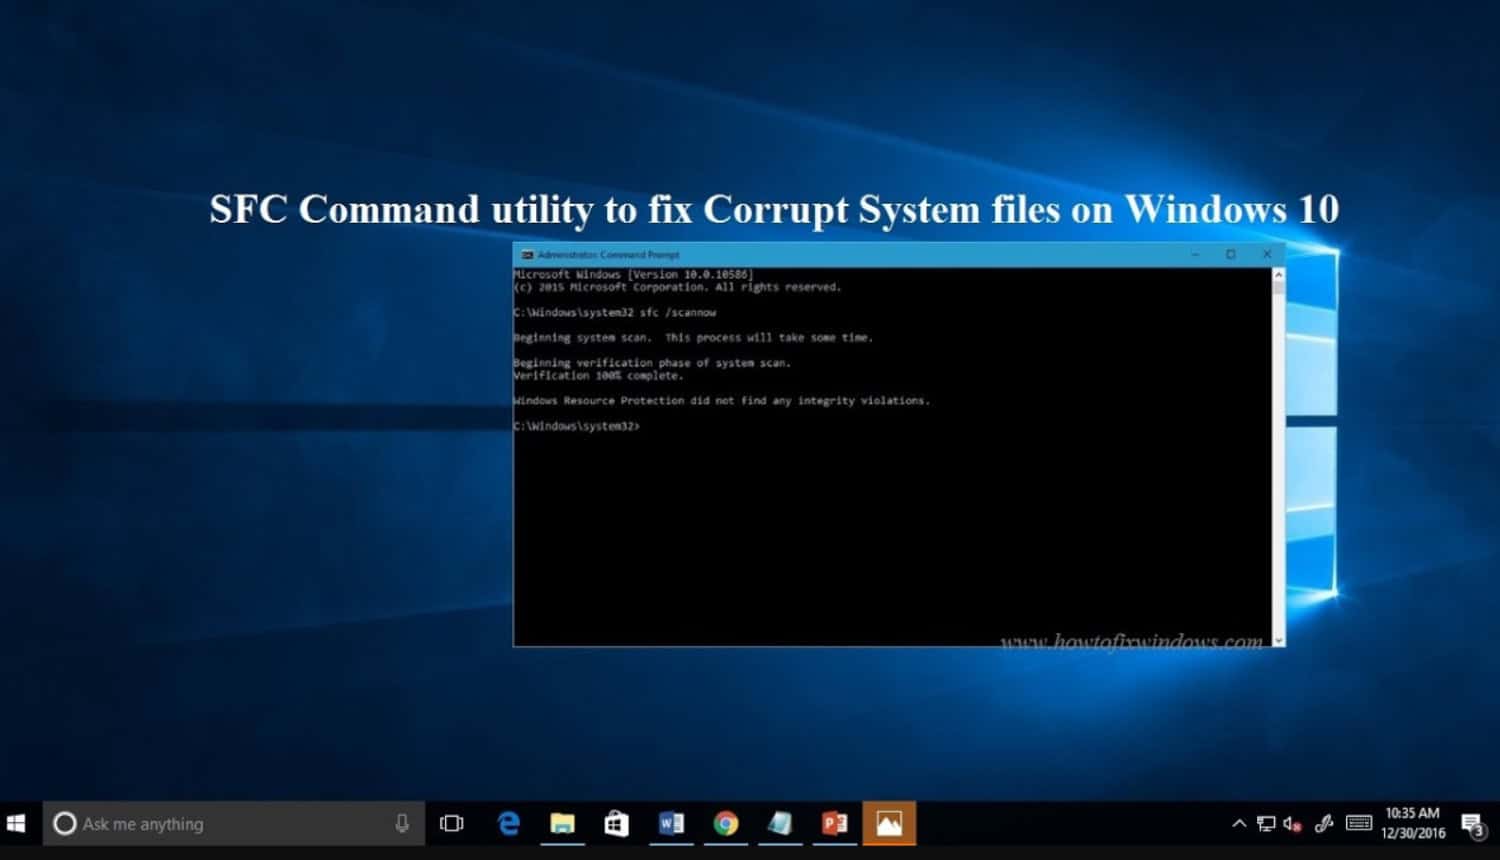
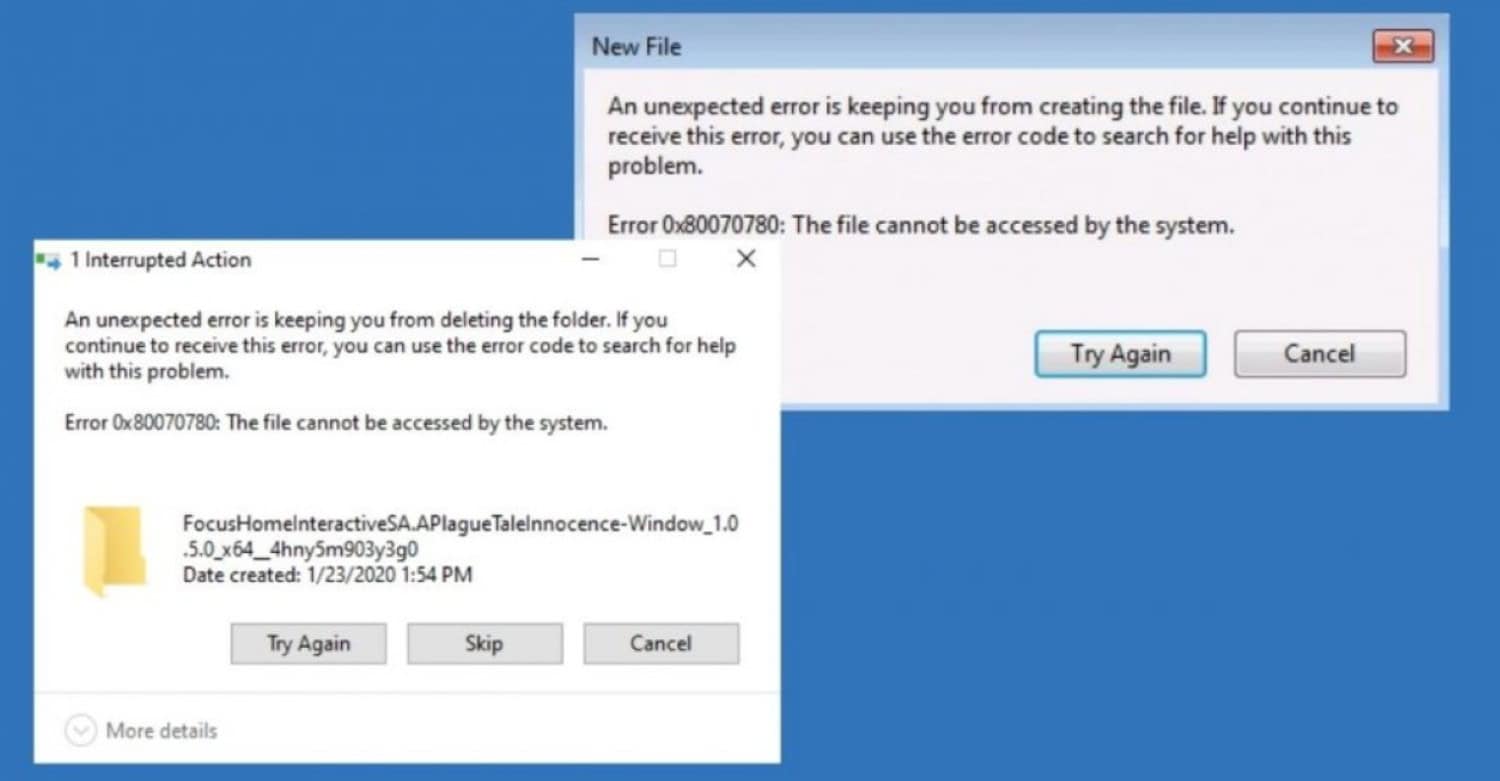
Repair the corrupt system files.
Scan through your system and check for any corrupt files. If you find any corrupt files, try to repair them. Delete the files that are not working even on the repair. Now check the disk usage. If it is still high, try the following alternative solution.
If none of the above solutions have worked out, these fixes might help you:
See Also: What CPU Supports DDR5? Leading Models for 2023
Add extra RAM to your system
If additional memory attaches to the RAM, there will be no need to compress to save extra space for new pages.
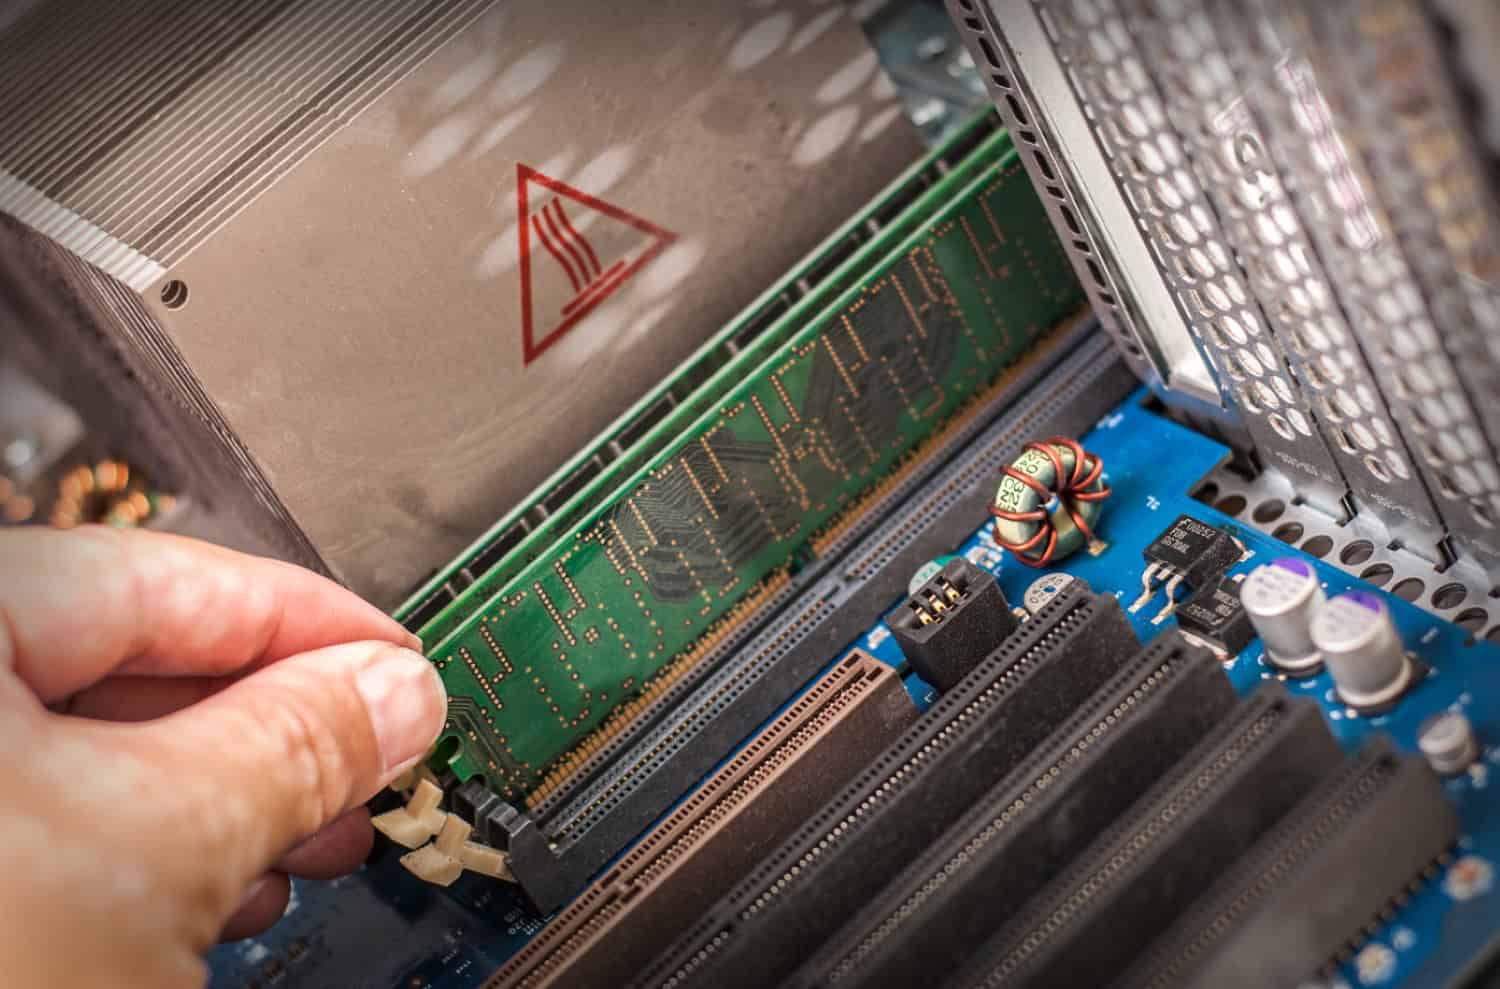
The RAM will still have room for new pages to occupy.
Uninstall unnecessary applications
If you have any unnecessary applications that are just junk, uninstall them.
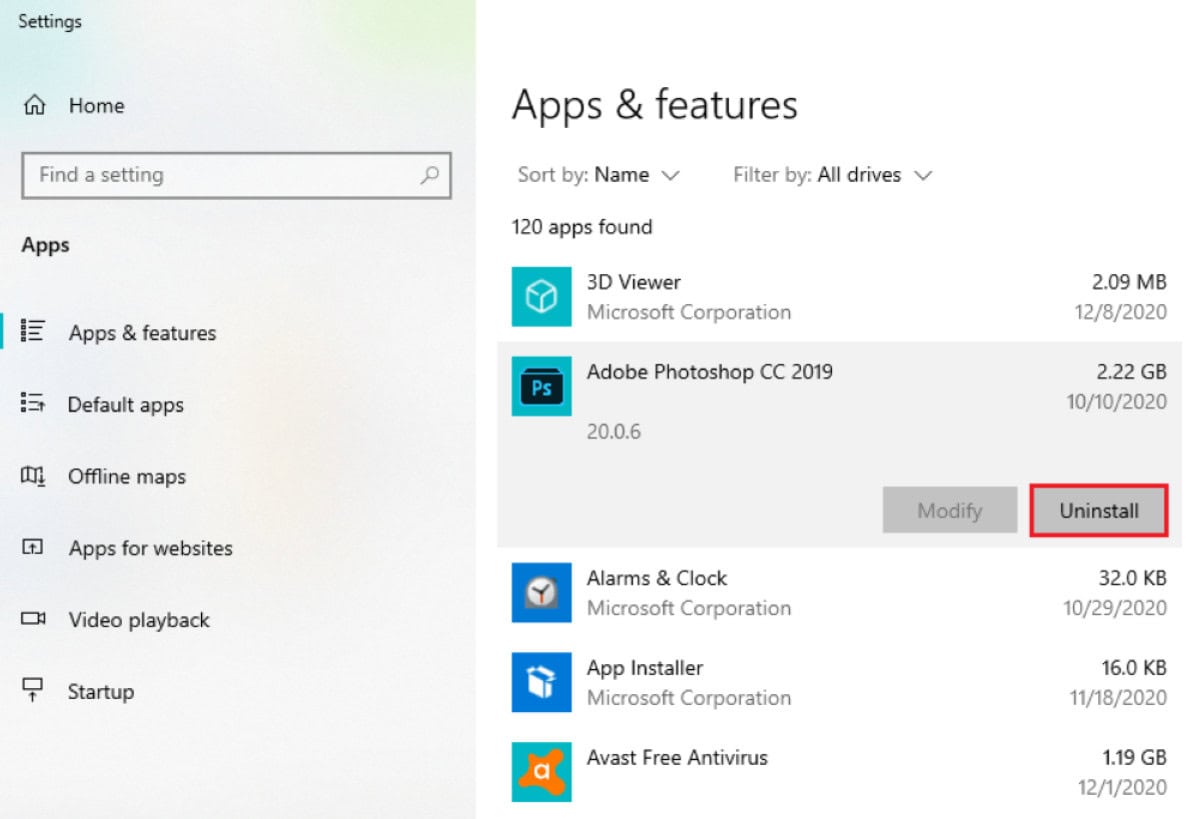
It saves some space in the memory; the disk is not complete with running processes.
Do not keep open any unnecessary software or tabs.
Kindly close any applications or tabs when not in use. Also, this lessens the overhead on the CPU, and the memory is freed.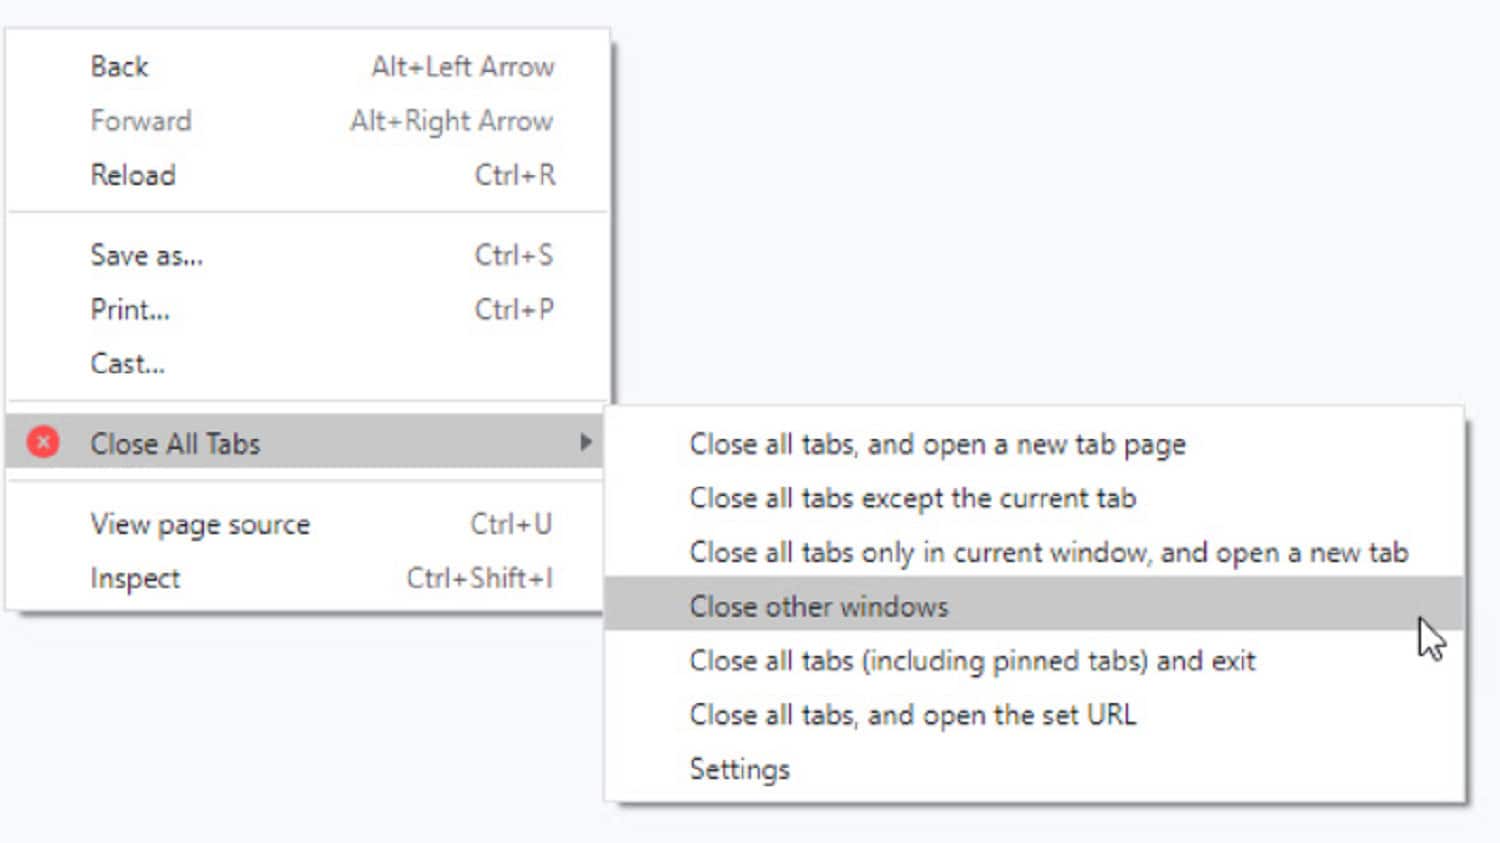
Thereby, the system remains a bit faster than earlier.
Update Whenever the Notification Comes
Constantly updating your system is another way to avoid this issue.
Whenever there is any update, click on it, as it will help and give more disk space.
FAQs
What do you understand when it shows disk usage is 100%?
When you see that your disk usage is showing 100%, then it means that there is no space left. You will start noticing that your system speed is degrading. It affects your system speed drastically, so you have to follow some steps to correct it.
What is the reason behind 100% disk usage?
There are many reasons why your disk usage is showing 100%. Due to limited ram space, the virus entered in your system, space owned by so many apps, so many tabs or browsers open at one time, etc., there can be so many reasons behind this problem.
Conclusion
So, when you notice your system is running slow, don’t forget to check the system and memory disk. If you find a problem, follow all the steps mentioned here to resolve this issue. We have also noted some tips to help you avoid this problem beforehand.
