Tired of seeing serious faces in your photos? Want to bring more joy and laughs to your image collection? Then join us as we show you how to easily add a smile to any picture using essential editing tools. By the end of this tutorial, you’ll be an expert at putting grins on your favorite photos. Let’s get started with how to add a smile to a photo.
In Photoshop, enhance smiles naturally by brightening teeth and plumping lips with the Spot Healing Brush. Use Dodge and Burn tools to accentuate laugh lines and wrinkles subtly. Remember to save regularly and aim for an authentic, natural-looking result. To know more about easy ways to add a smile to a photo, keep on reading.
As more and more of our lives move online through social media and dating apps, having engaging photos becomes crucial. A big, genuine smile is one of the simplest and most effective ways to make a great impression at a glance. Yet many people forget this or don’t realize how much their smile shapes how others perceive them. This article will discuss why smiling is so important for photos and share some quick tips photographers use to draw out smiles that are relaxed, natural and friendly looking. You can also Check Out our lists of the Best apps to convert low quality pictures into HD and Teeth Whitening Apps.
Table of Contents
Understanding the Basics
A smile is one of the simplest ways to make a great impression, yet mastering effective photo smiles takes some understanding of basic principles. Let’s see the crucial role of smiles in photographs.
The Role of Smiles in Photography
When it comes to compelling photos, the smile is one of the most important elements. Yet many don’t realize the profound impact our smile – or lack thereof – can have. Studies show that smiling people are more appealing, approachable, and accessible to connect with at first sight. They seem happier, fun-loving, and like someone you’d want to know.  A candid photo shows authenticity and sparks curiosity about a person’s true character. A joyful smile conveys warmth, confidence, and positive energy – even if you’re unaware. It lights up your whole face, making snapshots come alive. This explains why smiling portraits get more likes online and profile imagery sells. People want to engage with smiling individuals who project cheer. A smile is a universally recognized sign of openness, approachability, and friendliness. It communicates that you’re welcoming without words.
See Also: 14 Best Text-to-Speech Software with Natural Voices
What Makes a Smile Look Natural in Photos?
Getting smiles that look relaxed yet engaging takes practice. Most of us overthink and accidentally create awkward, unconvincing grins. The key is to think of something amusing instead of staring ahead stiffly. Let your smile reach your eyes through crinkles at the sides instead of a lip-only smirk. Loosen your jaw so it doesn’t look strained. Practice smiling big so you feel comfortable doing smaller smiles where needed. Help foster natural shapes through candid shots versus posed ones. Enlist a friend’s silly jokes or pretend your favorite pet did something adorable.  Authentic smiles even look good with eyes closed. Relaxed faces and smiles elevate everyday photos into memories you’ll cherish and want to share. With practice, your smile can compliment you and boost your confidence for all photos. The beauty is that these principles work no matter what type of photos you take!
See Also: Laser Eyes Meaning and Crypto: How and Where It Started?
Tools and Software Options
Let us see the available tools and software options on how to add a smile to a photo.
Free and Online Tools
Browser-friendly options offer accessibility. Fotor’s web app retains image quality while letting non-techies globally access essential but effective tools. Touch up, lighten, and enhance smiles across devices freely. Pixlr also hosts a free online smile photo editor for tweaks on desktop or mobile without downloads. Both represent user-friendly ways of enhancing any photo with just a browser. 
This overview of excellent available tools empowers you to take smiling photos to another level! With practice and software aid, smiles become as polished and professional as needed. Check Out the Best Face Morphing App.
Professional Software for Smile Editing
While genuine smiles are best, sometimes photo edits come in handy. Apps like Adobe Photoshop and Lightroom offer advanced controls for precise smile editing.  In Photoshop, tools like the Spot Healing Brush and Clone Stamp are great for removing distractions or brightening teeth. You can also make subtle adjustments to lip curves, cheek dimples, and eye crinkles. Lightroom has mouth and eye presets to enhance smiles with a single click. Both apps give professionals flawless retouching but require learning curves. Still, smiles transformed digitally can look naturally candid versus a fake smile put on for the camera.
See Also: How To Put A Watermark On A Photo Without Photoshop-Top 5 Tools
Mobile Apps to Add Smiles
More straightforward mobile tools allow amateur photographers to brighten smiles too easily. FaceApp leads with neural network-powered photo filters that convincingly transform faces. It has natural-looking smile sliders that are useful in a pinch. YouCam Perfect offers dynamic selfie lighting and filters alongside “smile score” feedback showing which angles resulted in bigger grins. Playing with these playful face modifiers can guide understanding smiles better yourself, too.
Preparing Your Photo for Editing
Understanding photos’ potential starts with choosing the best raw materials.
Selecting the Right Photo: Choosing images where smiles already look great sets you up to let them shine. Pick candid shots where sparkling eyes and crinkles accompany relaxed lips pointing slightly up at the ends. Consider photos with flattering lighting, poses, and angles that let smiles stand out naturally. Rule out distracting backgrounds or partial faces chopped off that take from smiles’ impact. Visually pleasing photos start the process right. 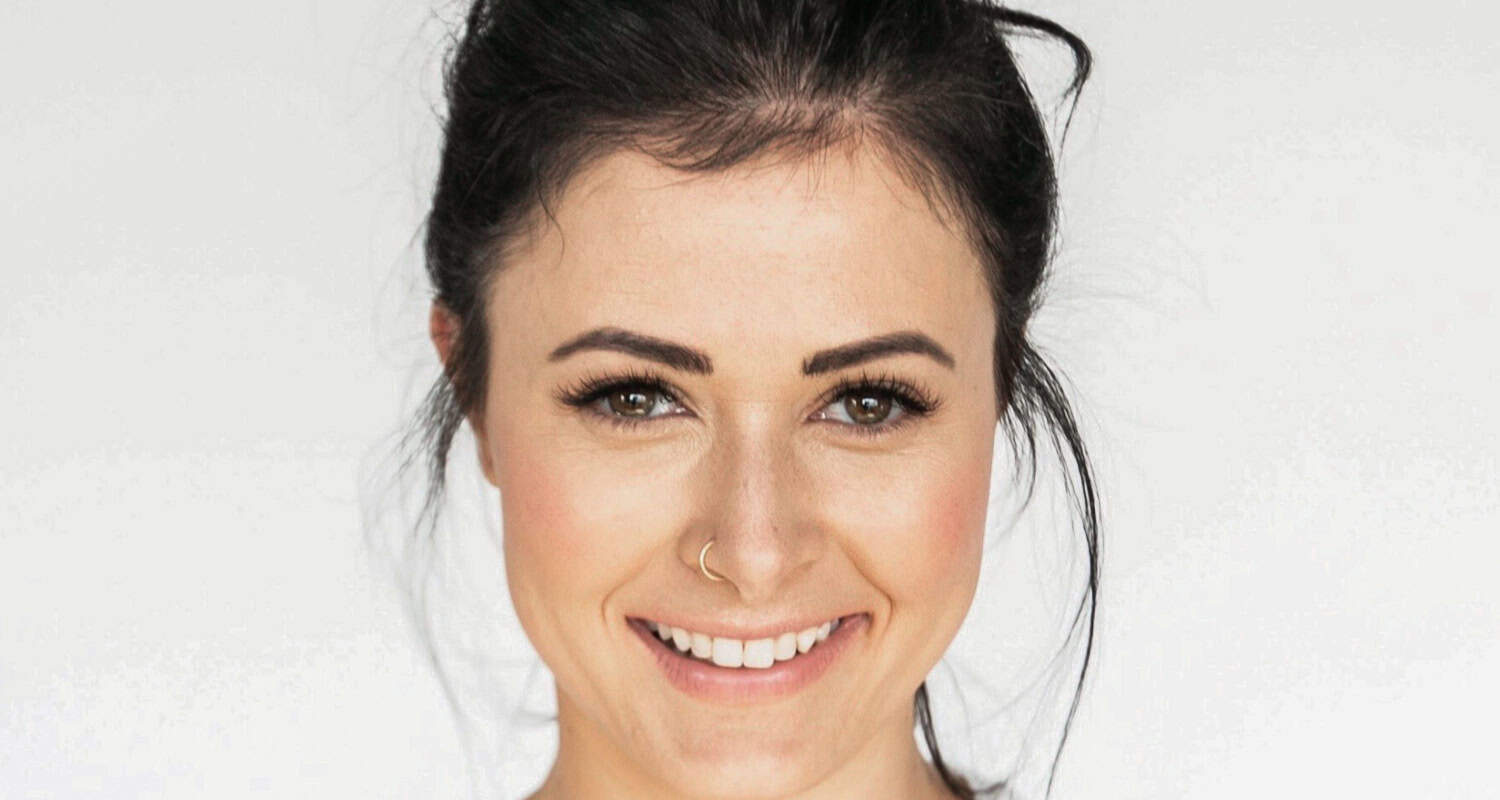
Basic Adjustments Before Adding a Smile: Even perfect snapshots benefit from light touch-ups first. Crop tightly to focus attention on smiles. Exposure and white balance ensure faces aren’t too bright or shadows don’t obscure details. Some contrast or clarity enhancement can make eyes pop, and lips stand out more before smile-specific tweaks. Any needed dust or blemish fixes lift distractions so smiles glow unobstructed. With photos ready, you’re optimized to let smiles shine through targeted but subtle enhancements that don’t jeopardize authenticity.
See Also: 3 Apps To Save Snapchat Videos Instantly
Step-by-Step Guide to Adding a Smile
Let us see a step-by-step guide on adding a smile.
Using Photoshop to Add a Smile
In Photoshop, let’s enhance smiles effectively yet naturally. Start by isolating mouth zones with the Lasso tool. Then use Spot Healing Brush set to Content-Aware around 20-30% opacity to brighten teeth and plump lips lightly. Taking patience prevents overdone results. Now for delicate eye work – zoom in close and apply Dodge and Burn tools, each at 10-15%, to accentuate laugh lines and wrinkles. 
Dodge on the outer eye corners draws eyes up into pleasing shapes. Burn inside the eyelids brings depth. Play with curve or blemish tools to define Cupid’s bow and dimples more. Check that the contrasts aren’t too stark before moving on. Subtle differences make grins feel authentic. Save regularly to avoid any unhappy accidents. Your enhanced smile should feel intrinsically natural versus obvious or fake.
Also, you can add a smile to a photo using PhotoDiva software; go to the smile editor online and click on the ‘Download PhotoDiva’ button to download the free smile photo editor software. Once installed, open PhotoDiva and import the photo you want to edit by clicking ‘Open Photo’. Then go to the ‘Sculpt’ tab, select ‘Face Sculpt’, and drag the ‘Smile’ slider to the right to apply a smile to the face. You can preview the changes using the ‘Compare’ button and save them by clicking ‘Apply’ and ‘Save’. So this is one of the simplest ways how to make your face smile.
Adding a Smile with Mobile Apps
Mobile apps offer convenient smile editing, too. In YouCam Perfect, opening the eyes wider energizes faces.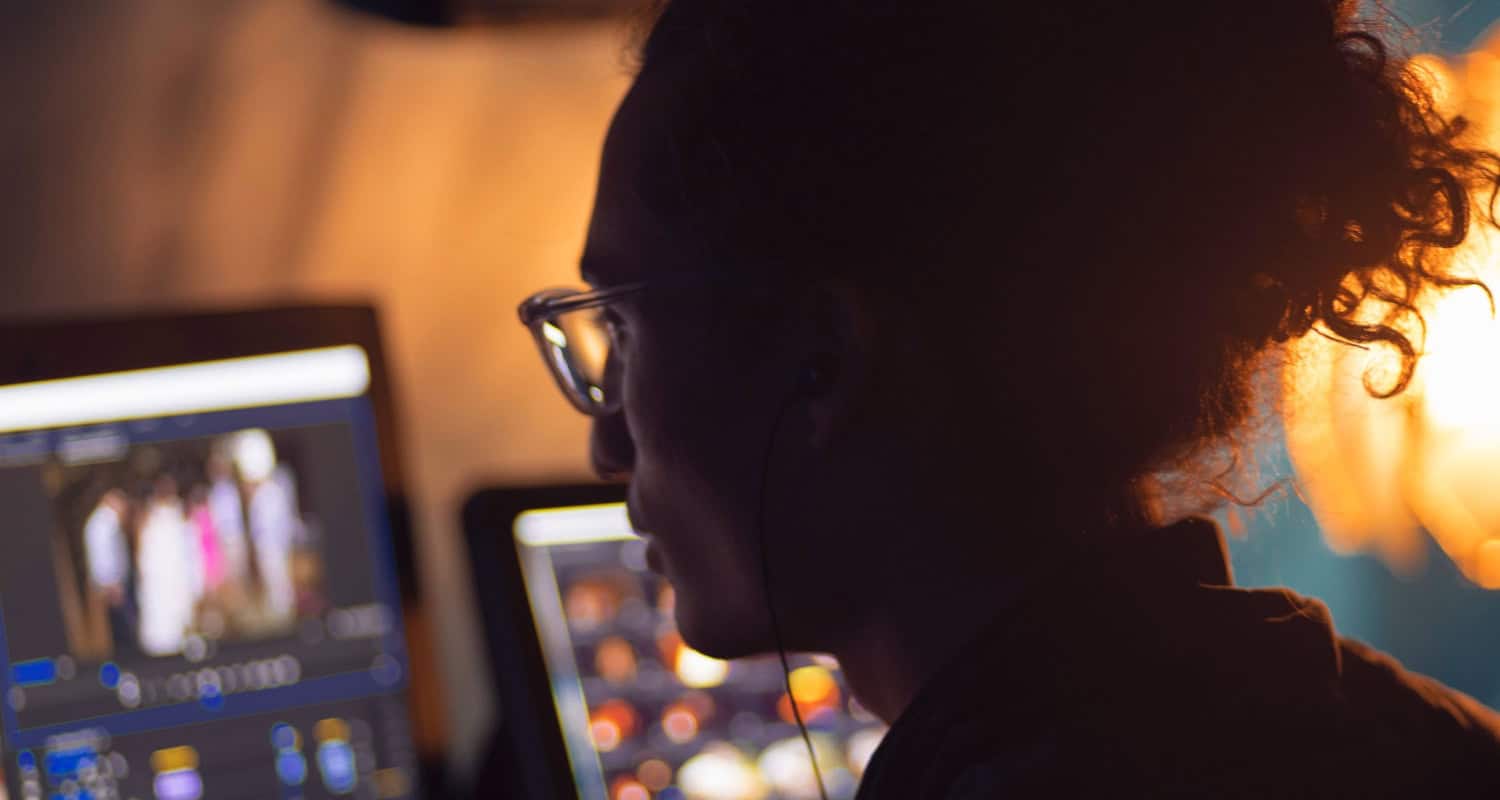 Dragging sliders up for ‘bigger eyes’ and ‘higher brows’ lifts smiles subtly. Adjusting the mouth area sliders spreads lips and makes teeth gleam without looking overdone. FaceApp’s smile filters set at 20-30% strength preserve realism versus a complete cartoon upgrade. YouCam’s handy smile scoring feedback helps recognize poses for the happiest grins, too. Constantly zooming in and closely checking work avoids getting sloppy.
Tips for a Realistic Smile Edit
For any edit, keep touches discrete and barely perceptible versus altering smiles beyond recognition. Less is more – refine rather than redesign smiles. Respect facial geometry and balance versus exaggerated single features. Ensure lighting, shadows, and highlights integrate seamlessly post-edit. Take before and after photos at the same brightness/contrast settings to compare impact accurately. Have a friend review the final images critically for honest feedback and avoidance of over-editing. Your enhanced smiles should look 100% natural, as if candidly captured! So this is how to add a smile to a photo. How To Identify A Person In A Picture? Check Out to know more.
Do’s and Don’ts When Editing Smiles
Read on to know about the do’s and don’ts when editing smiles.
Best Practices for a Natural Look: When enhancing grins, subtlety is key. Do make adjustments in moderation using light opacity brushes versus going overboard. Zooming closely aids precision versus losing sight of smiles’ larger context. Always check edits in context at 100% versus getting sloppy. Do maintain proportions, shadows, and symmetry natural to a person’s bone structure. Real smiles are asymmetrical and imperfectly beautiful, too. Don’t force smiles into unreal expectations of perfection. Play to photos’ original strengths; don’t completely redesign expressions. Maintain each individual’s authentic authenticity instead of cookie-cutter conformity. Do get others’ input on whether edits still look like your genuine self. Final images should feel candid and recognizable versus staged or false. 
Common Mistakes to Avoid: We’ve all made these at some point, so don’t feel bad – learn from mistakes. Don’t over-define single features like perfect teeth alone without supporting changes. Blend tweaks smoothly versus jarring lines. Avoid stark contrasts that cause smiles to appear pasted-on. Don’t stretch or pinch mouths too widely unnaturally. Retain symmetry, and don’t pull one side higher than the other. Watch for uncanny valley alterations where smiles seem almost human but not quite right. Don’t go overboard just because tools allow. Subtlety sells authenticity far better than staged-looking maximum grins. Learn to critique your work objectively versus subjective biases blinding you.
With practice tweaking discreet details simply yet strategically, photo smiles can shine confidently while remaining genuine. Always respect each subject’s natural individuality above sterile perfection, too. Have fun letting the character emerge!
Enhancing Your Smile Edits
Sometimes subtle further adjustments amplify smiles’ pleasures.
Adjusting Brightness and Contrast: In Photoshop, Lightroom, or mobile apps, try playing with Exposure and Brightness or focusing just around the eyes and teeth zone. Increasing a couple of percents more than feels comfortable makes smiles pop well without looking blown out. Similarly, a +5 to +10 contrast boost concentrates smiles’ focal points. Go gently and blend edges smoothly. Too much harshness undermines authenticity. Stay observant for washed-out highlights or blocked-in shadows developing, and dial it back if needed. Subtle lights up expressions perfectly. 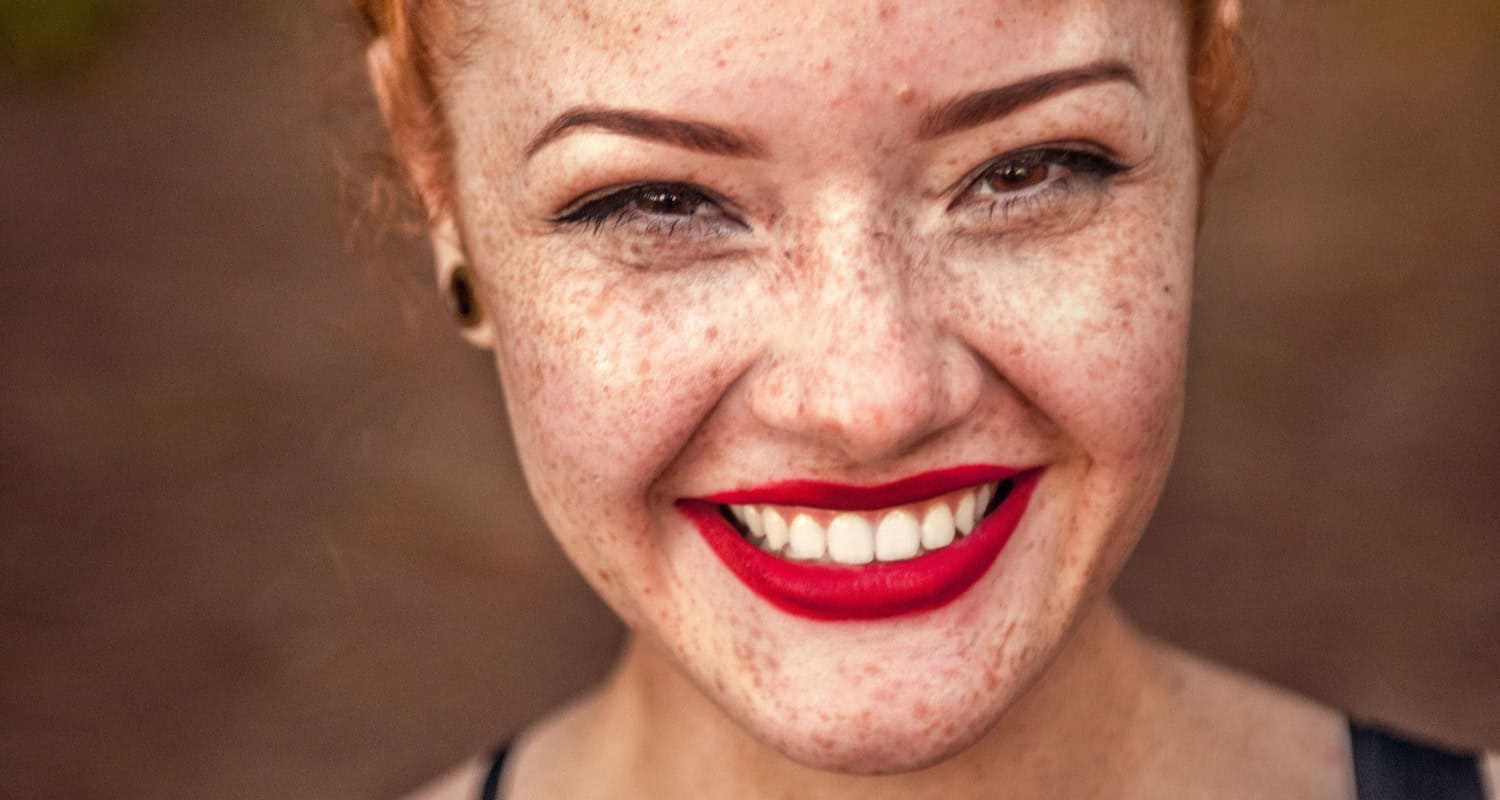
Fine-tuning the Smile: Now’s the time for the most precise tweaks. Carefully nudge lip curves, eye wrinkles, and dimple placements subtly more pronounced with brushes, dodging, or burning. Zoom closely inspecting work hasn’t lost naturalness. Is lighting, shadowing, and symmetry still blended? Enhance one element at a time, checking the whole smile remains balanced. Refine teeth whitening or eye sparkles 5% more gradually to avoid sudden shifts. Expressions are delicate – go slowly to avoid “after” shots looking overprocessed. With care, enhancement lifts smiles’ enjoyment without sacrificing genuineness and warmth.
FAQs
How do I size and position the smile correctly on the face?
To size and position the smiling image correctly, first, zoom in on the base photo’s face for precision. Then, resize the smile graphic to match the dimensions of the real mouth. Carefully align the top and bottom edges of the smile over the vermilion border of the original lips. Adjust placement until the smile graphic looks naturally overlaid on the face.
What tools do I use to composite the smile onto the face?
The primary tools for compositing a smile graphic onto a face are the layers and masking functions. Place the smile on its layer above the base photo layer. Use a mask to hide areas outside the mouth region. Refine the mask border with brushes and gradients. Layer styles like drop shadows can further blend the smile while healing and cloning tools remove artifacts in the transition area.
How can I blend the smile naturally into the skin and lighting?
To blend the smile naturally, match the lighting and colors between the inserted smile and face. Soften hard edges with feathering or blur tools. Adjust levels, saturation, or curves on the smile layer to coordinate tones and hues with the surrounding skin. Use Burn and Dodge tools to reflect subtle contours. Overlaying a filter like Gaussian Blur on a low opacity can also help everything mesh seamlessly.
How do I save the edited photo without losing quality?
It’s essential to save your edited photo in a lossless format to preserve maximum quality. The PNG format is best for maintaining transparency and fine detail. Be sure to save with an optimal resolution for your planned image usage without going too large. For photos, you may continue editing and also keep an evolving PSD file. Always make backups to the cloud to protect your work from device failures.
Conclusion
That covers the basics of enhancing photo smiles through careful editing! While genuine grins remain best, subtle refinement aids visions of joy lighting faces. Give these tips a try – have fun exploring your smiling expressions from improved angles. Most importantly, keep nourishing your confident individual spirit shining through. Thank you for letting me share my passion for capturing smiles’ heartfelt beauty! We hope this article on how to add a smile to a photo has helped you know everything about it.
