JavaScript is a programming language that allows you to implement different things on the web page. It enables you to create 2D and 3D animated images, interactive maps, etc. Thus, you must know how to Update JavaScript now.
JavaScript Update Procedure
- Determine the JavaScript version currently being utilized on your website: You can use the developer tools in your browser to determine which version of JavaScript is currently being utilized on your website.
- Recognize the updates offered.
- Please update your JavaScript files.
- Test and release new codes.
It needs to be updated occasionally; the old version might contain holes that allow malware to reach your computer without you doing anything.
See Also: 7 Best Online JavaScript Validator Tools in 2023
Table of Contents
How to Update JavaScript
Here are some of the simple steps that you can follow to update JavaScript:
Change in settings
The best way to keep your Java updated is to change the update settings and set it to auto-update.
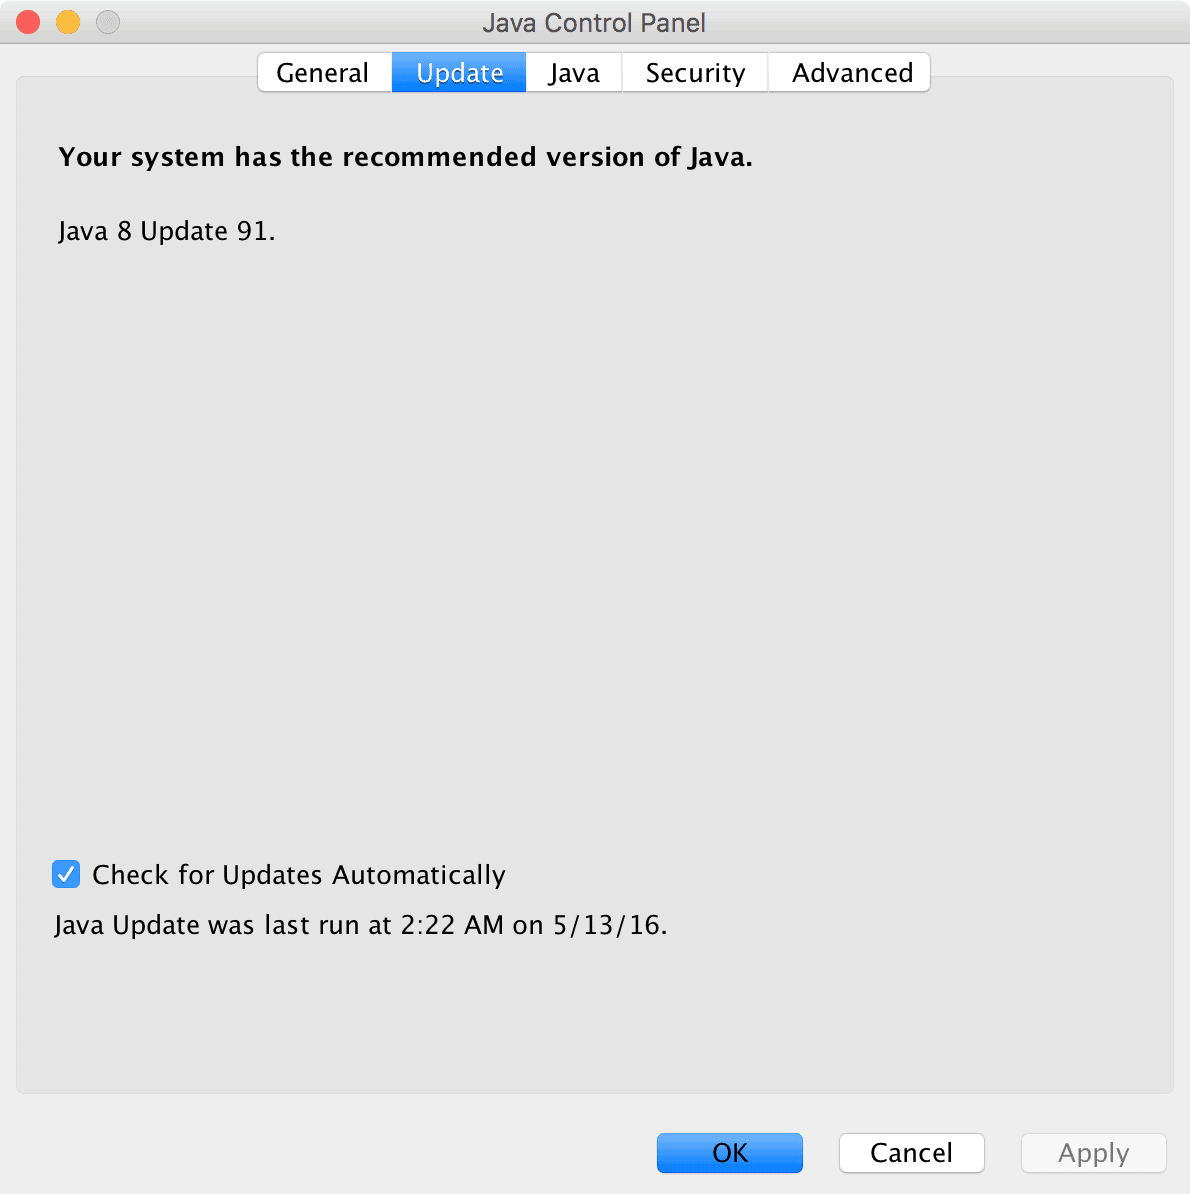
- Go to the control panel and launch Java Control Panel.

- Click on the ‘Update’ to access the settings.
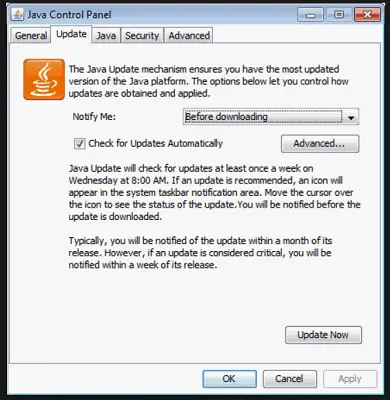
- Press on ‘Check Updates Automatically’ to set it to an auto-update.
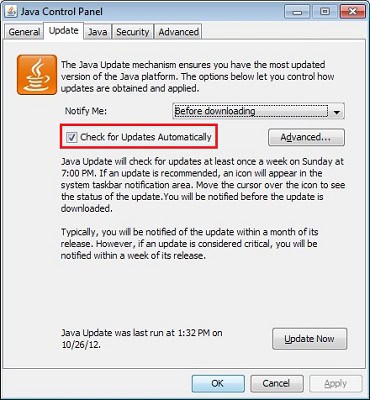
- Click OK to apply changes.
Install Manually
If you face problems with the method above, you can perform a JavaScript update by downloading the latest JavaScript version and installing it manually.
- Open your browser and navigate to the Java website.
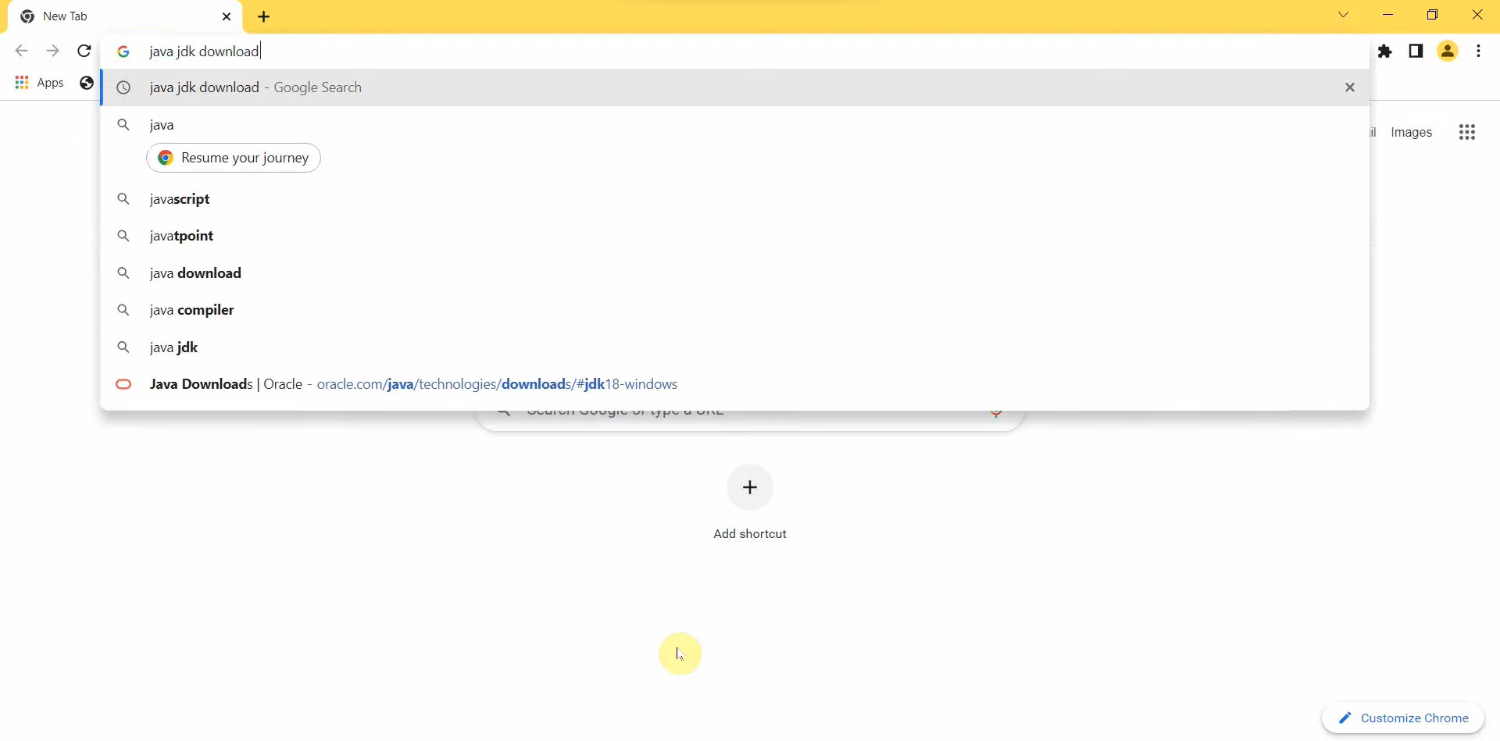
- Click the ‘Download’ button at the top of the screen.
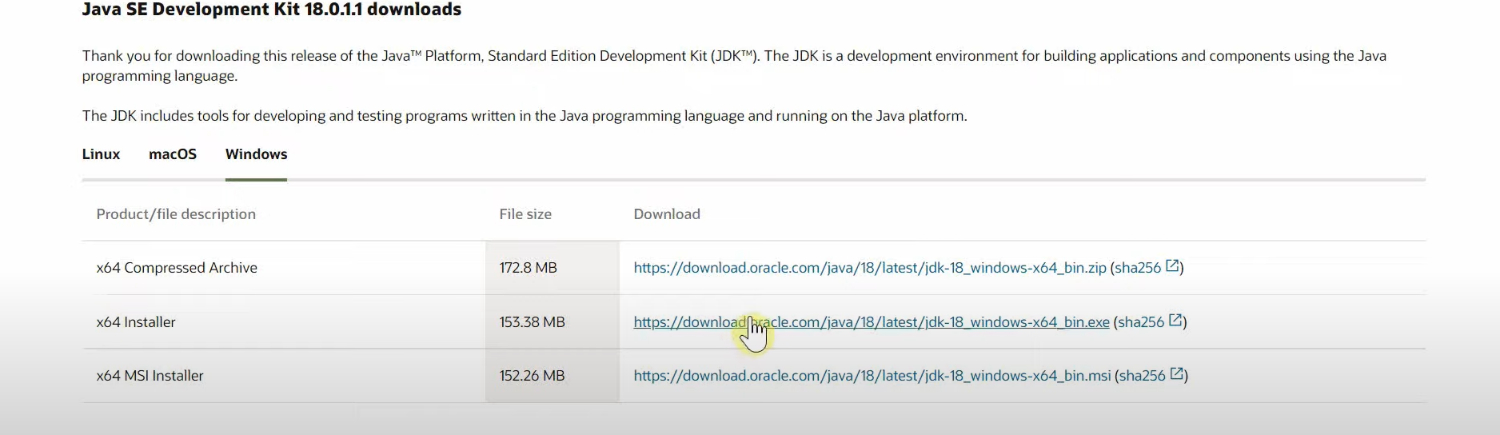
- Once you click the Download button, a window will pop up with the End User License Agreement terms. Click on ‘Agree and Start Free Download’ at the bottom to download the software for free.
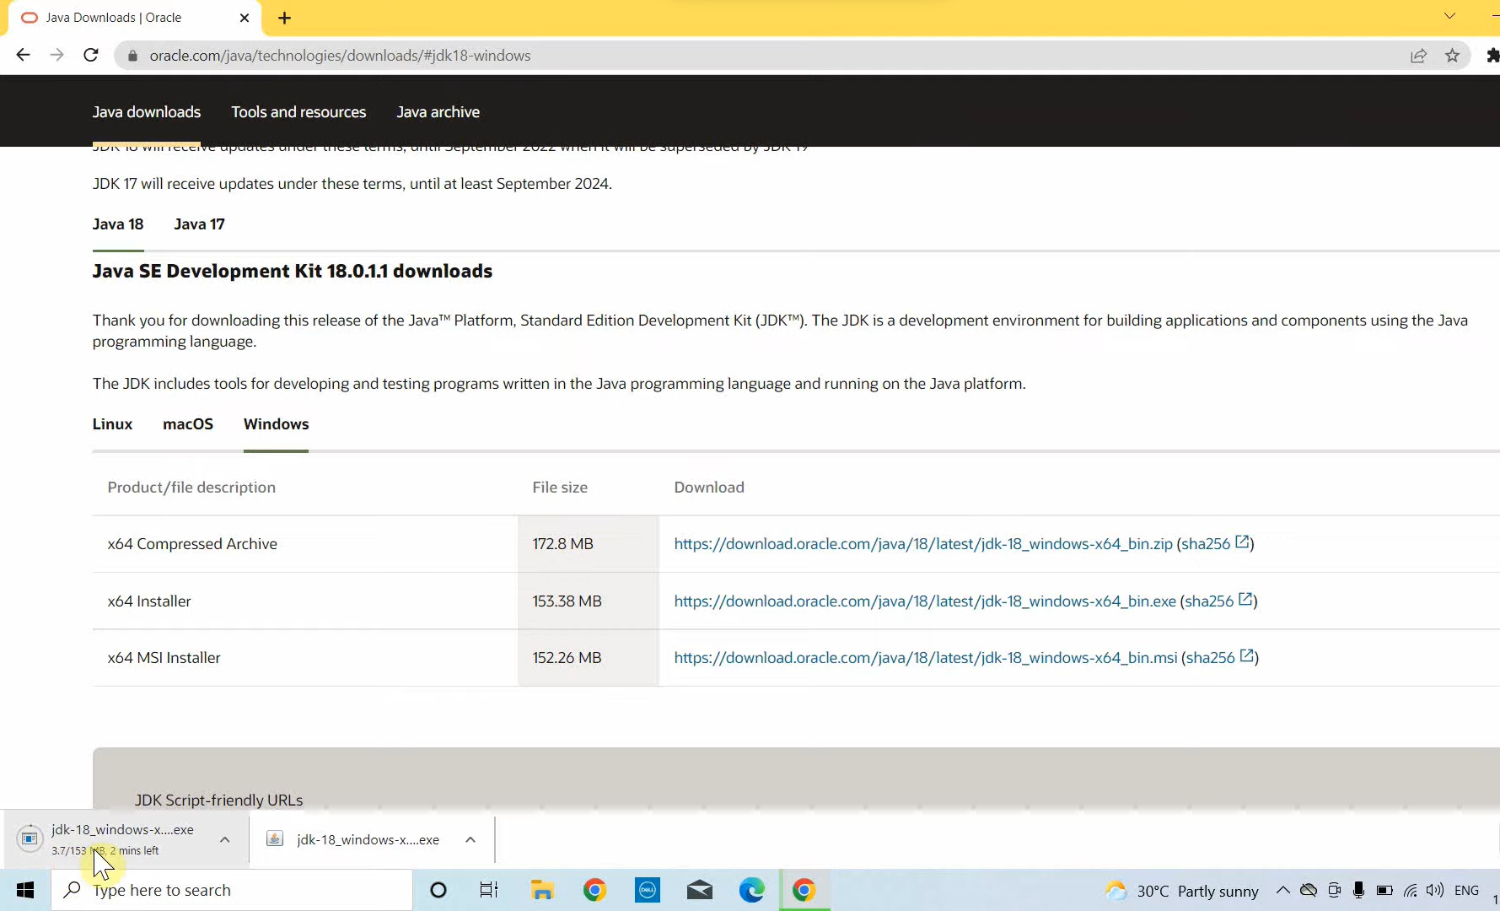
- Choose the file where you would like to save the installation file.

- Now go to that open, double-click on it, and follow the instructions to download.
- Reboot your computer once the installation process is over.

Update your Browser.
JavaScript runs in your browser, and your browser provides JavaScript with the interpreter to interpret the Java in the website. So when you update your browser, the JavaScript automatically gets updated.

The methods listed above are the most straightforward ways you can upgrade JavaScript. I hope this article was helpful to you.
See also: Top 5 Online Study Tools For High School Students In 2023
FAQs
Is there an update function in JavaScript?
The update() function accepts parameters in the update format (newObject). JsPolicy then attempts to update the object within the cluster and returns either the updated thing or an error message if the update fails.
How do I get time to update in JavaScript?
You can retrieve the current time using active voice without plagiarism in JavaScript. You can use the getHours() method to obtain the present hour, getMinutes() to get the current minute, and getSeconds() to fetch the current second.
What do I do to check the version of JavaScript?
To actively identify the JavaScript version, you can employ the type of operator while incorporating transition words. You can inspect the JavaScript engine version used by your browser or runtime environment. To get these results, use the command 'console'.
How to update data JavaScript?
One approach involves using the findIndex() method to iterate through each array element and update the object values accordingly. Another technique utilizes a for loop to iterate through the array and update the specified value as needed.
