Pixelating an image makes the pixels in the whole or a part of the picture more prominent and unclear. The reason can be for censorship or to maintain the anonymity of the contents. Therefore, pixelating an image is a loss of data contained in the picture. You can Pixelate an image using Microsoft Paint.
Here are the steps to pixelate an image using Microsoft Paint:
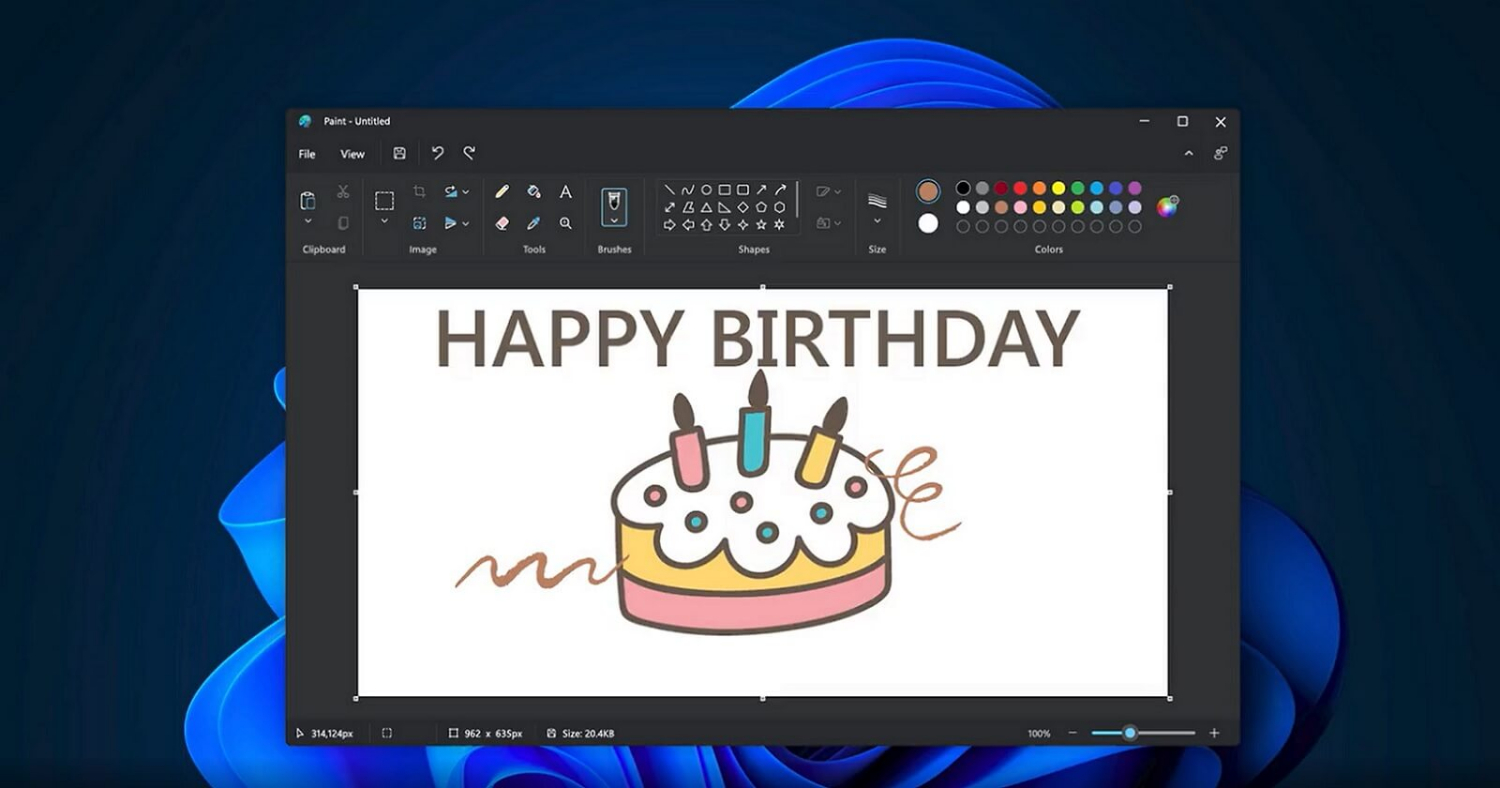
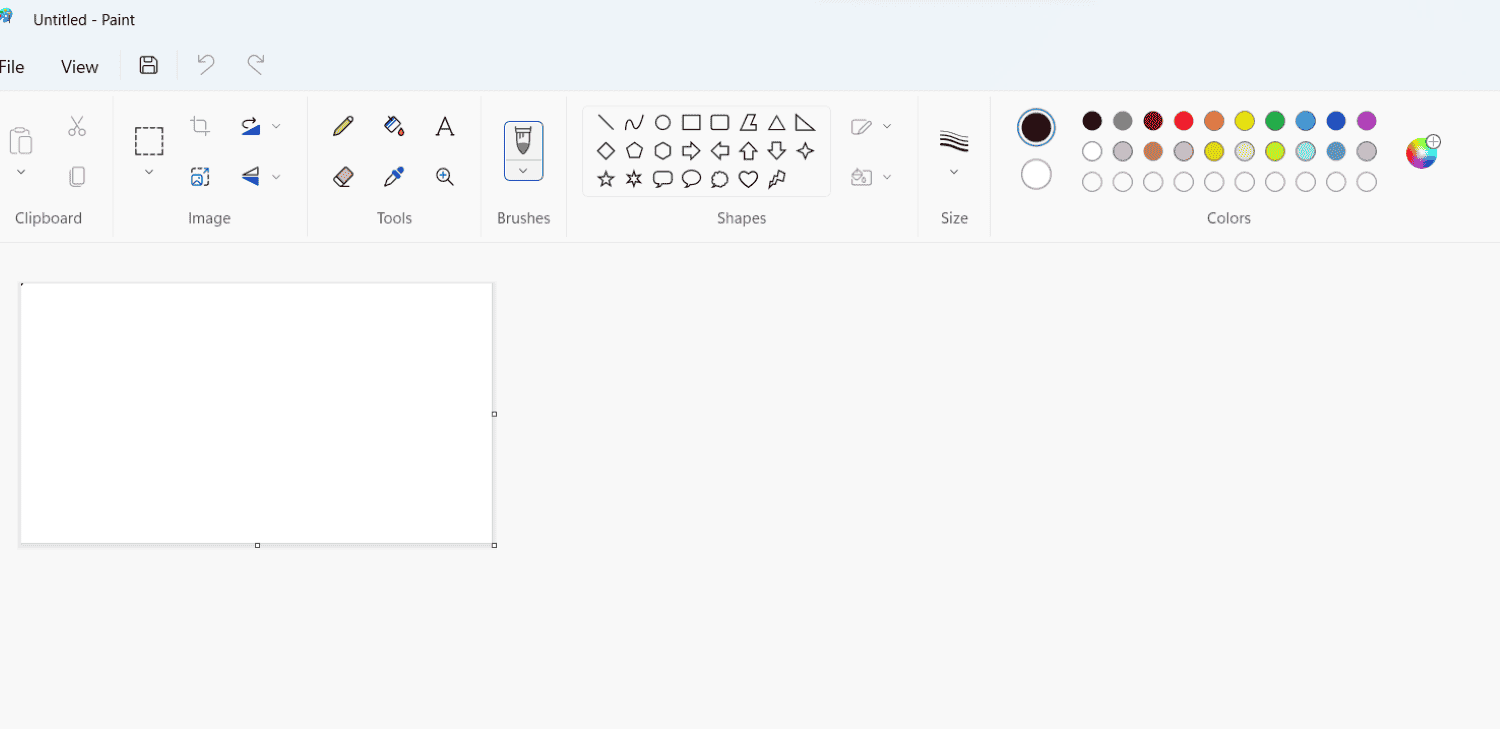
- Open Paint from the Windows Start menu’s Programs, then choose the ‘Accessories‘ option
- From the top menu, select the Home tab, and click on the Resize button in the image box.
- Enter a custom resolution for the Image in the Resize button, which should be less than the number already in the field, and the lower the number, the more Pixelation.
- This will result in the pixelated Image; after that, save it.
You might need to know how to pixelate an image for numerous reasons. It might be to save some space, hide someone’s identity, or just as an effect. Let us know how you can use Microsoft Paint to Pixelate an image.
See Also: How To Fix Blurry Videos Sent To Me On Multiple Devices
Table of Contents
Steps to Pixelate an Image Using Microsoft Paint
This can be done in various ways, so many tools are designed for this process exclusively. However, the basic pixelation process can be done quickly using Microsoft Paint. The process is quite simple, and here are the steps you will need to follow.
- Make a copy of the picture you want to pixelate, and then right-click on the document and select Edit.
- This should open the Image in edit mode in Microsoft Paint.
If it doesn’t open directly in Microsoft Paint, Right Click on the Image, select Open With, and choose Microsoft Paint from the list.
Basic Pixelation Using Microsoft Paint
- From the top menu, select the Home tab, and click on the Resize button in the image box.
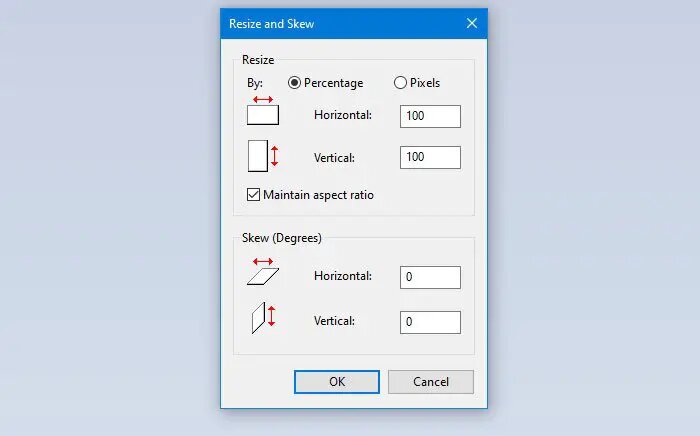
- A Resize and Skew window should pop up. In this window, click on the circle next to Pixels. In the field next to Horizontal, under the Resize heading, enter the custom resolution. Make a note of the solution. This new number you put in this field should be less than the number already in the area. The lower the number, the more Pixelation. Once you have entered the custom resolution, click the OK button to pixelate an image.
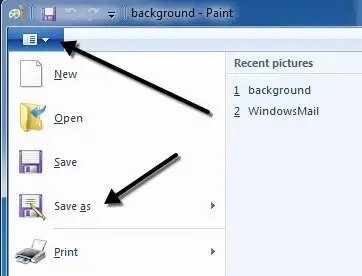
- Click on the File tab and select Save as, and from the list of available formats, choose the one you want or prefer.
This is how you pixelate an image using Microsoft Paint. Subsequently, please remember that image editing is a processor-hungry task that uses many other resources. As a result, we recommend that you do not run any processes in the background during the procedure.
Also, I prefer Pixelation on a machine with suitable hardware. The bigger the Image, the longer the time it will take. For laptop users, please carry out the procedure while charging for maximum performance.
Steps to Pixelate a Part of an Image
You can also pixelate an image or a part of it online too. Create a new copy of the picture you want to pixelate. Right-click on the composition of the Image and select Edit. However, if you aim to pixelate a photo instead of the whole Image using Microsoft Paint, follow these steps:
- This should open the Image in edit mode in Microsoft Paint. If it doesn’t open directly in Paint, Right Click on the Image, select Open With.., and select Microsoft Paint from the list. Under the Image category, select the Select button. And using the Select tool, select the image area you want to pixelate.

2. Click on the Crop button next to the Select button.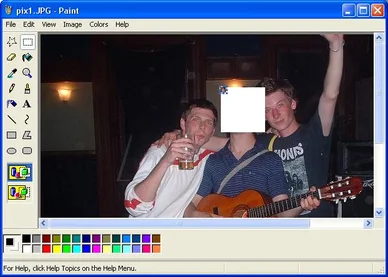
3. Save this as a new image and open it again in Microsoft Paint. In the top menu, select the Home tab; under the image box, choose Resize. A Resize and Skew window should pop up. In this window, click on the circle next to Pixels.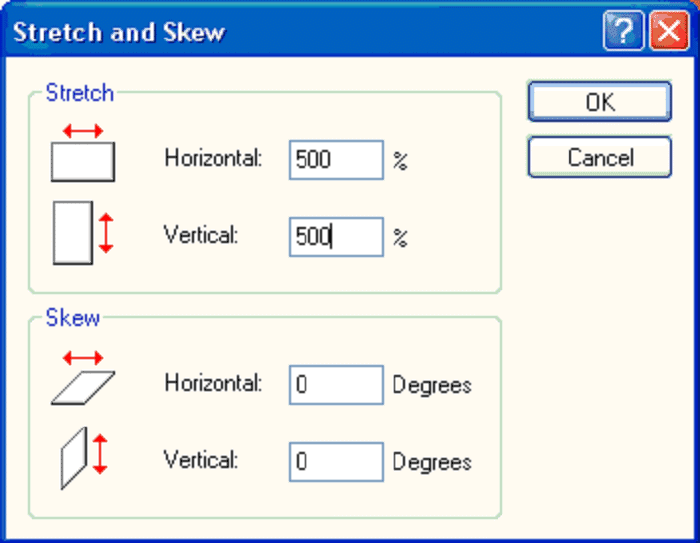
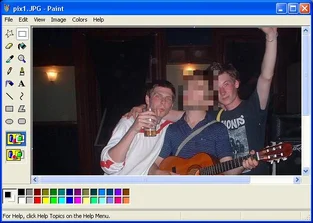
4. In the field next to Horizontal, under the Resize heading, enter the custom resolution. Make a note of the solution. This new number you put in this field should be less than the number already in the area. The lower the number, the more Pixelation.
Final Points to Remember
- Click on the File tab and select Save as, and from the list of available formats, choose the one you want to save or export it in. Open the saved Image using Microsoft Paint again. Under the Home tab, click the Resize button, go to the Pixels menu again, and enter the original resolution.
- Save this again in your desired format and open the original Image to pixelate inside Microsoft Paint. Right-click the pixelated Image and select copy. Alternatively, single-click the pixelated Image and press the key combination Ctrl + C.
- Back in Microsoft Paint, click on the paste button. This should paste the pixelated Image into your original idea.
- Align the pixelated Image along with the part you wanted to pixelate. Finally, export the Image in the format you want.
See also: How to Combine Two Pictures in MS Paint [Easy Guide]
Using Online Tools For Pixelating An Image
Here are some fantastic online tools you can use to pixelate an image how you want it! These applications are easy to use as well as highly reliable. They offer robust security and unique editing features for you. So keep on experimenting with your photos using these friendly apps!
Pinetools
Pinetools is a free editing app that helps you pixelate an image according to your desires. You can enlarge a photo as much as you want and intentionally blur your pictures.
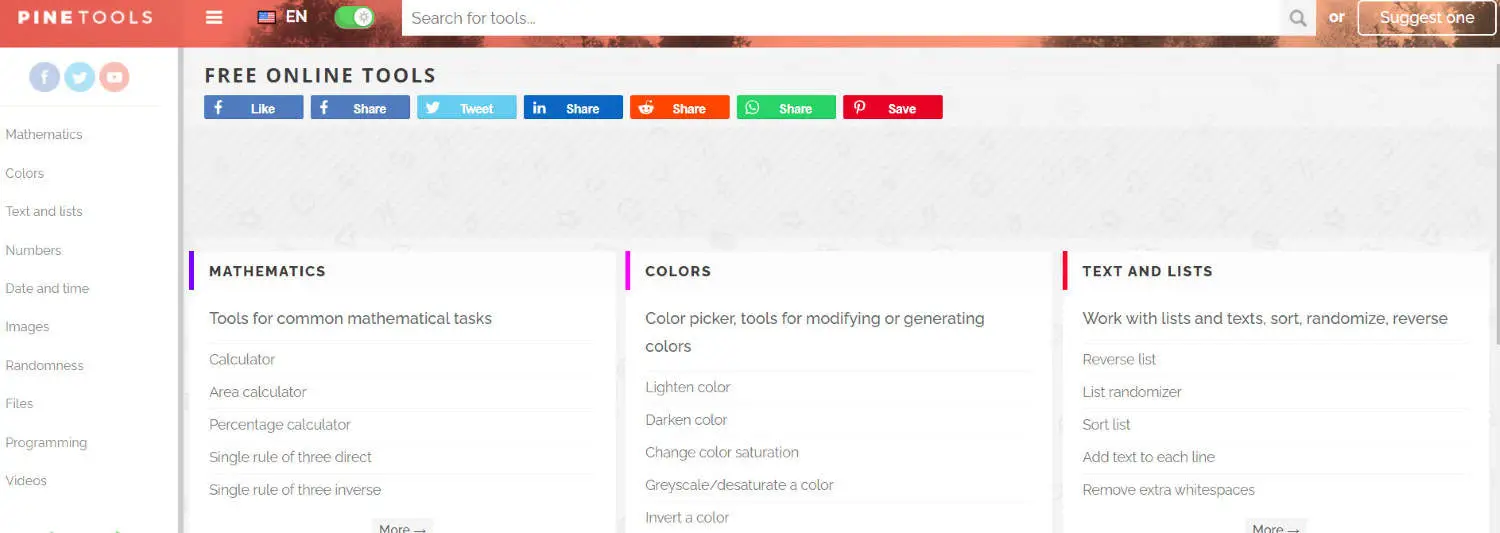
This online app is exceptionally user-friendly, and all you need to access it is a browser.
Step By Step Demonstration to Pixelate: Go to your web browser and access Pinetools. Upload the photo you wish to edit. Hover and drag on the Image and select the parts that must be blurred or pixelated. Now, you must choose the suitable Block Size for Pixelation in that area. Finally, click the green censor button at the bottom of the screen.
There you go! Pinetools will efficiently edit the Image per your specifications as soon as you finish the last step. To access the Image, you must download the Image after the editing is done.
Pinetools have high security. Consequently, it is exceptionally reliable for users. You can conveniently use this app for various work-related or personal tasks. Moreover, it is best used for informal editing, like adding cool and funny effects to images.
See also: 13 Best Free Image Viewer Software To Download [2023]
LunaPic
Are you looking for an easy-to-use app for Pixelation and wish to edit large photos from top-to-toe? Then LunaPic is just for you!
This app is known for its convenience and ‘to the point’ usage.
- Firstly, open LunaPic and go to the menu bar. Select Adjust and then choose Pixelate. Alternatively, if you wish to blur your Image, click Adjust and choose Blur.

- Upload your desired Image. Alternatively, you can also share the URL of your selected image on their website. Now use the pixelation slider to alter the pixel size of the Image as you want.
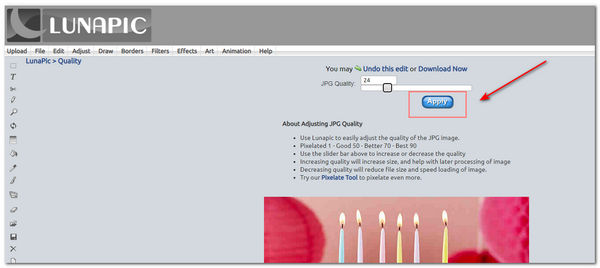
- Once you are completed the editing part, click on Apply.
You can repeatedly try out different effects on the Image for more or less intensity. After editing, you can directly download once your picture on your device with a suitable extension.
The Facepixelizer App
Facepixelizer is also an efficient choice for pixelating images. Above all, this app works best for formal reasons like censoring confidential information on an image.
Using this app, you can edit out specific portions of the Image, if not the entire picture. In addition, you get the benefit of detailed editing with this app.
![]()
How to use Facepixelizer? Go to the image editor section and add your photo. Choose the editing menu option and select Manual. Now, choose individual pixel sizes to pixelate an image according to your needs. Select and edit the specific parts of the Image as you want. Finally, go to Save Image and save the modified version on your device!
This is a secure website. As a result, your images do not get registered on the site. So, rest assured; you can use this app to pixelate an image and edit all sensitive personal photos!
Photoshop
Like pixelating an image in Photoshop to hold the isolation of a person? Sure, we got you guys. Above all, you can even use it for the fantastic effects it makes (it reminds me of Minecraft a bit). Here we will reveal how you can use the pixelate tool to eliminate the privacy of a profile in Photoshop.
![]()
Open the Photoshop window. Go to File >> Open and choose your Image. Head to Filter >> Pixelate >> Mosaic.

Pick the cell size (Amount of squares). Like your pixelated photo!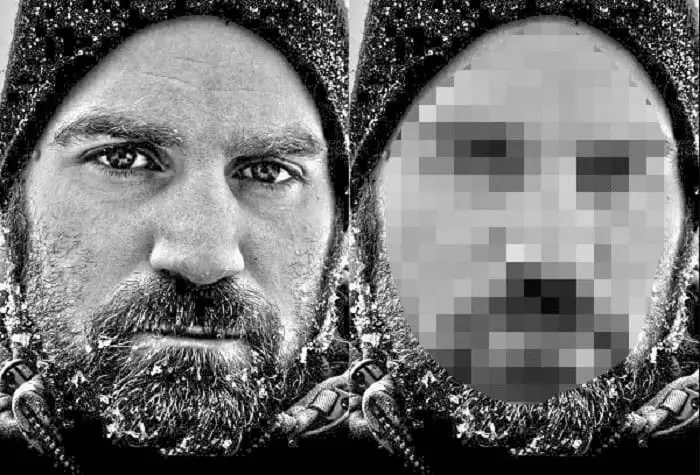
FAQs
Can you pixelate an image on the laptop?
Yes. An online photo editor can instantly pixelate photographs without downloading a third-party tool. Many websites let you pixelate a whole image, but Adobe Photoshop Express is one of the best.
When does Pixilation occur?
Pixelation arises when individual pixels become noticeable to the human eye instead of seamlessly blending. Unintentional Pixelation may occur when resizing an image to dimensions that exceed its resolution. However, deliberate pixilation of an image can also yield captivating outcomes
What is pixel art painting?
Using graphics editing software, one can make and alter images at the pixel level to create pixel art. Hence, pixel art stands out for its unusual visual aesthetic in which the Image is made from individual pixels.
Can you pixelate an image using Paint 3D?
Yes, you can pixelate a picture in Paint 3D. Upload the Image from the device you want to smudge. In the Brushes tab's upper-left corner, select the Select tool. So, a square should enclose the part you wish to blur. Click and drag one of the white dots in the corner of the selection to reduce the box as much as you can.
Is Pixel art a form of digital work?
Yes, Pixel art is digital art produced with software. Hence, images can be of any pixel level. Like video game consoles, it is a graphic design that originated on eight and 16-bit computers. Most of the digital arts use a limited color pallet.
Conclusion
These are the most straightforward series of steps that are needed to pixelate an image or a part of it using Microsoft Paint. There are other image editing techniques that you can learn, too, like blurring the photos, making the background transparent, and more! You can pixelate an image in different styles using other software or image pixelation mainly present to pixelate an image.
In conclusion, even though pixelating an image seems long and complicated, it combines relatively simple steps. Try it out yourself, and you will know.
