There are a lot of excellent photo editor tools for your Windows PC. When I say a Photo editor, many hardcore names might pop into your head, like Adobe Lightroom CC, Photoshop, etc. Yeah, they are all fantastic and heavy software tools, no doubt. But I’m sure most of you agree when I say that simple things often produce the best results. Thus, you must know how to Outline Text Using PaintNET.
With the Paint.NET plugin, text can be made editable by:
- Click the Add New Layer button in the lower left corner of the Layers palette or select Layers > Add New Layer.
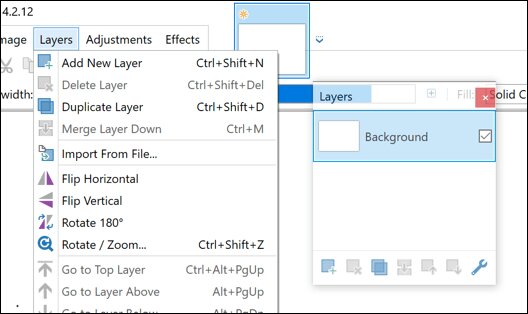
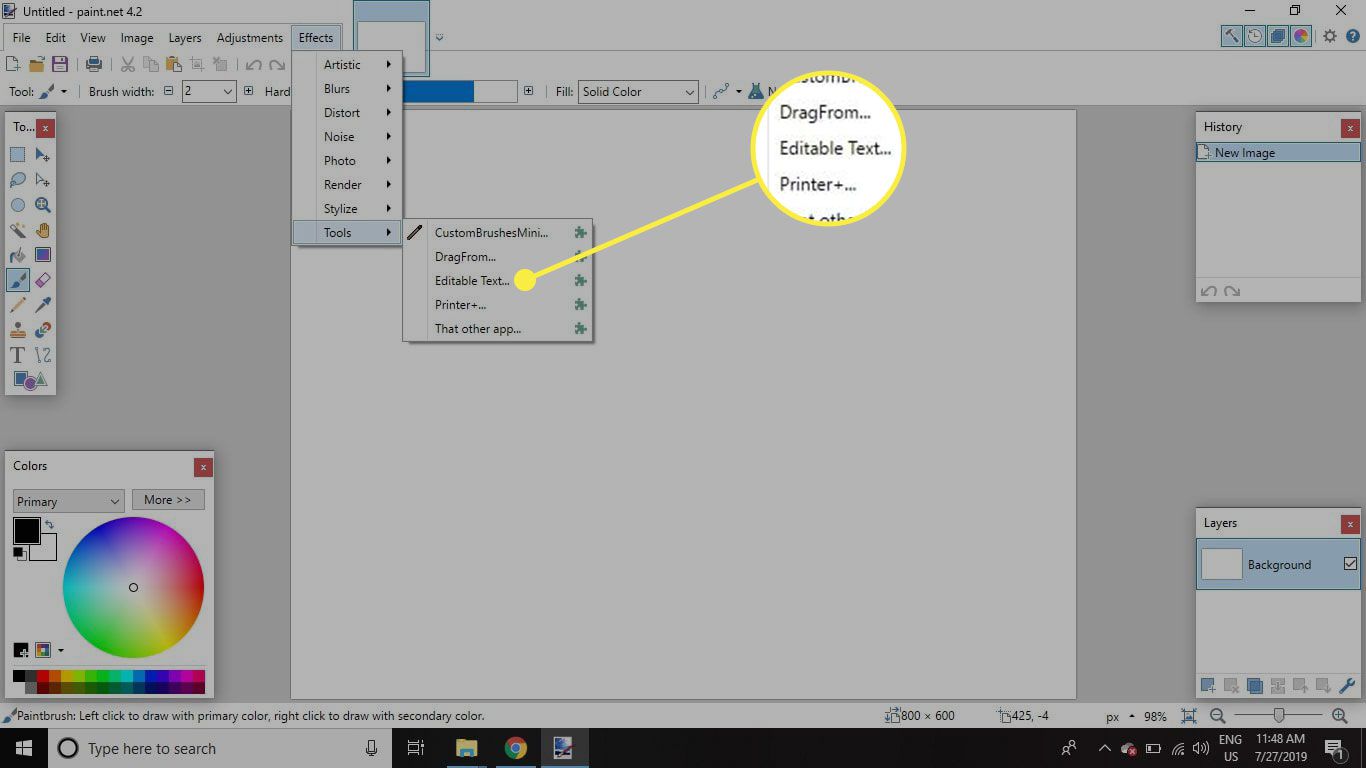
- An updated Editable Text dialogue will appear after selecting Effects > Tools > Editable Text.
- Type whatever you want in the blank input box by clicking on it, then choose OK.
I know that you have looked at your massive 10-gigabyte software and wondered (while waiting for that behemoth to load) whether all this was necessary to make a new corny profile pic for yourself. You would have been OK with a simple smartphone photo editor, and you know it!
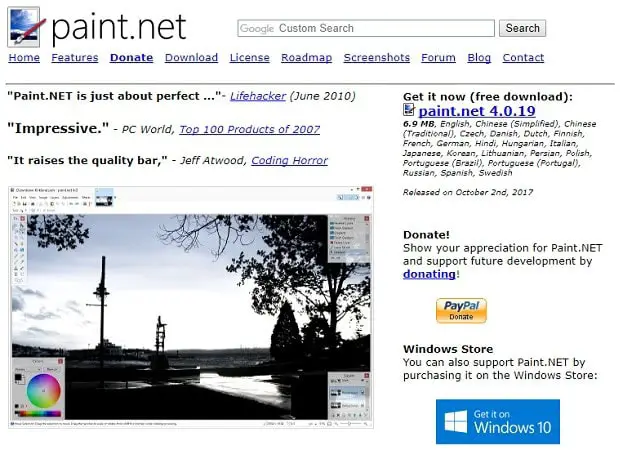
Speaking of simple but effective tools, you know about paint.net. It is a free photo editor software that runs on your Windows PC. It requires Microsoft’s .NET framework, but what’s dope is that it installs it automatically during the tool’s setup, in case your system does not have .NET 4.0 framework. Cool! These simplistic tools prove that these so-called “professional” photo editors, expensive AF, are overhyped and overrated. You can Outline Text Using PaintNET.
Well, that’s just me. You might be suitable to use a heavy editor tool on your photos because we always win in our books. You are welcome to use whatever device you like because it’s your choice, and I respect that. Well, now that we’ve agreed that you were wrong, let us see how to use Paint.NET and how to do cool stuff like outline text with it.
Existing PaintNET users might say that plugins are available that reduce our work and can write text outlined as it is. Though it makes a lot of sense, some users like me can’t be asked to download an entire plugin to do something silly as marking text boundaries. I need every last byte of my data plan so I can promptly spend it on YouTube watching something stupid.
See also: How to Remove Watermark from Photos Quickly.
Note for Noobs: I want to point out that installing this takes time. I don’t know if it was only in my case since I had to install the .NET framework separately for some reason. But it did take quite a long time to install this tool. I wanted to put this on here in case you don’t already have Paint.NET and found this post under the possibility of searching for easy tools that you can use for text decoration. You can get it for free here and then Outline Text Using PaintNET.
I guess there is a paid version of this, which makes you the cool kid, but I don’t find anything missing from the basic understanding. You can be a good lad and donate to the good people behind this tool using a button at their site that says the same. OK, End of Note.
See also: How to Make Background Transparent in Paint.NET
Table of Contents
How to Outline Text Using Paint.NET
- Use the Include Text tool to create the text you want. It’s the one that has the letter A for an icon. It is better to keep the font size on the bigger side to make it easier for you down the line. Seriously, use something huge, like 58 or 72 font size.

- Using that selection tool called the magic wand, select the entire text area on your canvas. If you can’t seem to choose everything, check if the Add (Union) option is set in the top left corner of the window. It allows you to select all the letters in the text simultaneously.

- In the bottom right corner, an option says Add a new layer. Click on it, and it will add a new blank layer on top of the text window you have already created. This will not overlap it completely, as the letter’s outer shapes will still be under selection.

- Select the paintbrush option and fill in the color in the area of the outlines. You can pick whichever color you want them to be in.

- While the letters in your text are still selected, go to the Effects menu and select the “Stylize” and “Outline” options. You can change the outline thickness for your text by moving the Thickness slider. The same goes for the intensity slider. Please take it to a maximum of 100, solidifying your outlines.

- Time for the magic wand again! Use the magical wand tool; this time, select only the inner parts of the letters. Then. Click delete so you get to clear out the errors. Now, all you get is your text’s outline, and the inner parts are empty by choice.

- Save your masterpiece either by pressing Ctrl+S or from the File->Save option.
This is how you can Outline Text Using PaintNET in an instant! Was that so hard? As I said, it is the simple tools that often lead to access roads to your goals. Since you have now learned the simplicity of Paint.NET, go ahead and start creating stuff on it.
Also, see 5 Best Duplicate Photo Finder Tools for Windows.
FAQs
Do I start by painting the outline?
Trace the drawings to ensure the dimensions and general shape are accurate. An outline serves as a framework for your final product and aids in understanding how everything fits together. Beginners must first outline before adding details.
Is Paint.NET a 3D tool?
Yes, Paint.NET is a 3D tool. Paint.NET may provide a good balance between intuitiveness and the capabilities you need. You may like it if you use Paint 3D and don't prefer it.
Is Paint superior to Photoshop?
Paint is not superior to Photoshop. Both are effective and have special tools, characteristics, and working principles. MS Paint engages in it to maintain its position in the global market. People prefer Photoshop since adding new advantages and perks increases the value of the software.
How much GB does Photoshop need?
Photoshop needs at least 4GB of hard drive space and 8GB of RAM for optimal performance. However, having roughly 16GB of RAM is enough on the hard drive for a quick internal drive is advised.
Is Paint 3D necessary for graphic designers?
If you are not a professional graphic designer, Paint 3D can still be useful for basic image editing tasks such as cropping, resizing, and simple edits. While it may lack advanced features, it is a reliable and straightforward software that accomplishes its intended purpose efficiently.
Why is 3D painting better?
With 3D digital art, artists can incorporate intricate textures, personalized lighting, and unique color combinations. This enables them to produce lifelike artistic pieces of various subjects, including objects, people, and more. One of the major advantages of this form of art is the ability to make modifications quickly.