Do you need help correctly routing audio from your audio interface to a mixer? Look no further! This guide will comprehensively apprehend the correct audio routing strategies to ensure the most effective sound quality and assist you with the audio interface output to Mixer.
Connect the audio interface’s outputs to the Mixer’s inputs using cables. Set suitable degrees on both devices, verify routing settings, and take a look at the audio sign. Adjust for premier sound and satisfactory and seamless integration between the interface and Mixer. Let us read on to know more about it.
Connecting an audio interface to a mixer guarantees premiere performance and avoids capability dangers. A proper setup can cause gadget damage and compromise sound. This article explores the importance of successfully connecting these devices and highlights the whole thing on the audio interface output to Mixer.
Table of Contents
Understanding the Basics
An audio interface is an apparatus that hyperlinks the aural environment outside of your computer or recording device and your computer. 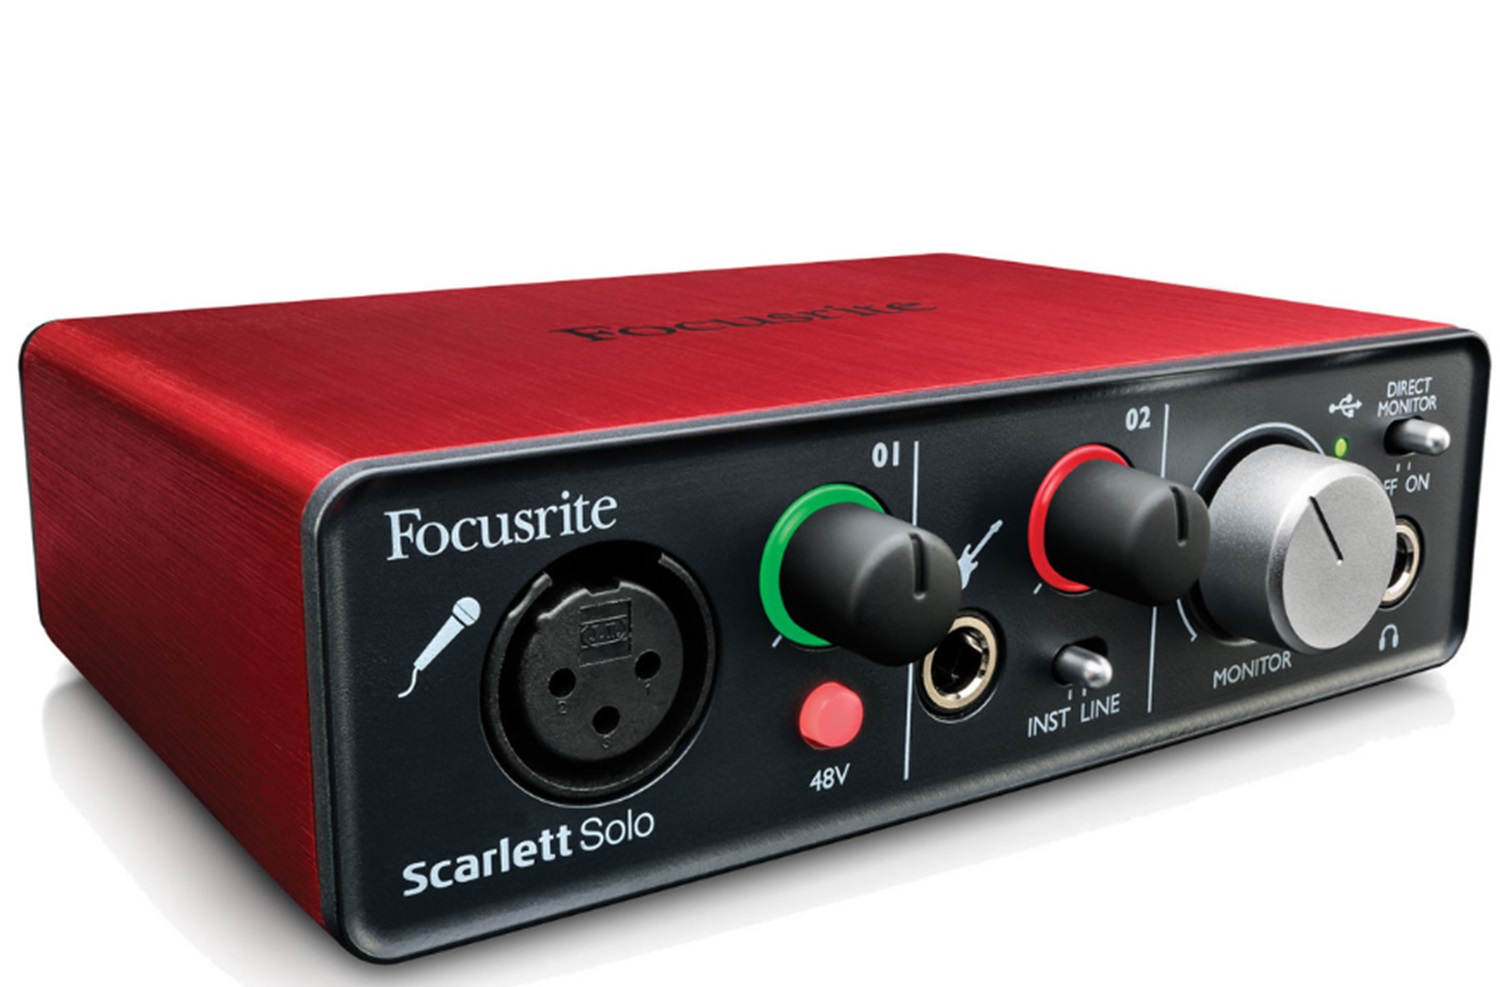 Analog audio alerts are transformed into digital information so your PC can analyze and shop them. Audio interfaces typically provide enter and outputs, permitting users to connect microphones to extra audio resources and speakers or headphones to the outputs.
Do you intend to use a mixer to output audio from your computer to an installed audio output device? To ensure remarkable audio recording and playback, an audio interface’s number one function is to provide these services. You can record and reproduce music with readability and fidelity to its features, consisting of preamps, converters, and sign routing.
Definition and Function of a Mixer
Sound reinforcement and audio production professionals use a mixing console or desk device. Its primary process is to mix and control numerous audio streams from various resources, together with playback devices, units, and microphones.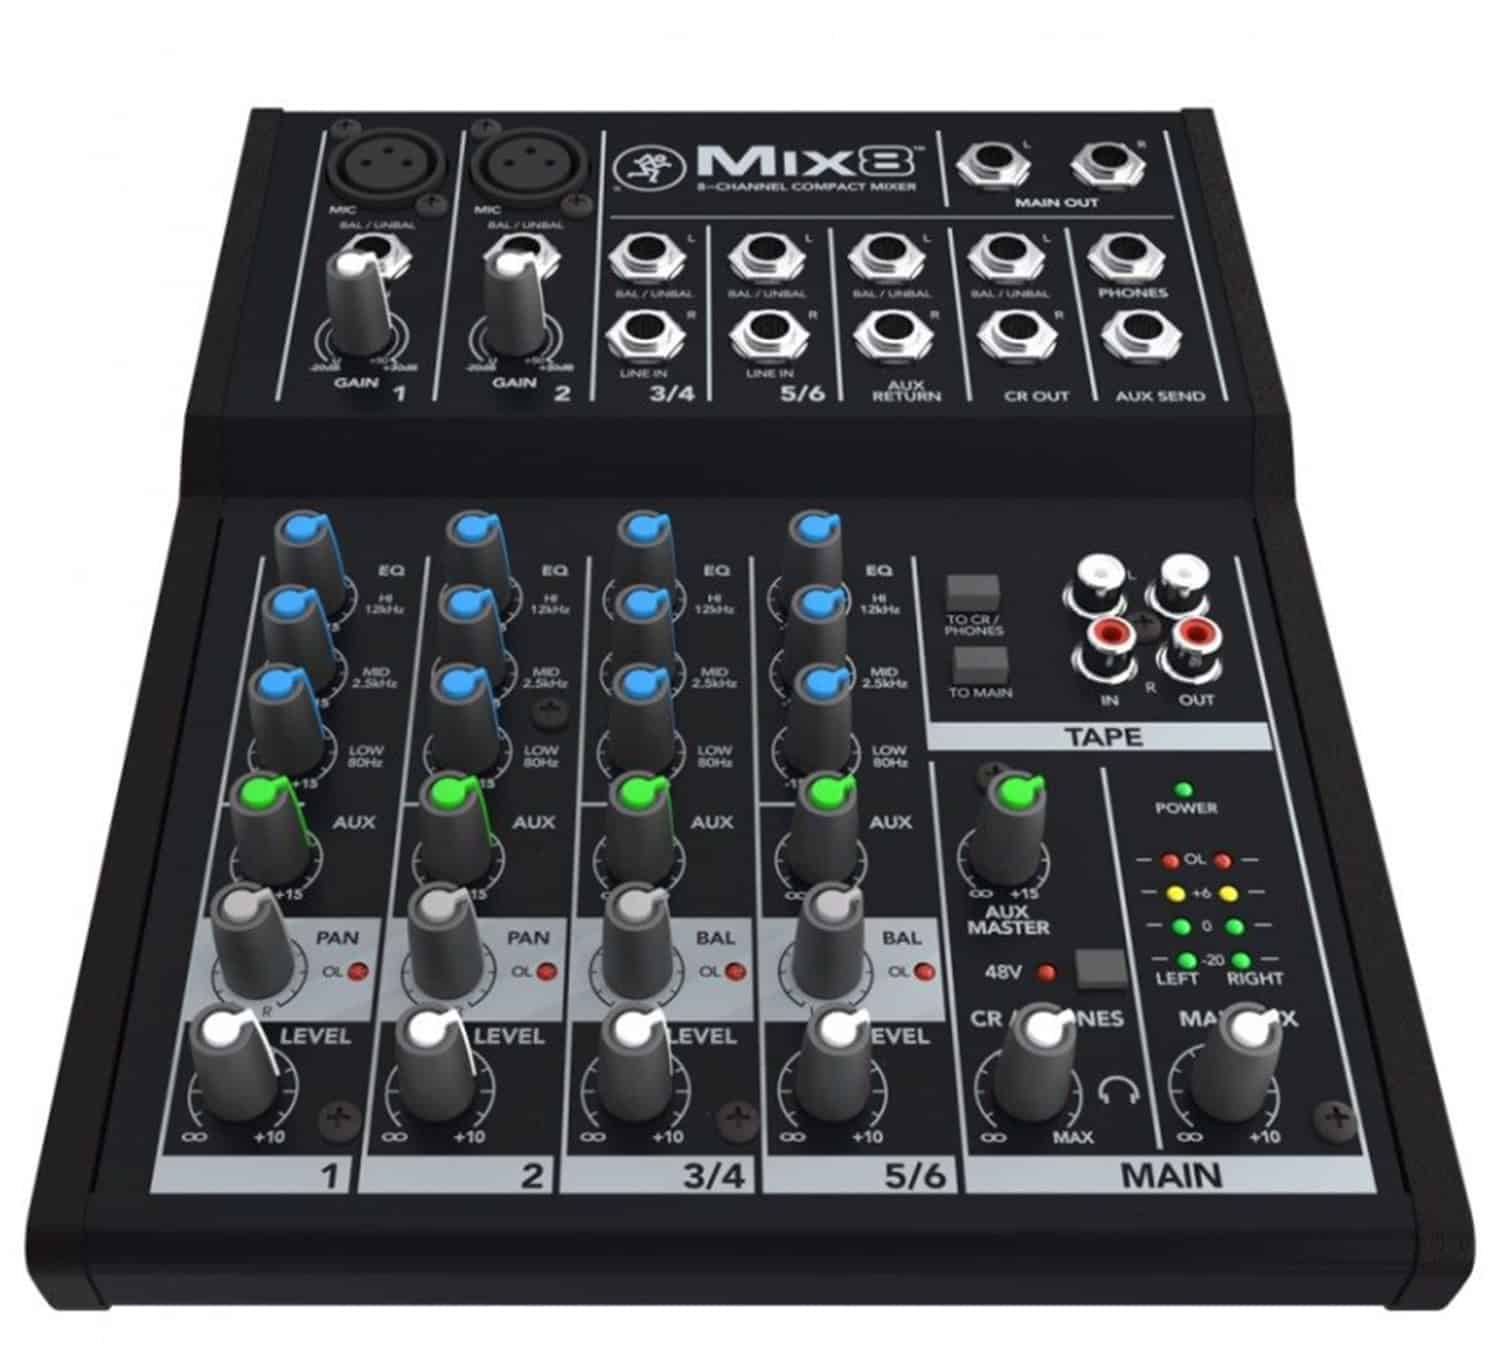 Mixers allow you to modify each entry’s levels, panning, and equalization, path the indicators to different outputs, and add outcomes.
Mixers can vary in size and layout from small, transportable systems with a few channels to massive consoles used in live sound installations and expert studios. Whether recording music, creating podcasts, or strolling a live occasion, they provide the tools for a properly balanced and finished audio blend.
See Also: How To Fix Failed To Play Test Tone Error In Windows – Updated
Importance of Proper Connection
An audio interface and Mixer must be linked effectively for several reasons. Initially, it verifies the authenticity of the audio indicators being sent. Erroneous connections can introduce undesired artefacts, set off noise, interference, or signal loss, and reduce the audio quality of your recordings or performances.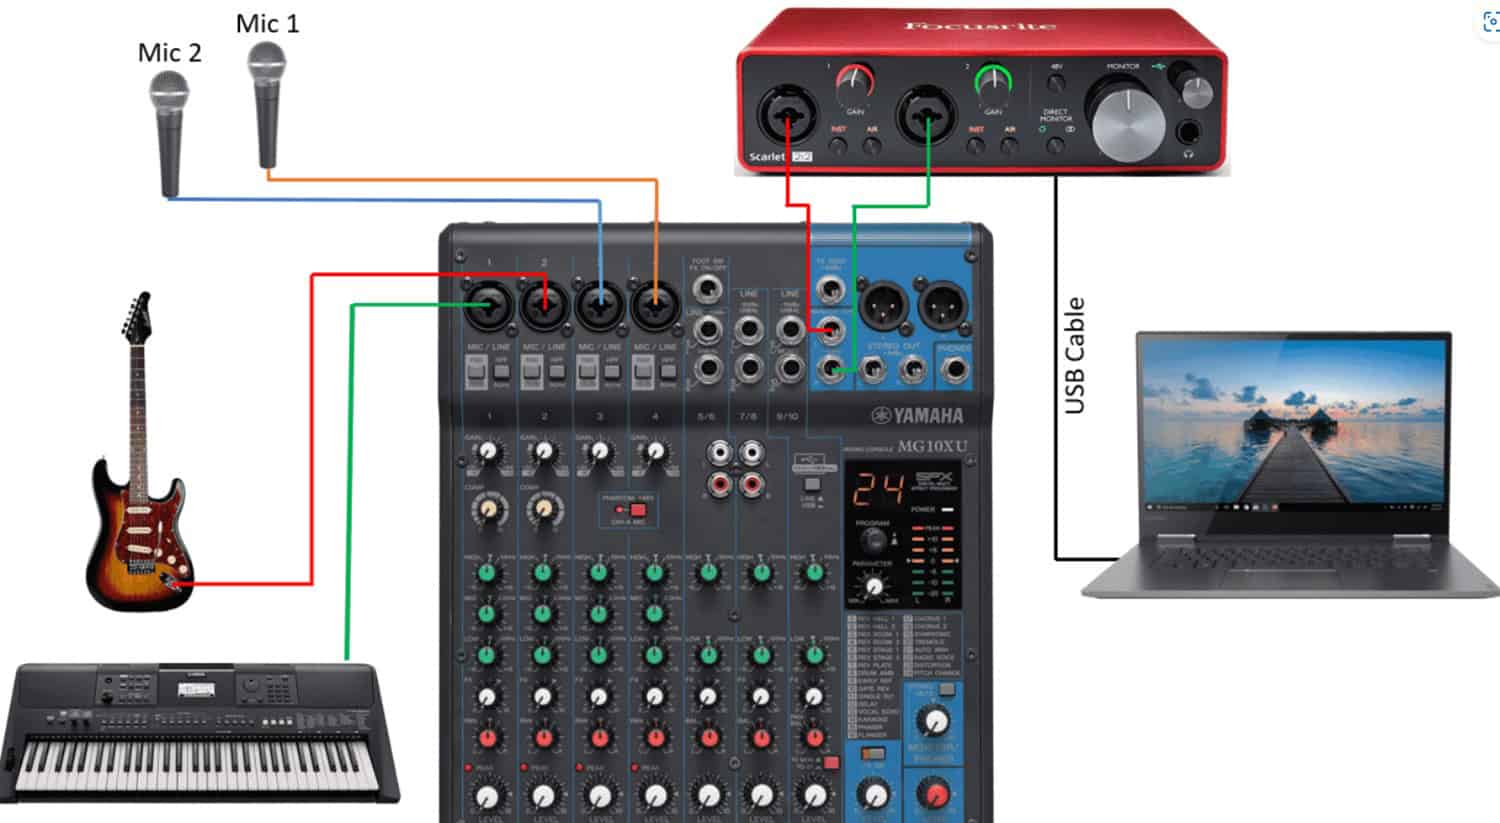
Furthermore, an excellent connection helps defend your device from any harm. Mixers and audio interfaces are characteristic at one-of-a-kind impedance ranges and levels.
Also, a proper configuration makes effective signal routing and integration possible. By efficiently connecting the audio interface to the Mixer, you can use the built-in functions, preamps, and converters and use the control and processing power of the mixing console. This allows recording and playback technology to be without problems, simplifying the procedure of monitoring and combining audio assets.
The following sections will explain the connections, configurations, and best practices for achieving optimal results and avoiding potential issues, including the correct method for attaching an audio interface to a mixer.
See Also: Realtek HD Audio Manager Missing | How To Fix [Solved]
Essential Equipment for Connection
To connect an audio interface output to the Mixer, you’ll want the following crucial equipment:
- Featuring line-stage outputs, a mixer:
 To generate a balanced audio sign at the proper stage for connecting to an audio interface, ensure your Mixer has line-level outputs.
 - Interface for audio with line-stage inputs: Line-degree inputs are required for the balanced sign from the Mixer to be acquired by way of your audio interface.
 These inputs are usually categorized as line inputs or may have a particular designation, such as “line in” or “line degree.”
 - TRS cables (Tip-Ring-Sleeve): TRS cables are usually used for connecting balanced audio indicators.
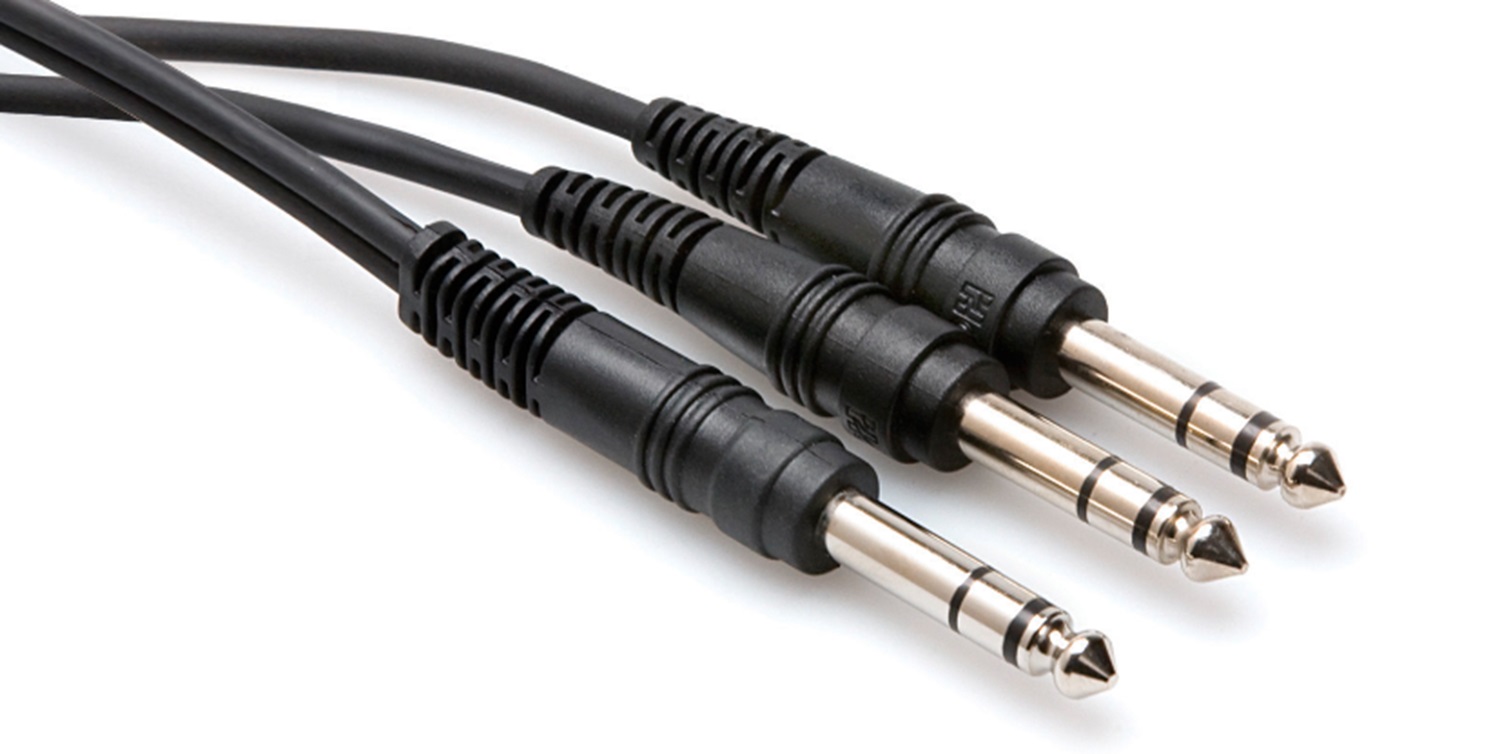 These cables are available in various lengths and feature three conductors: tip, ring, and sleeve. Your duration will depend on how near or a long way the Mixer is out of your audio interface.
 - Other necessary cables: Other cables, inclusive of XLR cables for connecting microphones, RCA cables for connecting customer-degree devices, or virtual cables (like S/PDIF or ADAT) in case your equipment can virtual connectivity, may additionally be required.
 Your Mixer’s and audio interface’s exact inputs and outputs will determine how this works. What Is 8D Audio & How To Create One? Check Out now.
Choosing the Right Cables
It’s crucial to keep the following in mind even as you select cables to connect your audio interface to the Mixer:
Balanced vs. Unbalanced Cables
Balanced cables can lessen noise and interference throughout prolonged cable runs by having three conductors—two for the floor and one for the audio signal. 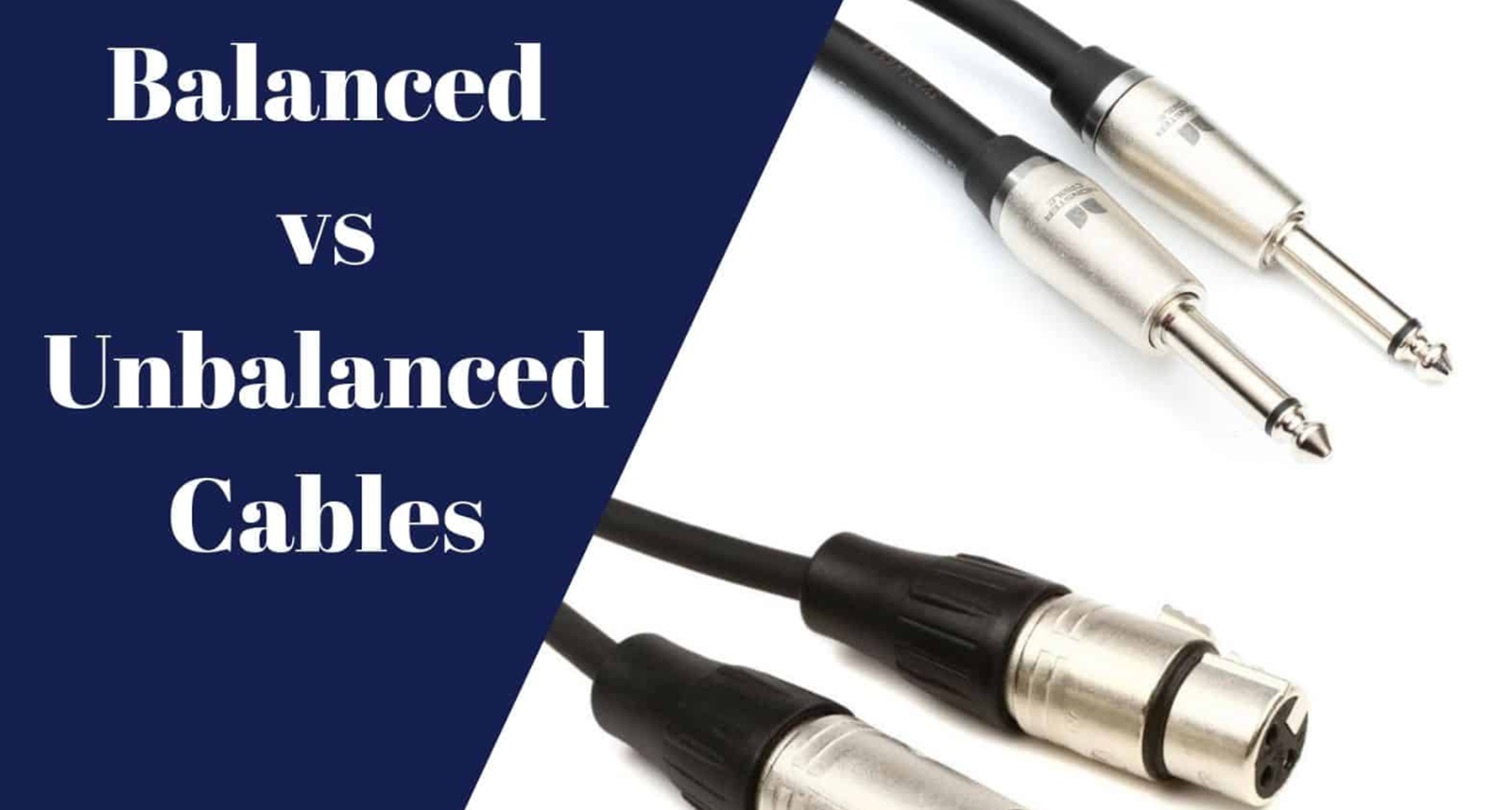 On the other hand, unbalanced cables depend on the shield for the ground and rent an unbalanced conductor for the audio transmission. When possible, use balanced cables for improved sign integrity and noise rejection. You should also Check Out How to Extract Audio From Video.
TRS and XLR Cables
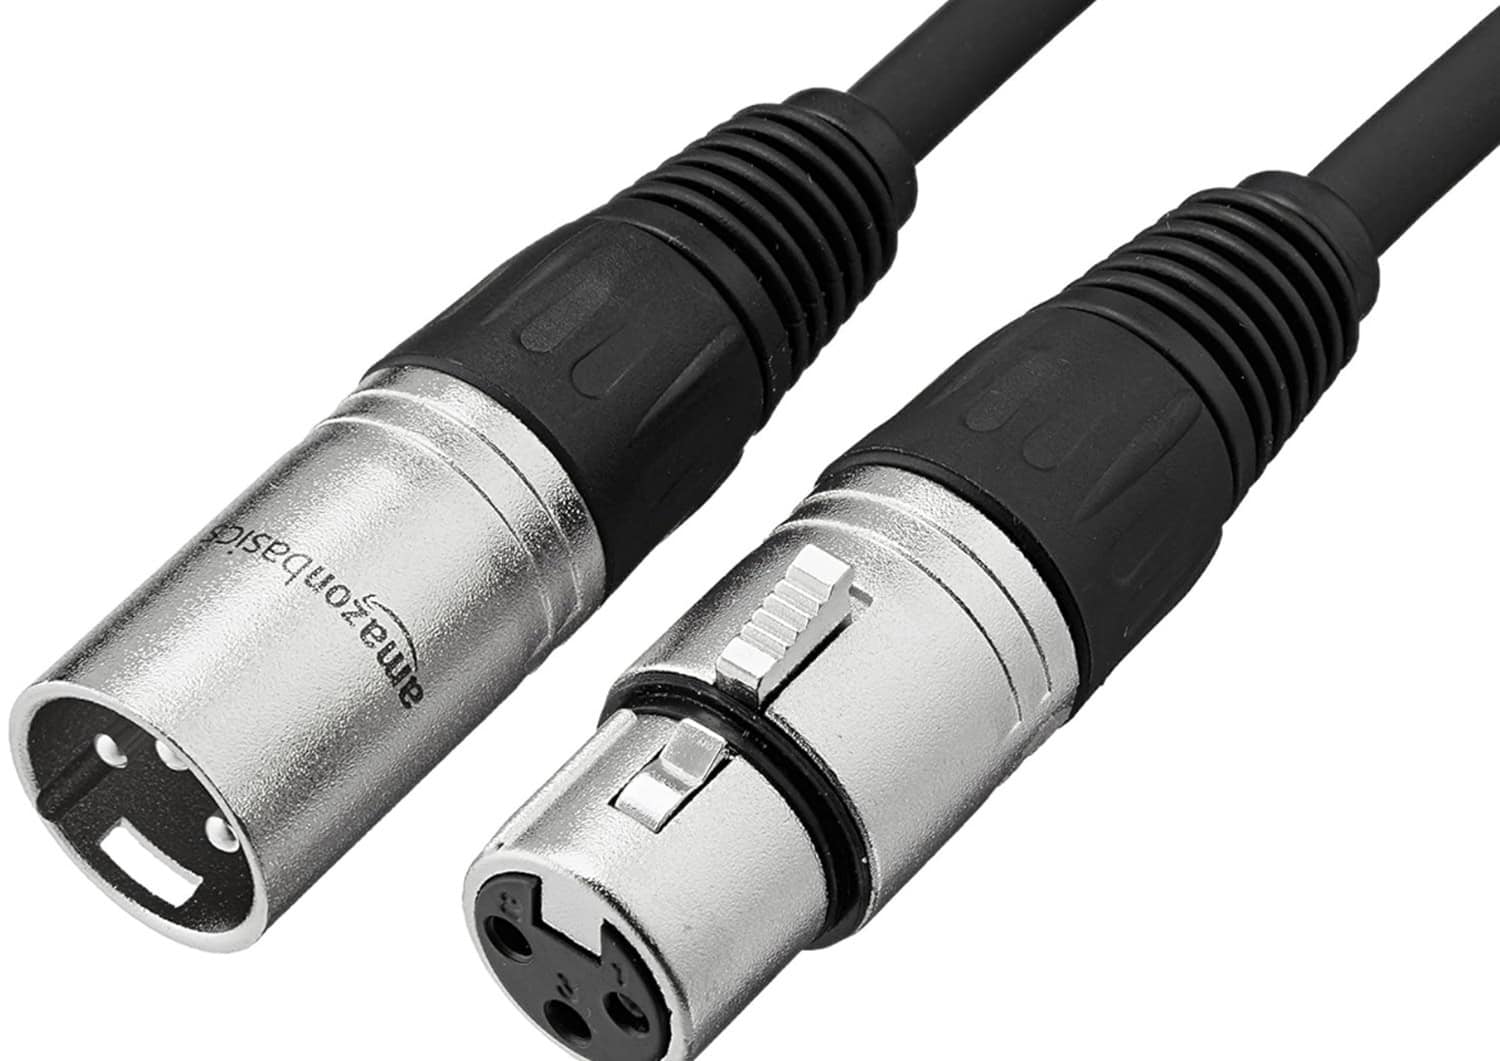
TRS cables are typically used for balanced connections between the Mixer’s line-level outputs and the audio interface’s line-stage inputs. 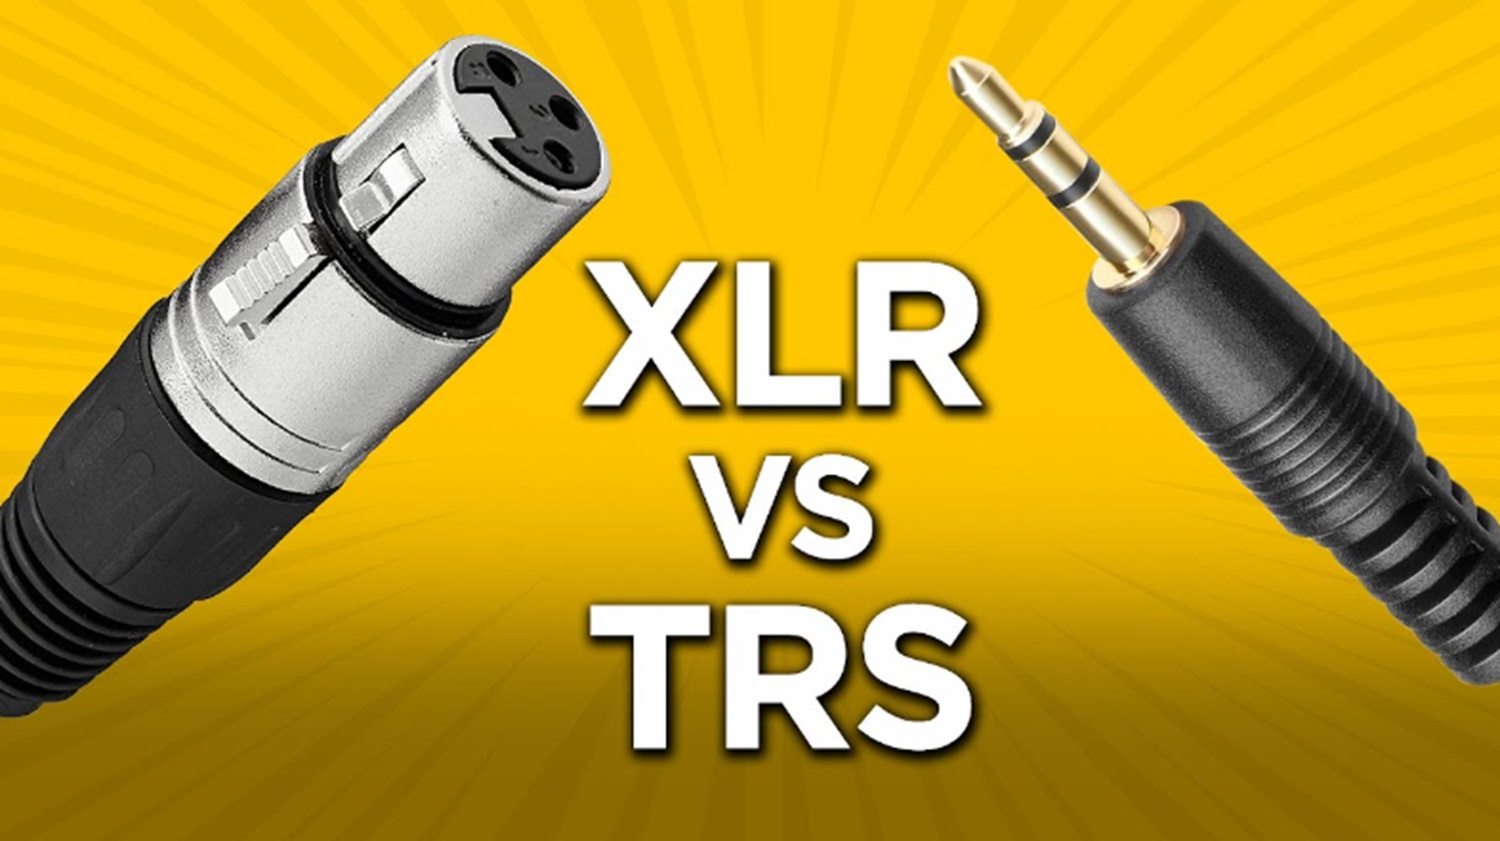 They have TRS connectors on both ends. Conversely, XLR cables attach microphones and other gadgets with XLR outputs to the Mixer’s microphone inputs. XLR connectors on XLR cables provide a dependable and balanced connection.
You can create a reliable and noise-unfastened connection between your audio interface and Mixer by choosing the proper cables and connectors in your unique equipment and ensuring balanced connections whenever possible. The appropriate connection of these gadgets can be protected inside the following phase.
Steps to Connecting an Audio Interface to a Mixer
Before connecting your audio interface to the mixer, make sure to efficiently configure and prepare both gadgets. Here are a few moves to take:
- Adjusting knobs and settings: Set all extent, benefit, and degree controls on the Mixer and audio interface to their minimum or “zero” role.
 This prevents sudden loud sounds or sign spikes at some stage in the relationship procedure.
 - Ensuring strength and connectivity: The Mixer and audio interface are powered on and connected to a strength supply.
 Double-took at the cables among the devices and ensure they’re securely plugged in.
Connecting the Microphone or Instrument to the Mixer
If you use microphones or units with your setup, you must connect them to the Mixer. Here’s how:
- XLR cables getting used with mics: Connect an XLR cable to one of the Mixer’s microphone inputs from the microphone’s output. Firmly insert the XLR connectors to offer a strong connection.
- Utilizing a direct field for instruments: If you connect units like guitars or keyboards to the Mixer, it is nice to use a right-away field (DI field). Connect the instrument’s output to the input of the DI box, then connect the DI field’s output to one of the Mixer’s line inputs. DI bins assist in converting the tool’s unbalanced signal into a balanced sign appropriate for the Mixer.
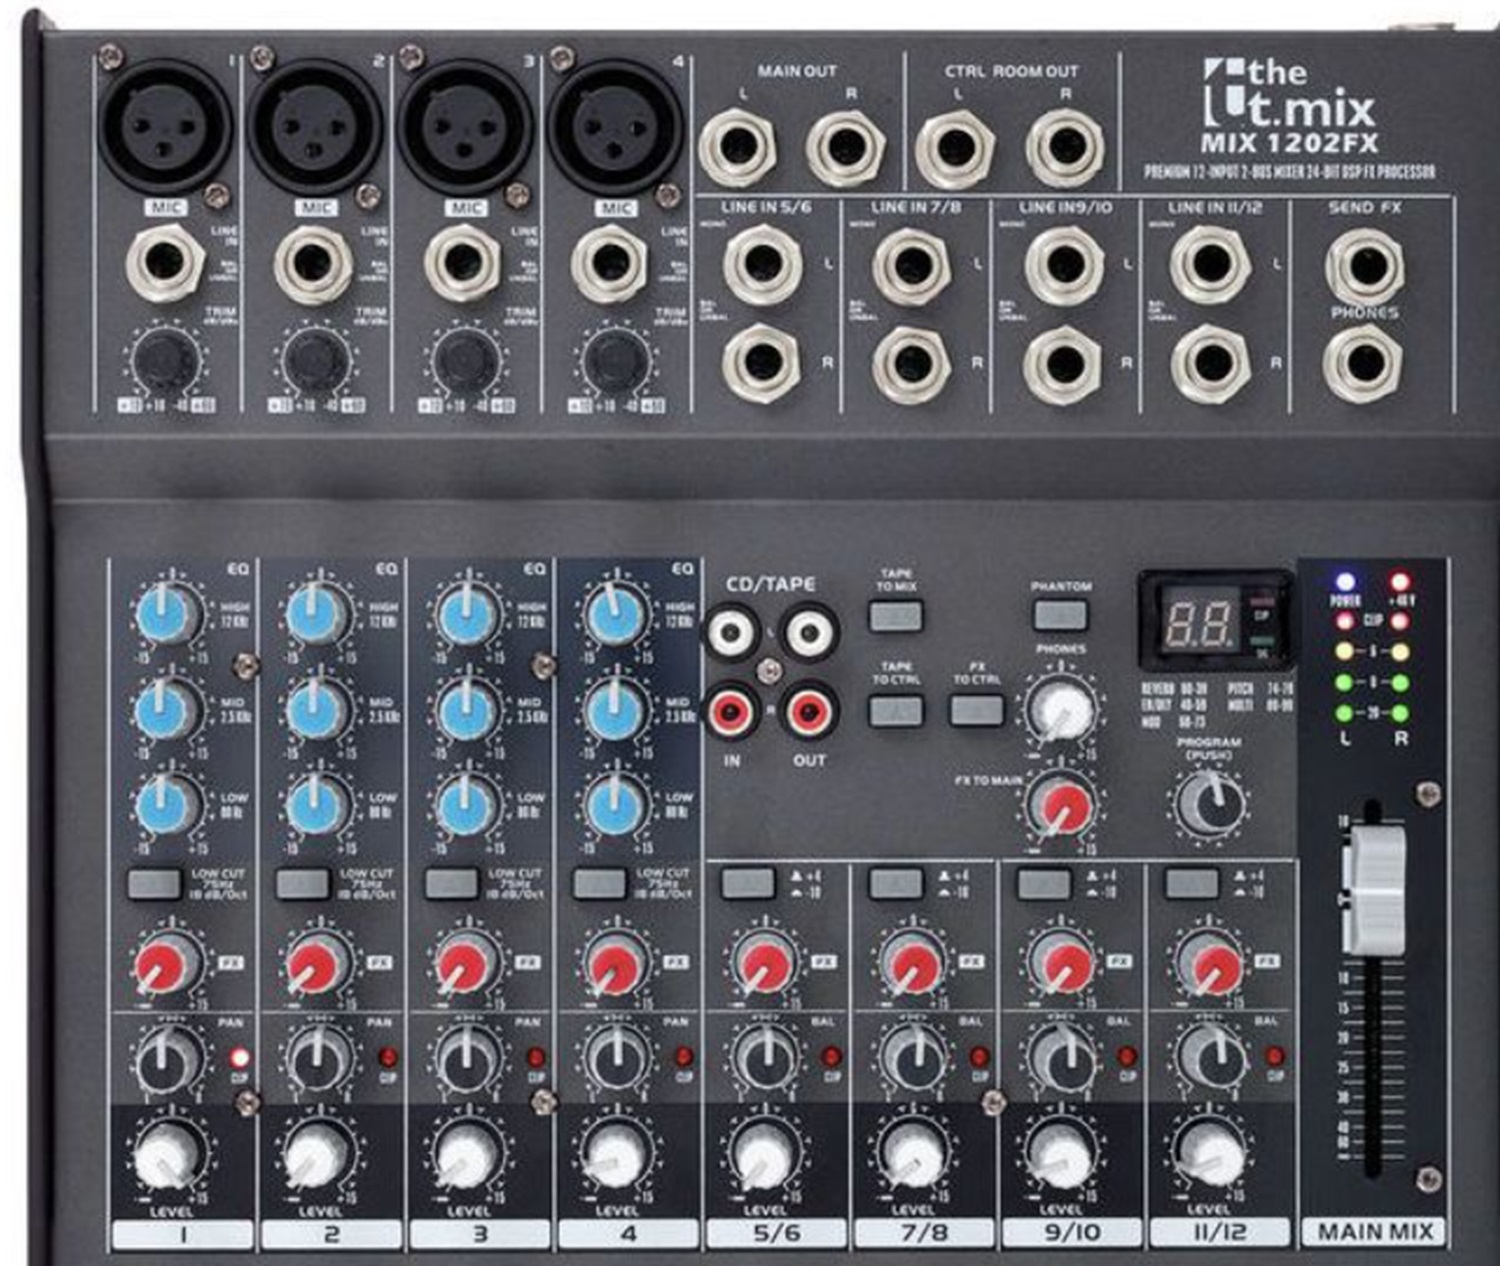
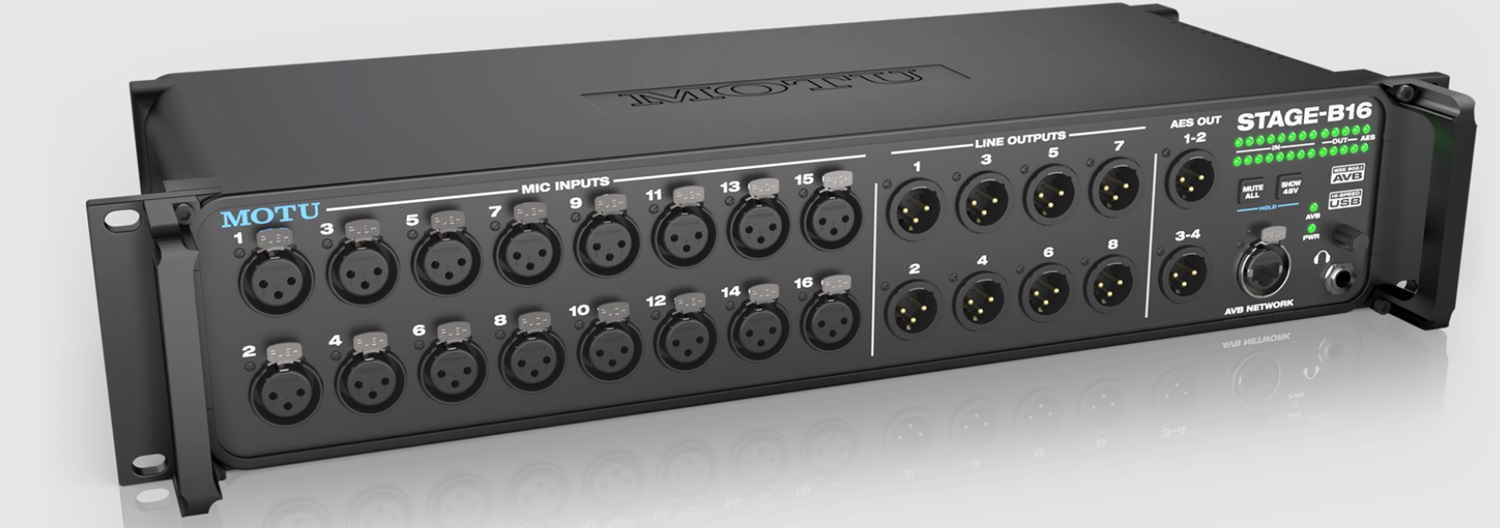
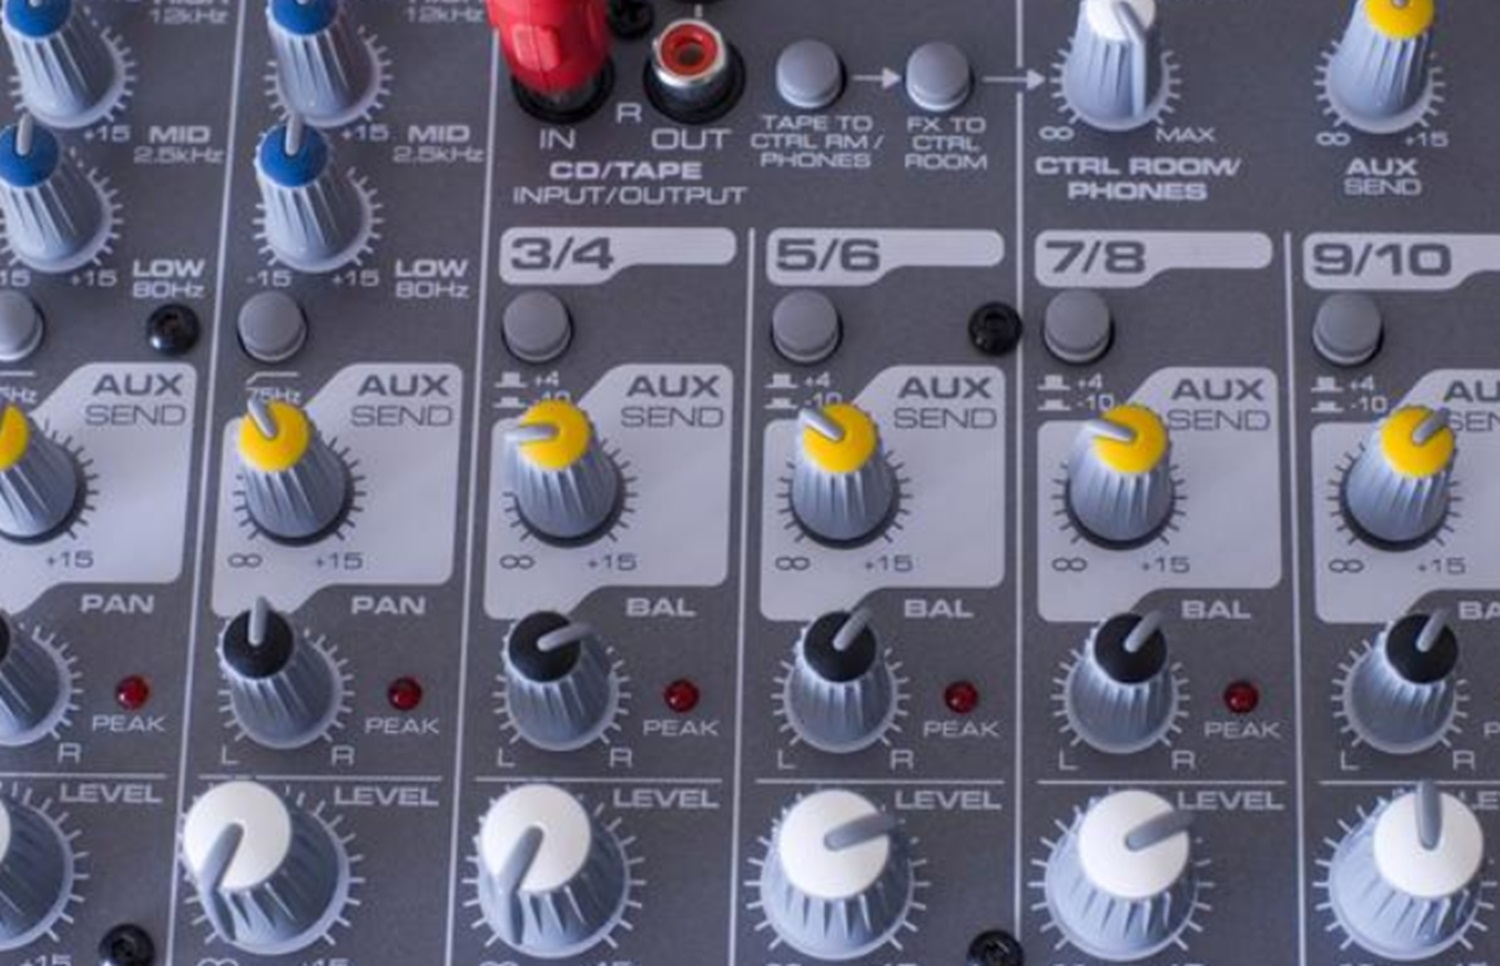
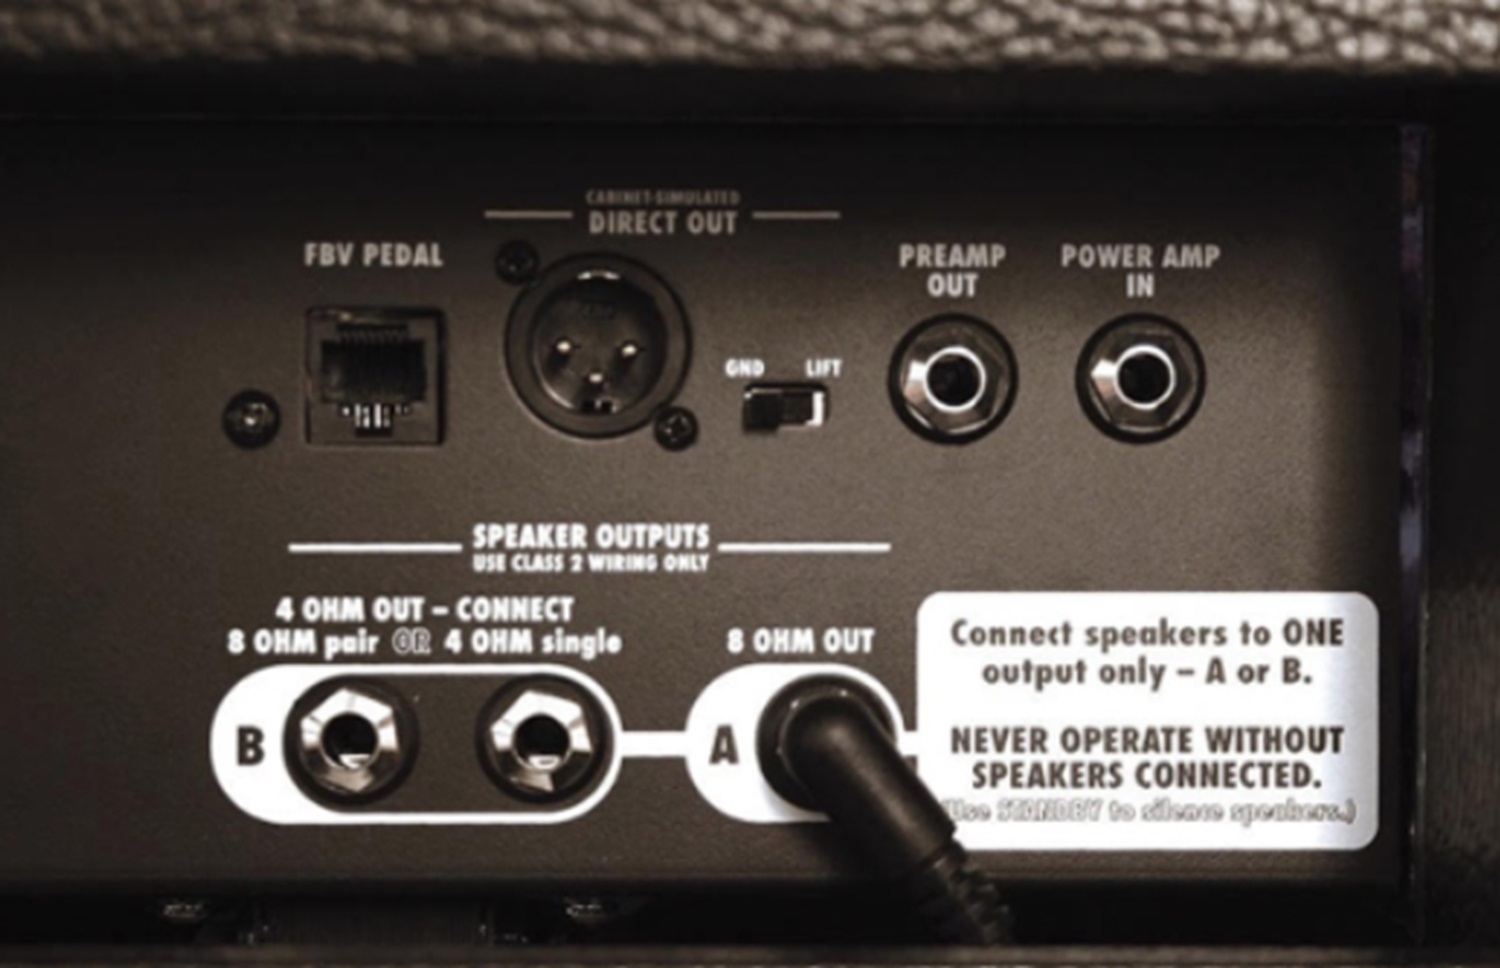
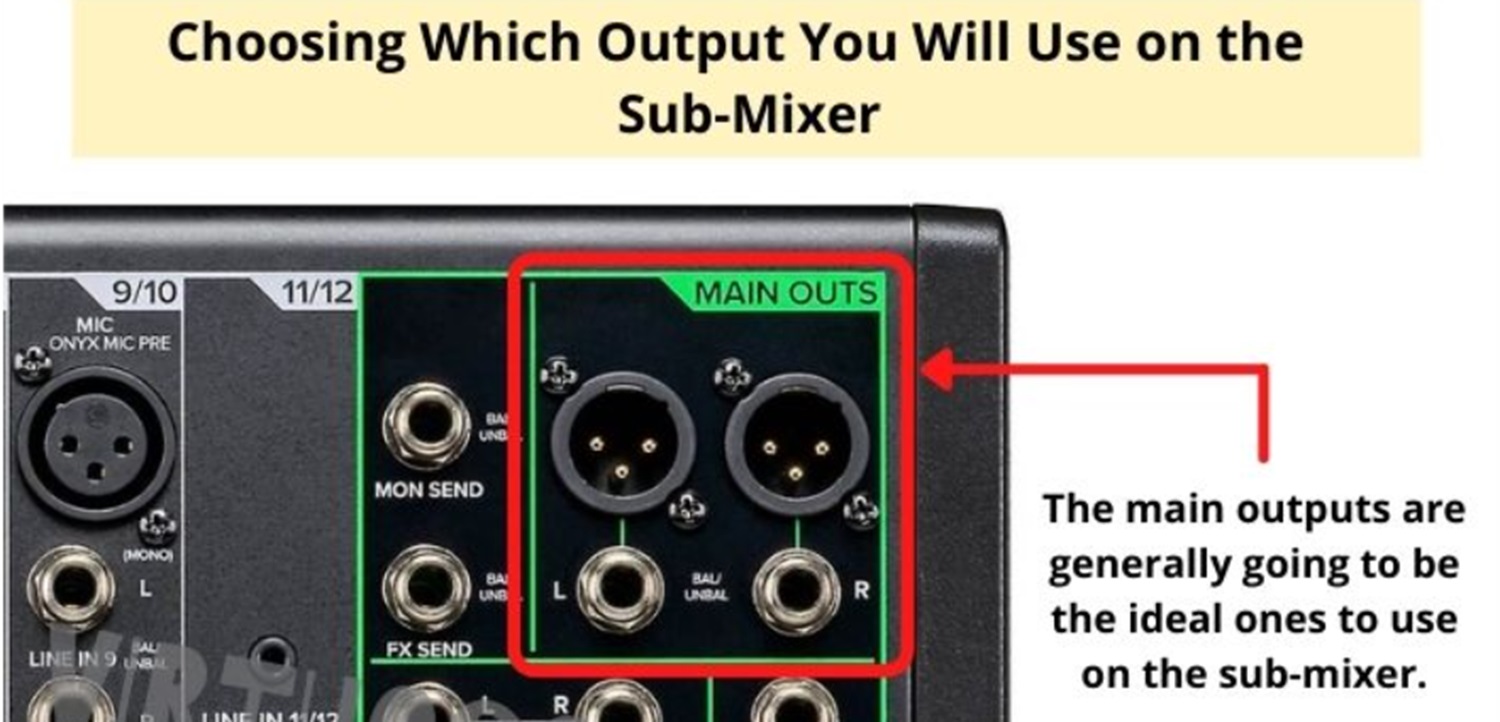
Identifying and Utilizing Line Outputs at the Mixer
Most mixers have line-stage outputs that provide a balanced audio signal for connecting to external devices like audio interfaces. Locate the line outputs on your Mixer, generally categorized as “line out” or “main out.” These outputs can be in the form of XLR or TRS connectors.
Identify the perfect line outputs based totally on your setup requirements. You can use primary outputs for the overall mix or individual channel outputs for specific tracks.
Connecting the Mixer to the Audio Interface
Now that you have prepared your equipment and identified the line outputs at the Mixer, it’s time to connect the Mixer to the audio interface. Follow the steps:
- Using TRS cables: Take a TRS cable and join one give up to the road output at the Mixer. Ensure that you’re using balanced TRS cables for ideal signal first-rate. Connect the other stop of the cable to the road input on the audio interface. Repeat this step for each line output you desire to apply.
- Ensuring accurate enter and output matching: On the audio interface, make sure that you connect the TRS cable to the corresponding line enter. Labeling each input at the interface would make it easier to shape the inputs with the outputs from the Mixer.
Adjusting Gain and Ensuring Optimal Sound Quality
After making the bodily connections for the Mixer into the audio interface, adjusting the advantage settings on the Mixer and audio interface is crucial to gaining top-quality sound. Here’s what to do: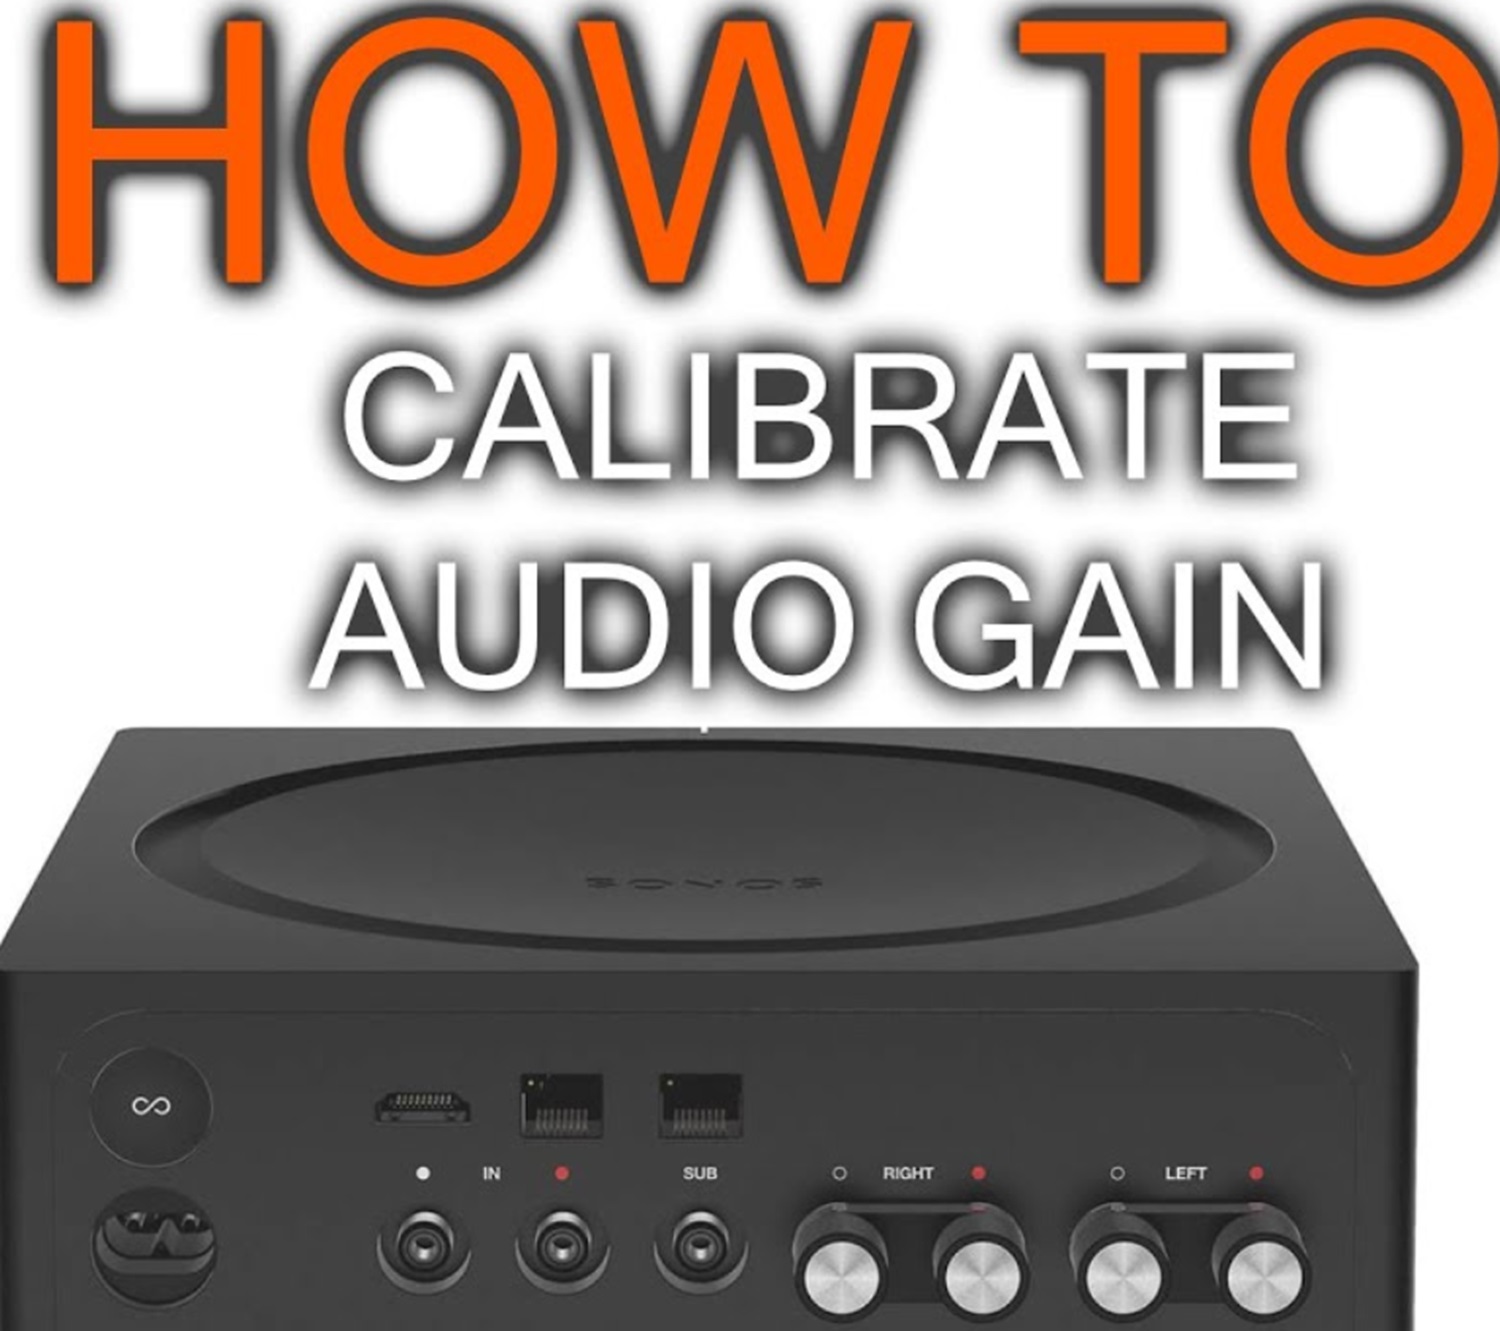
- Gain adjustment on the Mixer: Set the right input stage on each channel by adjusting the gain control. Keep the signal degree moderate to prevent distortion or faint sounds. Check signal level using extent meters on the Mixer or input meters on the audio interface.
- Gain adjustment at the audio interface: On the audio interface, modify the input gain or level control similar to the connected line inputs. Ensure that the input degree is about as it should be to save you clipping or distortion.
When adjusting the system, play audio through the Mixer and monitor it through the audio interface to conduct a valid check. Adjust the benefit settings until you achieve a smooth and balanced sound.
Following these steps on audio interface output to Mixer, you can effectively connect your audio interface to a mixer, ensuring proper signal drift and sound. Consider your particular gadgets’ user manuals for added instructions or recommendations.
Common Mistakes and Troubleshooting
Feedback, the excessive-pitched squealing or howling sound, is a not unusual problem while connecting an audio interface to a mixer. Here are a few suggestions to avoid and rectify feedback issues while doing on how to connect a mixer to an audio interface.
- Ensure proper grounding: Ensure all devices are nicely grounded and linked to a reliable energy source. Poor grounding can lead to unwanted noise and remarks.
- Position microphones efficiently: Improper microphone placement can cause remarks. Avoid placing microphones near speakers or video display units to prevent sound from looping lower back into the microphone.
- Use appropriate benefit settings: Carefully alter the Mixer and audio interface gain degrees. Excessive gain can bring about comments. Set the advantage tiers to the best stability that gives enough quantity without over-amplifying the signal.
- Apply equalization: Utilize the equalization controls at the Mixer to cope with frequencies susceptible to remarks. By reducing or reducing these frequencies, you can assist in doing away with remarks issues.
Ensuring Optimal Sound Quality
To attain the best sound when connecting an audio interface to a mixer, bear in mind the following: 
- Use high-quality cables: Invest in exceptional cables to reduce sign loss and interference. Poor-quality cables can introduce noise and compromise the sound fine.
- Check cable lengths: Excessively lengthy cables can bring about signal degradation. Use the proper cable lengths for your setup to keep sign integrity.
- Monitor signal levels: Monitor the input and output levels displayed on the Mixer and audio interface. Avoid excessive clipping or distortion by adjusting the benefit tiers.
- Test and troubleshoot: If you stumble on any issues with the sound, conduct thorough trying out and troubleshooting. Check all connections, cables, and settings to identify and resolve any problems.
Protecting Your Equipment from Damage
To shield your system while connecting an audio interface to a mixer, don’t forget the subsequent precautions: 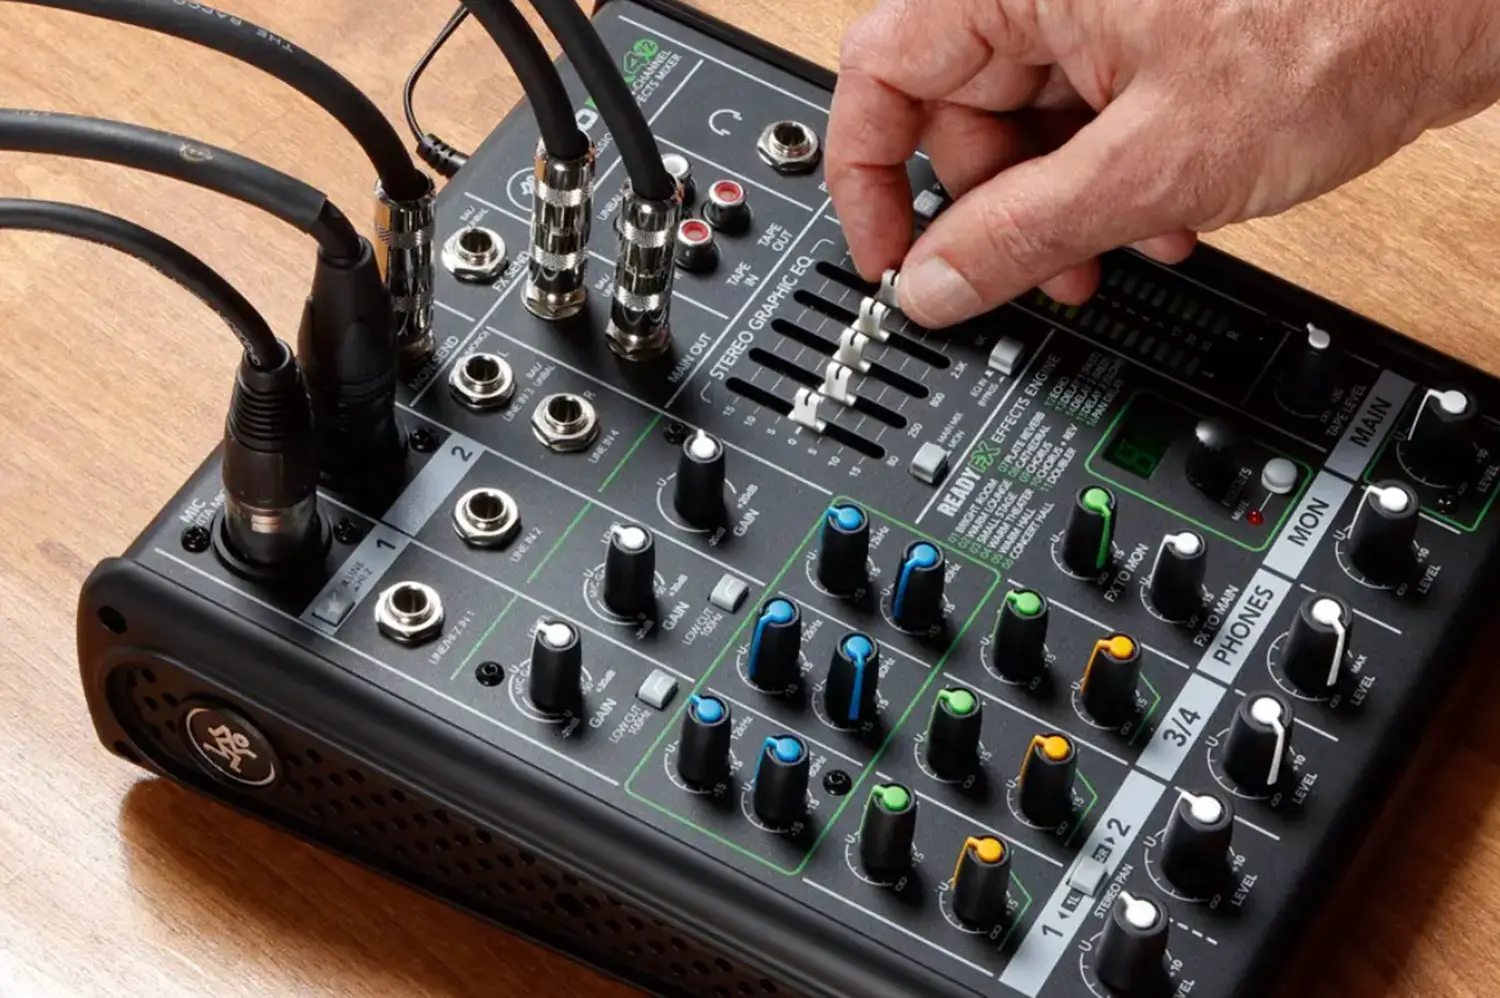
- Read the manuals: Familiarize yourself with the Mixer and audio interface consumer manuals to recognize their unique necessities and recommendations for proper connection.
- Power sequencing: Following the encouraged power sequencing to prevent sudden energy surges or voltage spikes that could damage your gadgets when powering on or off your system.
- Use surge protectors: Connect your system to surge protectors to guard against power surges or electrical fluctuations.
- Handle cables cautiously: Avoid pulling or yanking on cables during connection or disconnection. Treat them lightly to save you harm to the connectors or inner wiring.
- Keep devices cool: Ensure proper airflow and avoid overheating by placing your Mixer and audio interface in nicely ventilated regions. Excessive warmth can shorten the lifespan of your equipment.
By being conscious of these commonplace mistakes, you could decrease potential issues and defend your treasured gadget when connecting the analogue Mixer to the audio interface.
Advanced Tips for Using a Mixer in Your Home Studio
Many current mixers come equipped with onboard processing competencies, permitting you to form the sound and upload effects immediately on the Mixer. Here are a few superior guidelines for using on-tool processing:
- Equalization: Use the built-in EQ controls on the Mixer to shape the tonal balance of person channels or the general mix. Adjusting frequencies can help enhance readability and cast off undesirable elements. You can also look for some of the top equalizing softwares here.
- Dynamics Processing: Use dynamics processors, including compressors and limiters, to control the dynamic range of your audio alerts. This can help even out levels and upload punch and clarity for your blend.
- Effects Send and Returns: Utilize auxiliary sends and returns on the Mixer to contain external consequences processors into your setup. Connect gadgets like reverb gadgets, postpone gadgets, or multi-effects processors to create depth, ambiance, and unique sonic textures.
Expanding Inputs and Outputs
While mixers normally include confined inputs and outputs, you can increase those competencies for your home studio. Consider the subsequent options if you want to connect the Mixer to the audio interface:
- Using Submixers: Integrate sub mixers into your setup to combine multiple audio sources into a single input on the principal Mixer.
 This allows you to control an extra sizable variety of inputs efficaciously.
 - Digital Audio Interfaces: Connect a digital audio interface on your Mixer through the Mixer’s virtual outputs and the interface’s virtual inputs.
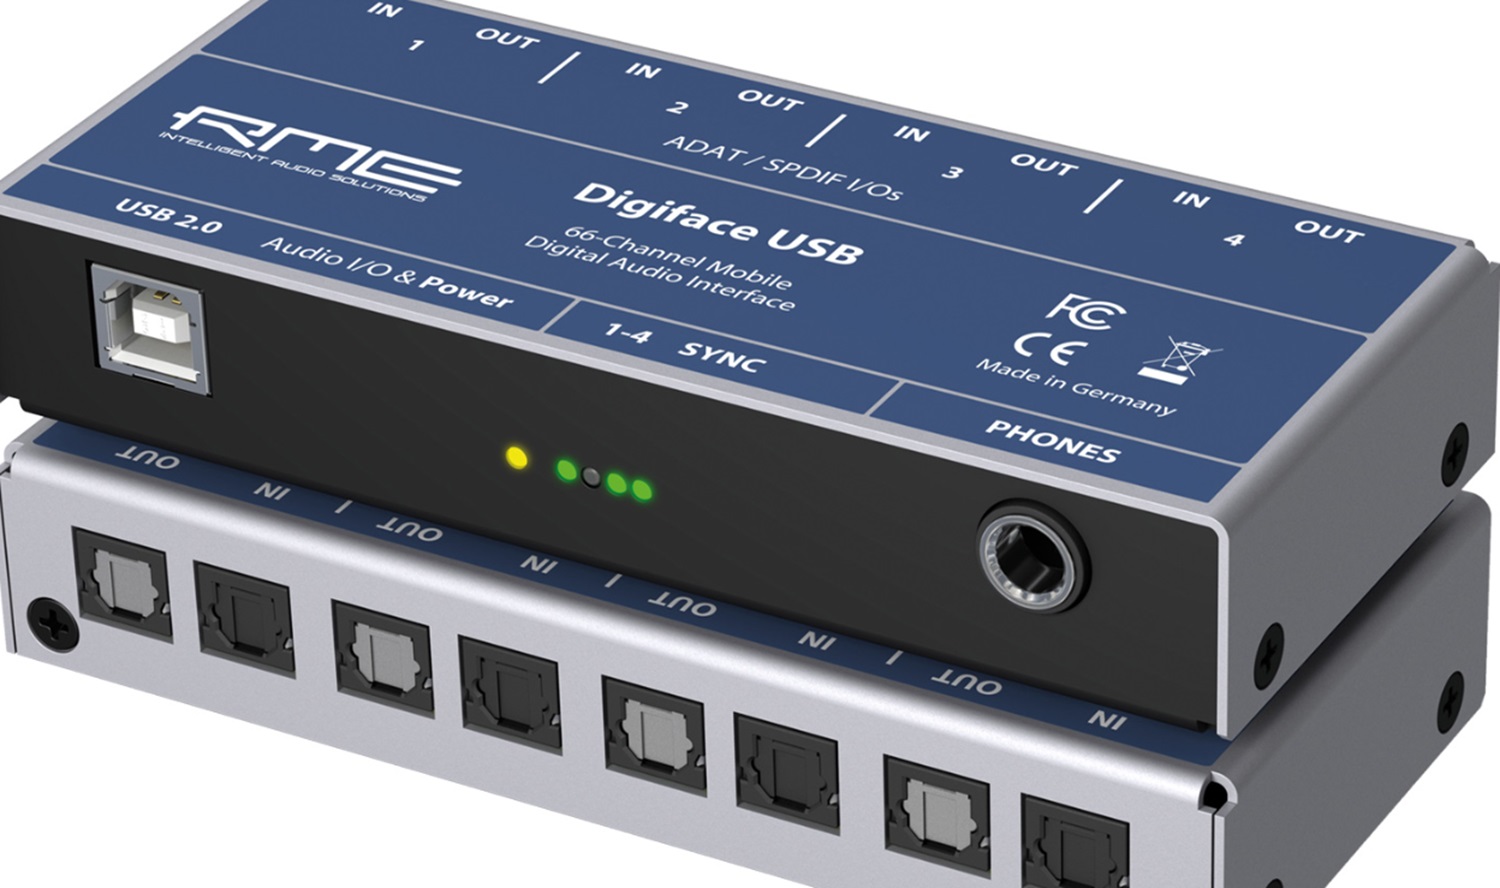 This expands your enter and output alternatives, permitting you to attach extra devices like synthesizers, drum machines, or external consequences units.
 - Patchbays: Implementing a patch bay allows you to route audio signals between diverse gadgets flexibly.
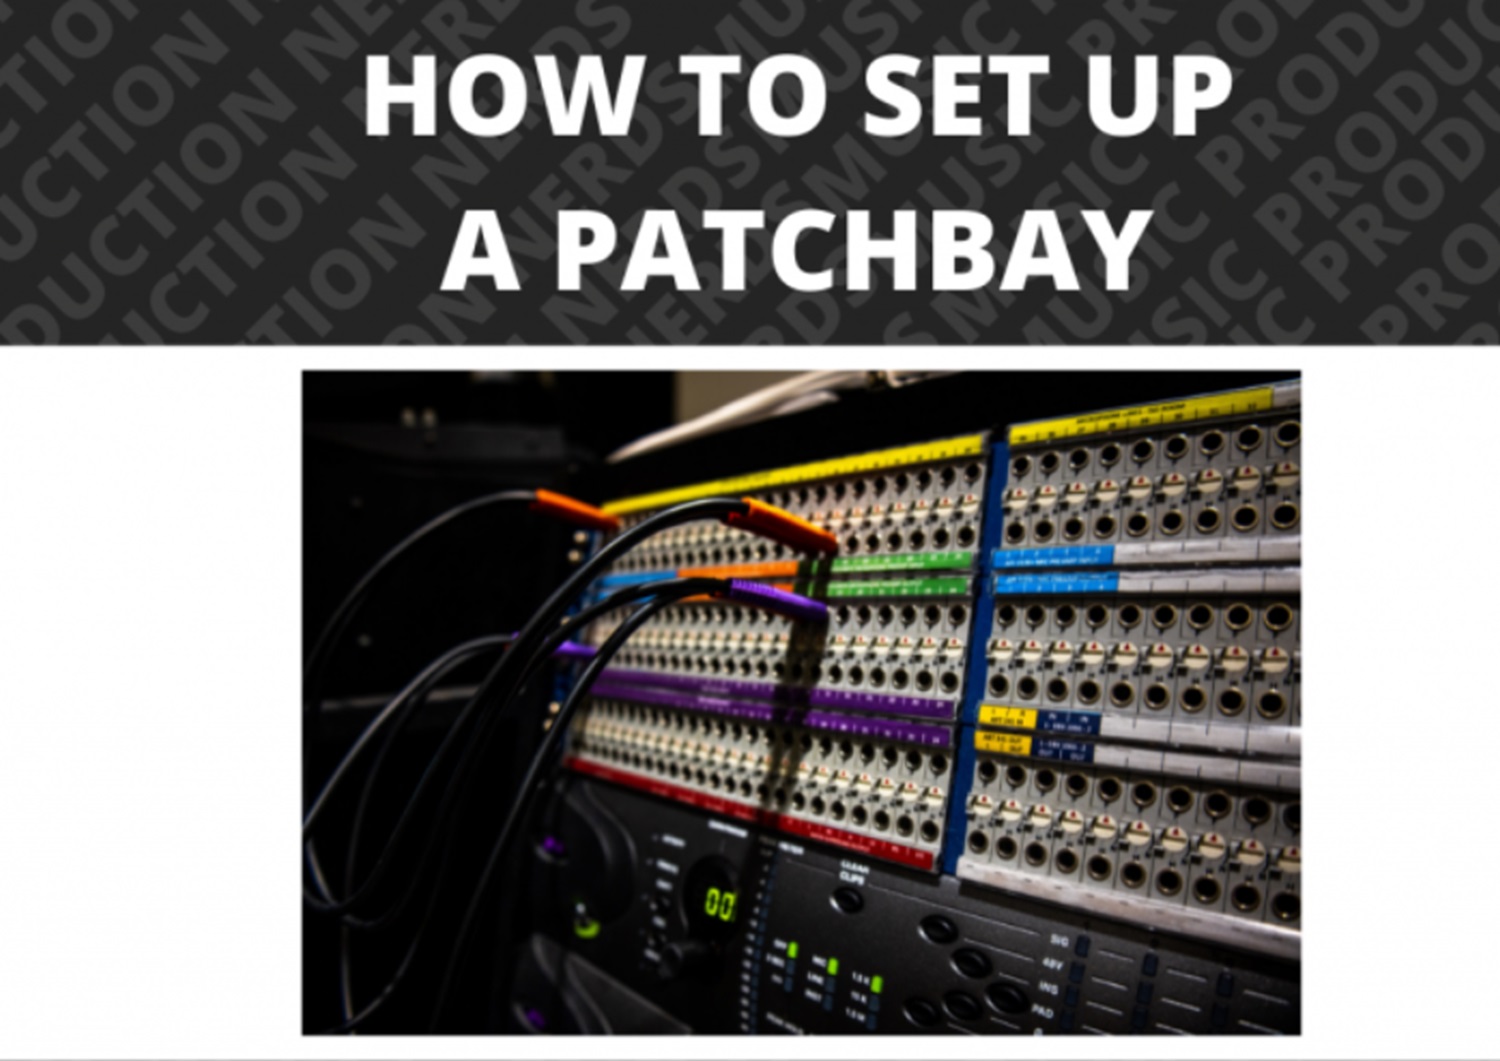 It simplifies connecting and disconnecting devices, making it less complicated to reconfigure your setup as needed.
Utilizing Built-in Effects
Some mixers provide integrated results processors that may readily add results for your audio indicators without outside processors. Here are a few tips for making use of integrated consequences successfully:
- Experiment with presets: Explore the available presets on your Mixer’s consequences processor to discover exclusive sounds and effects. These preset are often designed to beautify vocal units or provide a selected ambiance.
- Adjust impact parameters: Modify the integrated results by changing effects processor settings for reverb decay time, put-off settings, modulation depth, and EQ. This enables you to precisely tailor the consequences for your necessities and musical taste.
- Blend effects subtly: When using outcomes like reverb or put-off, aim for a balanced blend that enhances the audio without overpowering it. Additionally, Experiment with exclusive audio enhancers, impact stages and wet/dry ratios for the preferred result.
- Save and recall settings: If your Mixer permits saving custom settings, use this selection to create and recall your favourite impact configurations. This saves time and guarantees consistency while operating on extraordinary initiatives.
By exploring the superior functions of your Mixer, expanding enter/output abilities, and effectively using built-in results, you can beautify your creative possibilities inside the home studio. Moreover, Experimentation, familiarity, and your particular Mixer’s capabilities will permit you to achieve expert-pleasant outcomes. So this is all about the audio interface output to Mixer.
See Also: Top 10 Best Weight Gain Apps You Can Consider In 2023
FAQs
Do You Need a Mixer for Music Production?
While now optional, having a mixer can significantly beautify your music manufacturing workflow. It offers hands-on control over audio degrees, EQ, and routing, allowing quick adjustments and creative exploration. However, many contemporary audio interfaces provide built-in mixing abilities, making a separate mixer elective.
Does a Mixer Improve Sound Quality?
A mixer does not mechanically enhance the sound high-quality. However, it has blessings, which include progressed audio stage control, routing choices, and sign processing functionality. Those factors can create a more polished and professional sound when properly hired with remarkable audio gadgets.
What's the Difference Between a Mixer and a Preamp?
A mixer and a preamp serve unique functions in audio processing. A preamp amplifies a susceptible signal from a microphone or tool to a line-degree sign, preparing it for similar processing or recording. On the other hand, a mixer combines a couple of audio alerts, permits for degree changes routing, and occasionally consists of built-in preamps. A mixer can include preamp capability, but not all preamps are part of a mixer.
Can I Connect Multiple Mixers to an Audio Interface?
Yes, you can join multiple mixers to an audio interface. Some interfaces have a couple of enter channels, while outside answers like patch bays can also be used. However, consider the routing complexity and potential signal degradation while using various mixers in a setup.
Conclusion
Proper audio routing is key for great sound in any setup. Moreover, following the hints in this manual on audio interface output to Mixer, customers can make particular ultimate signal drift, decrease noise and interference, and ultimately supply professional audio manufacturing.
