Apple Mac is one of the popular desktop options out there, which last saw a refresh in 2013. Though it is long overdue for an upgraded successor, they are still in use for the right reasons. Thus, you must know how to Eject a CD from Macbook Pro now! Some models, like the 2012 ones, had an optical drive where you can insert some CDs and DVDs and use them to read from them or burn data to them. Even the portable Macbooks had optical drives up until 2015, I believe.
Ejecting a disc using a Mac computer: To eject a disc, follow these steps – Click on the Apple menu, select ‘Restart,’ and then press and hold the mouse or trackpad button until the disc is ejected. Alternatively, you can restart your Mac while holding down the Option key for the same purpose.
But regardless of why Apple decided to remove it, just like they are removing every one of the valuable ports and jacks from their devices after you insert a CD, you might be wondering how to get it out! Being a noob you are, you are possibly freaking out now. Well, calm down, Mr. Noob! Here are some simple steps to eject a CD from Macbook Pro. Just follow along, and you will figure it out.
See Also: MacBook Air Won’t Turn On? Here’s How to Fix It [Updated]
Table of Contents
How to Eject CD from Macbook Pro Easily
The following are some of the best ways to eject a CD from a Macbook Pro. So let’s follow these steps to find which works for you.
Pressing F12
Press and hold the F12 of the function keys from the keyboard until the CD drive pops out. This is supported on some Mac keyboards and also on some of the MacBook models.
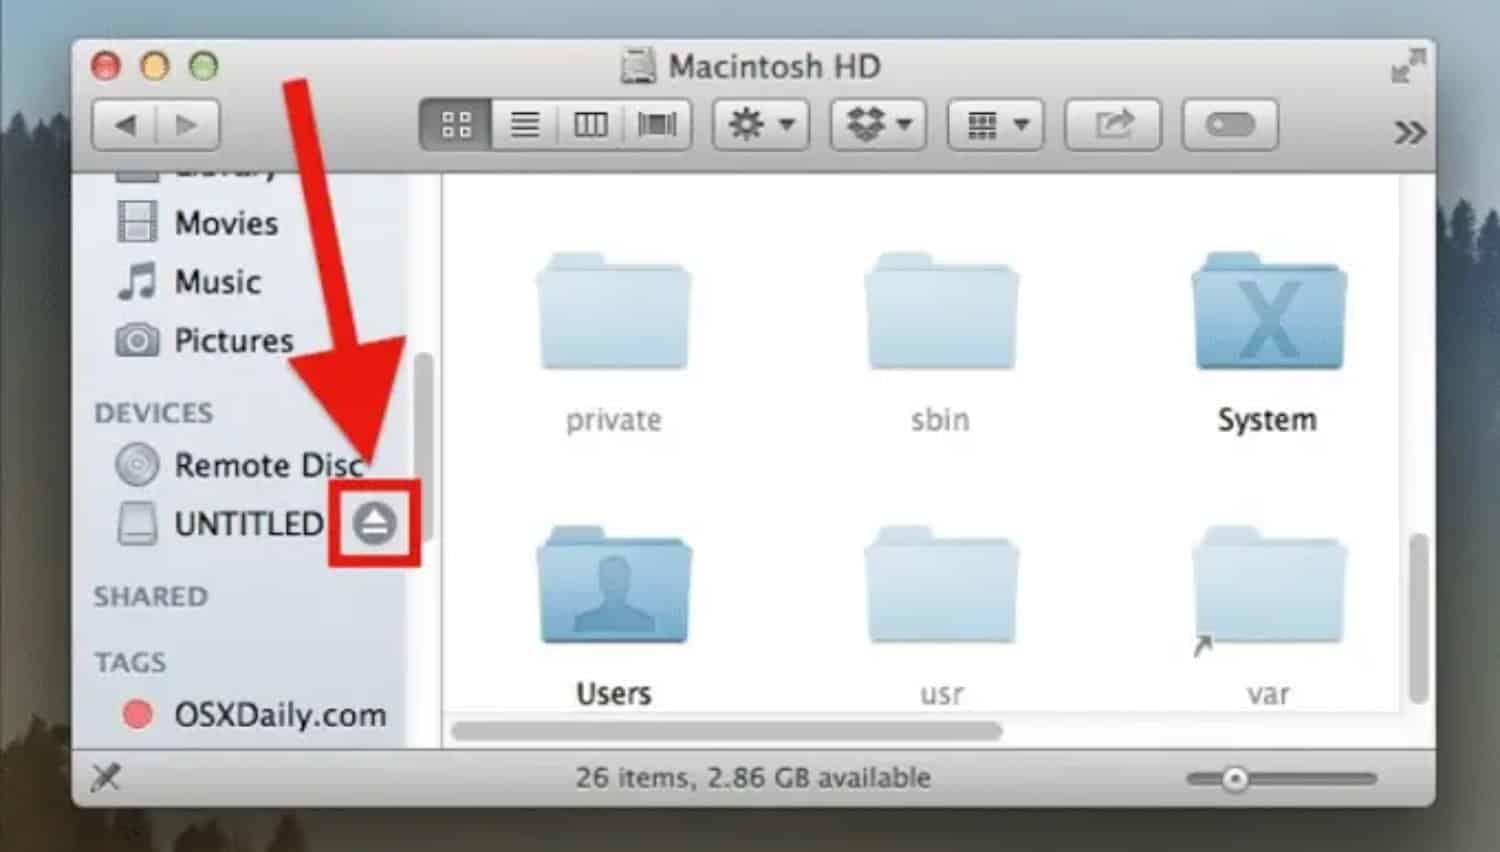
 Eject on Mac
On your desktop, it shows an icon for the DVD drive. Right-click on it, and it will show you an Eject option, right?
Well, go ahead and click it, then!
Eject Using Trash
Press and hold the DVD drive icon and drag it to the trash icon. You will notice that the trash symbol will transform into an eject symbol.
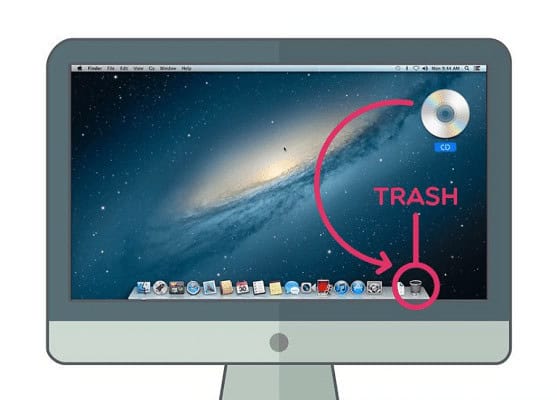
Drag your icon over it and release it. Your disc should eject in a few seconds after that.
Eject Menu Applet
You will usually see an Eject menu applet in the menu bar of your Macbook or Mac. Clicking on it will bring out your CD. If you don’t see any applets for ejecting CDs on your Mac menu, you can add that item to your menu using these simple steps:
- Open a finder window and navigate this path: /System/Library/CoreServices/Menu Extras.
- In the Menu Extras folder, click on Eject—menu item.
That’s all! Now there should be an applet named eject on your menu bar. If clicked upon, it will show the list of all the external devices connected to your system, including USB drives, external hard drives, and of course, the CDs in the industry. Click on the CD/DVD name you want to eject, and it will pop out quickly.
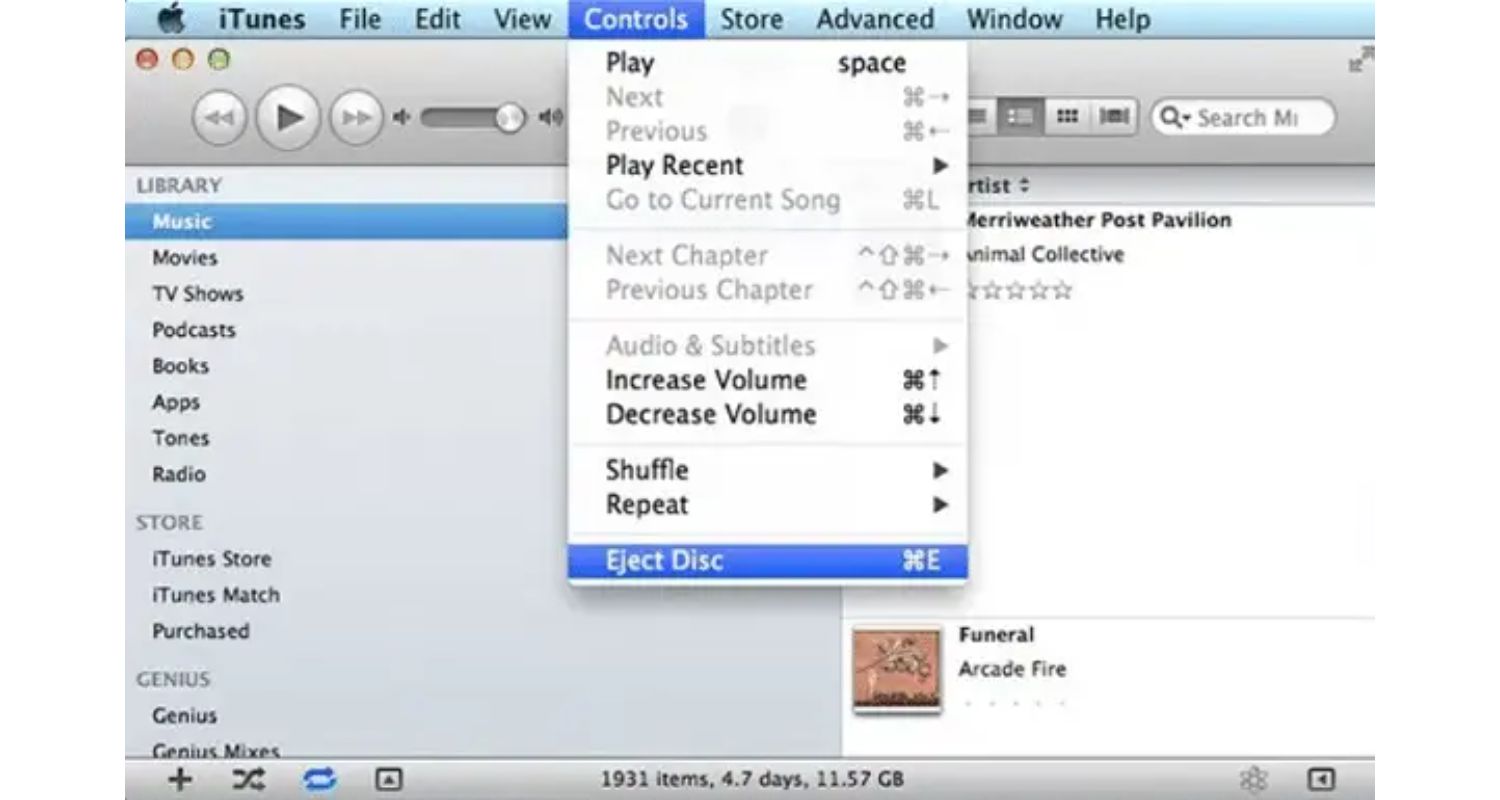
Eject from iTunes and Disk Utility.
A few applications, for example, iTunes and Disk Utility, have an option in their menus or toolbar.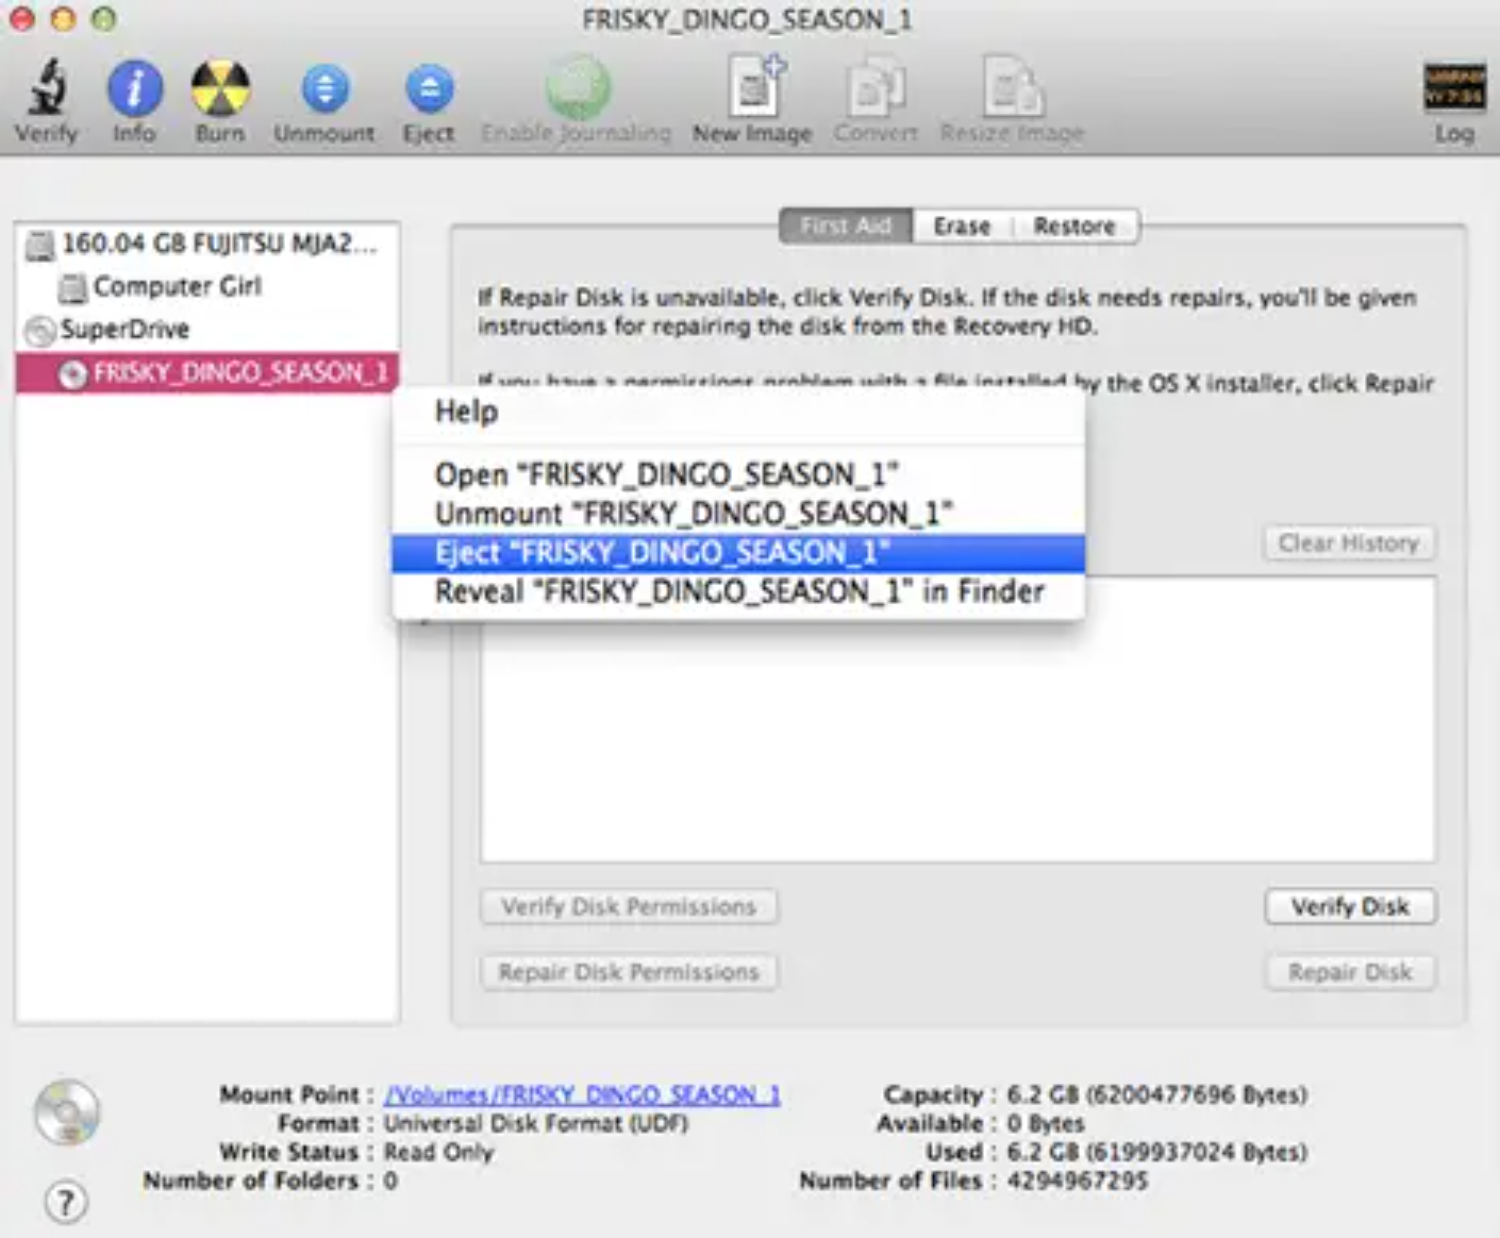 You can fire up the app and click the Eject option to pop out your CD or DVD.
See Also: 5 Best DVD Burner Software For Windows/Mac (Free & Paid)
Eject Forcefully
If the above methods do not help and your drive seems unresponsive, you can forcefully try to eject the CD from your MacBook.
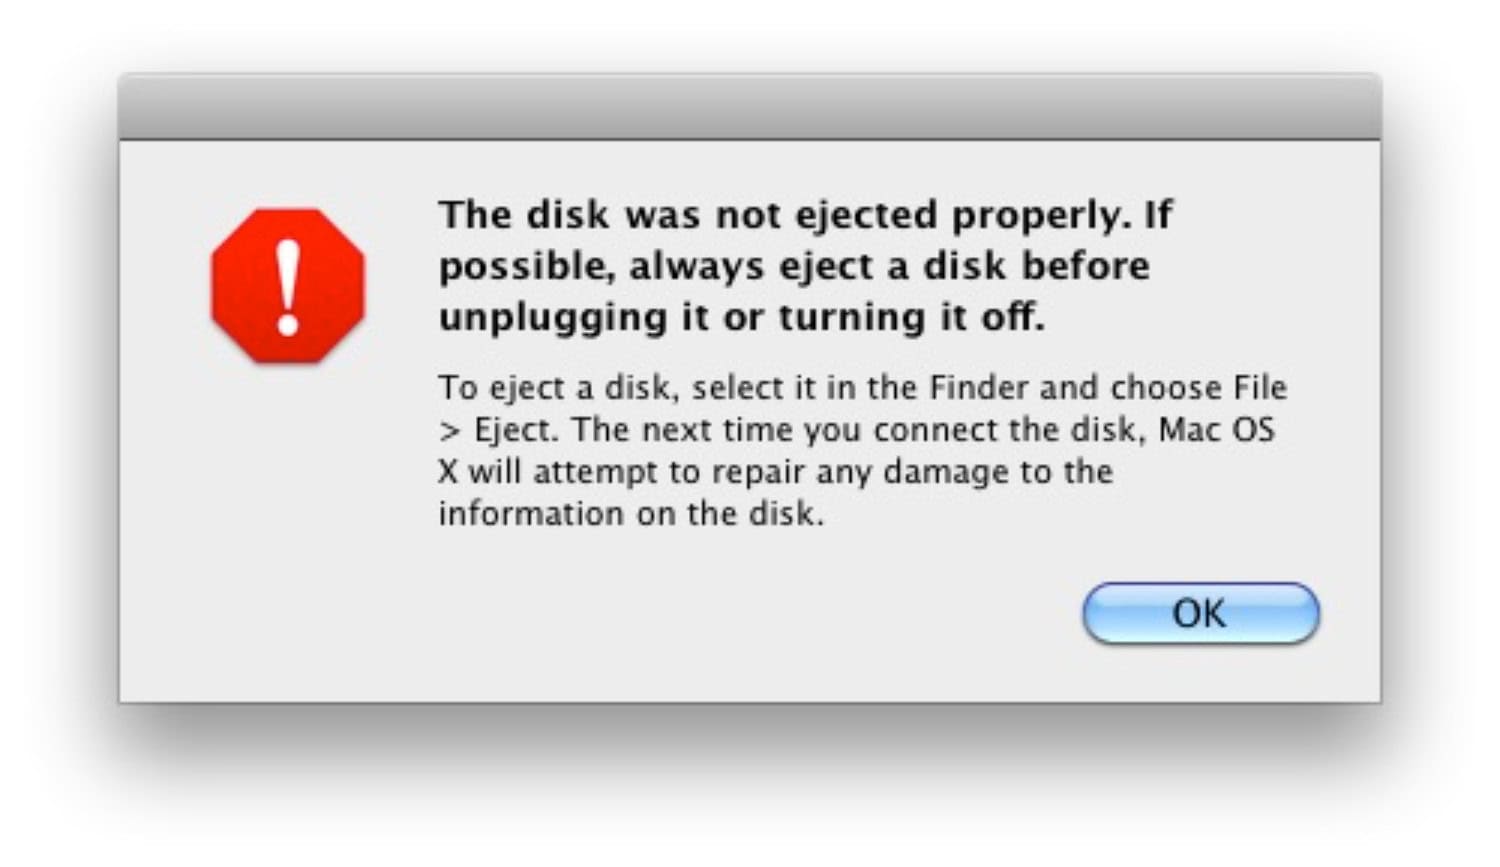
Now by ‘forcefully,’ I mean by pressing the mouse button while shutting down the MacBook, so put down your pry tools and screwdrivers.
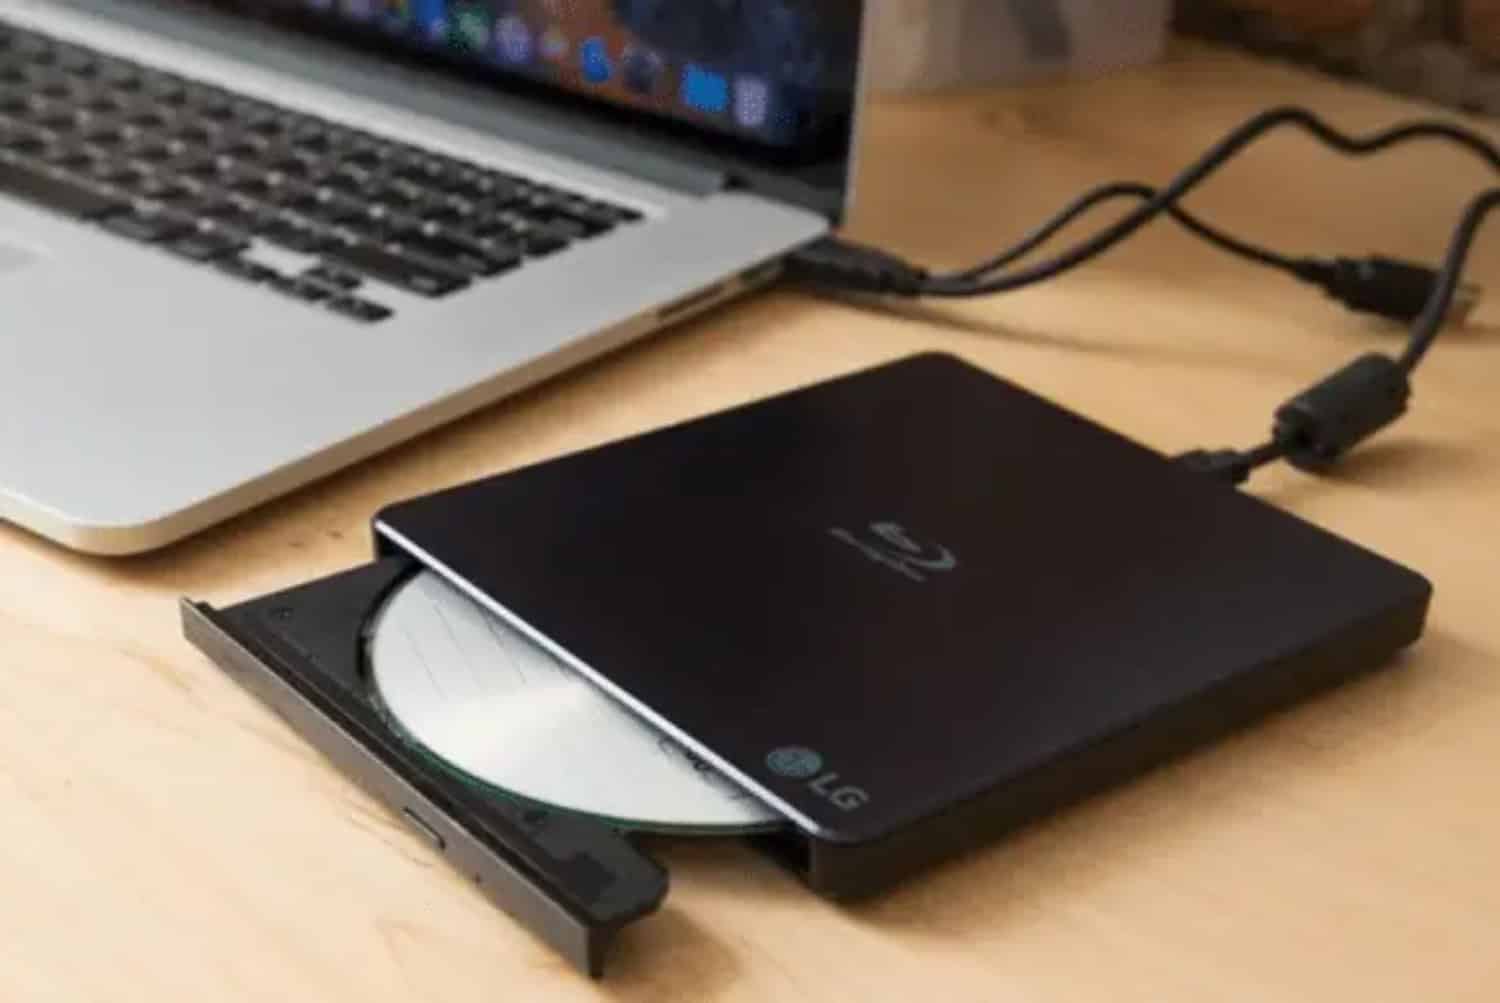
How to Eject CD from Macbook Pro External Drive
If you are using an external drive connected to your shiny, new, expensive MacBook Pro that can’t even read a puny SD card on its own, then there are some other things you can try.
Using Power Switch
Some of the external optical drive readers will have a dedicated power switch, so power them down when you are done reading/writing from it and restart it.

Then press down on its eject button to (hopefully) bring out the CD tray.
Dedicated Eject Button
Sometimes, manufacturers will not provide a dedicated eject button for some reason. Instead, they give a pinhole with a latch at the end of it.
This is used to manually eject the CD tray if you can’t seem to remove it from the system. You have to grab a pencil with a narrow tip, or maybe a paperclip or something, and push it slowly inside that tiny pinhole.
You will touch something that can be pushed in. Push it, and the CD tray will immediately pop out. Sometimes, your intelligent Apple computer will assume that the drive is still in use because you might have left one of its contents open in a window. Close it first and then try to eject it using any of the above methods.
See Also: Battery Is Not Charging On MacBook Pro | Easy Ways To Fix It
FAQs
How do I manually eject a CD from my Macbook Pro?
1. Hold the mouse or touchpad buttons down while restarting your MacBook. 2. If that doesn't work, shut down your MacBook, then press and hold the 'Eject' key on the keyboard. 3. You may gently push into the manual eject hole near the CD/DVD slot with a paperclip or similar small, straight object.
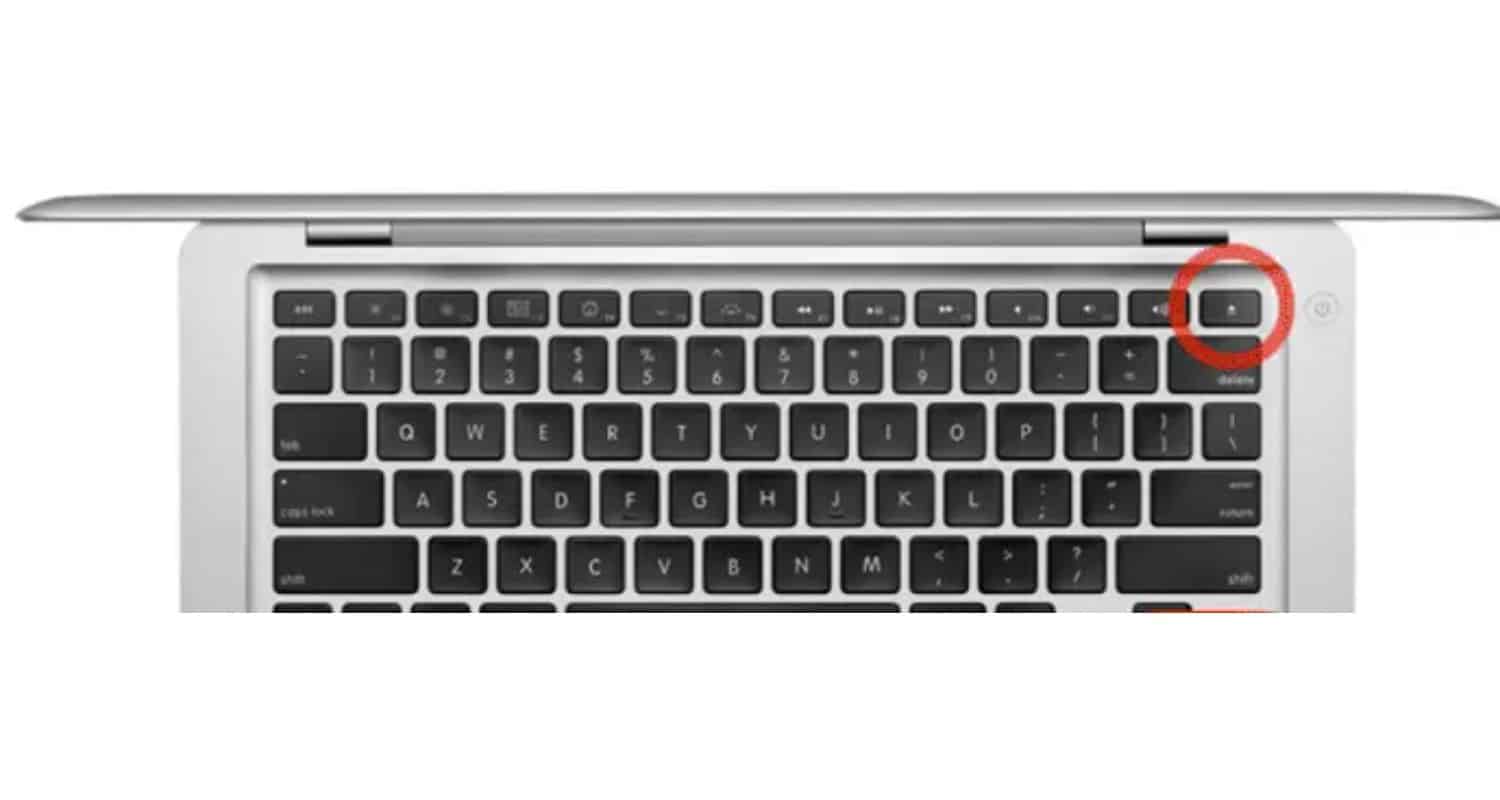
How do I eject a CD from my Macbook Pro keyboard?
1. Locate the ‘Eject’ key on your MacBook Pro's keyboard. 2. Press and hold the ‘Eject’ key until the CD tray or slot disengages and ejects the CD. 3. Gently remove the CD once it's partially ejected.
Is there an eject key on the Macbook Pro?
Newer MacBook Pro models, especially those with the Touch Bar, do not have a physical 'Eject' key. However, you can still eject CDs/DVDs or external drives by selecting the item in Finder and clicking the 'Eject' button or by using the keyboard shortcut 'Command + E.'
Where is the eject power button on the Macbook Pro?
The MacBook Pro's power button is not for ejecting discs or drives. To eject, use the ‘Eject’ button in Finder or the keyboard shortcut ‘Command + E’ if you have an external drive or disc to eject. The power button is mainly for turning the laptop on or off.
Conclusion
I hope you can now eject a CD from your Macbook Pro. Visit our website to read more content!
See also: – 3 Easy Ways to Turn off iMessage on Macbook.