Are you wondering how to clean CPU socket? This article will walk you through the step-by-step process to ensure your CPU socket stays in ideal condition. Let’s get started!
To clean the CPU socket thoroughly, disconnect the electricity and ground yourself. Identify where it is not clean, then gently clean using gentle brushes and solutions. Remove the thermal paste in the CPU socket carefully, and check for pin damage. Exercise warning and be patient. To know more, keep on reading.
The CPU socket is a crucial component of any computer system. It serves as the connection point between the CPU and the motherboard, facilitating data transfer and electrical signals. Ensuring that the CPU socket remains smooth and undamaged is paramount for the best functioning and durability of the PC. In this article, we will explore the importance of a clean CPU socket and how to clean CPU socket in detail. CPU Running At 100? Check Out this to solve.
See Also: What Happens If Thermal Paste Gets On CPU Pin?
Table of Contents
Why Cleaning the CPU Socket is Crucial
A clean CPU socket is critical for the most reliable PC’s overall performance and durability. It impacts performance, CPU and motherboard lifespan. Let’s discover why cleaning it is essential. 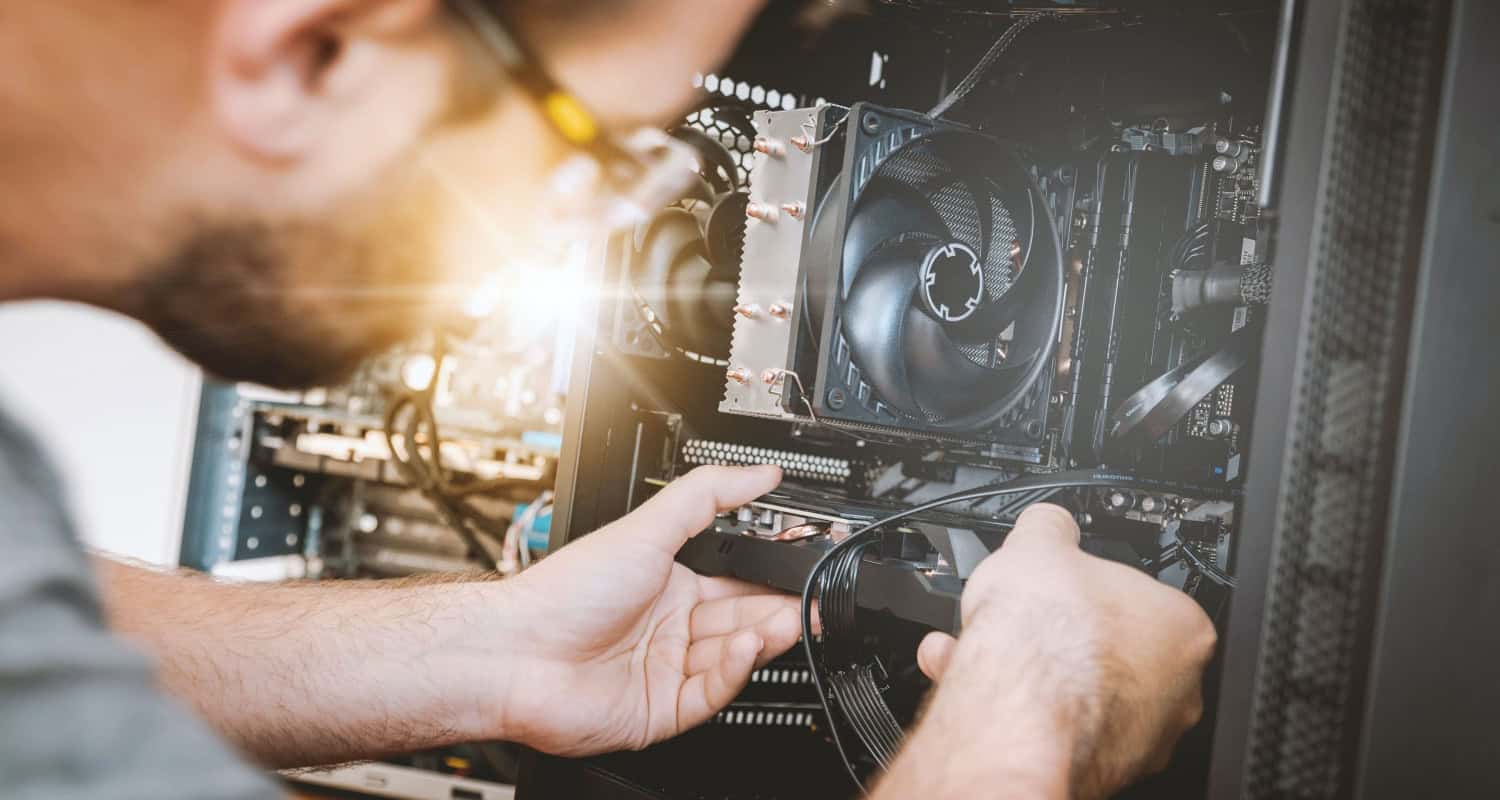
Performance Implications: A clean CPU socket is crucial to maintain optimal computer performance. Dust, debris, or thermal paste residue can block electric connections between the CPU and motherboard, causing poor signal transmission, increased resistance, and decreased performance.
Longevity of the CPU and Motherboard: A dirty or broken CPU socket can have enormous repercussions on the durability of both the CPU and the motherboard. Excessive dirt or particles can cause overheating as it hampers the airflow around the CPU socket. Elevated temperatures can boost the degradation of the CPU and other touchy components, potentially shortening their lifespan. Moreover, suppose the socket pins or contacts grow to be damaged due to forgetting or wrong cleaning strategies. In that case, it can require steeply-priced upkeep or even necessitate the replacement of the motherboard.
Proper Cleaning Techniques: To preserve a clean CPU socket, it’s crucial to observe proper cleaning techniques. This includes using compressed air to blow away loose particles, cautiously wiping the socket with a lint-loose fabric, and using the best cleansing solution to eliminate any stubborn residue. It is essential to exercise caution and avoid excessive force to prevent damage to the delicate pins or contacts within the socket.
Regular Maintenance: Cleaning the CPU socket should be part of a complete PC maintenance routine. By getting rid of dirt, debris, and residue, you could ensure top-quality performance, expand your CPU’s and motherboard’s lifespan, and avoid capability gadget problems resulting from a dirty or broken socket.
Common Causes of CPU Socket Contamination
Contamination inside the CPU socket can arise from diverse resources. Accidental thermal paste spills, dirt accumulation, and mishandling, all through set-up or removal, are common culprits. Let’s explore these reasons in detail. 
- Accidental Thermal Paste Spills: One of the not unusual causes of CPU socket contamination is accidental spills of thermal paste. Thermal paste is regularly implemented among the CPU and the heatsink to ensure efficient heat transfer. However, the extra paste can spill over and input the socket at some stage in the application method. The paste can harden through the years, attracting dust and particles and leading to negative electric connections in the socket. Cleaning thermal paste off the CPU socket is relatively easy. Read on to know more about it.
- Dust Accumulation: Dust is a pervasive enemy of electronic additives, which include the CPU socket. Over time, dust particles can input the PC case and settle on the motherboard and the CPU socket. Dust accumulation in the socket can restrict proper electric contact between the CPU and the motherboard, inflicting performance troubles and capacity damage.
- Mishandling During Installation or Removal: Improper handling of the CPU or motherboard at some point of set-up or removal can introduce contaminants into the CPU socket. Mishandling can include excessive pressure, misalignment, or losing the additives. Such actions can cause bent pins, scratches, or foreign objects to enter the socket, compromising its cleanliness and functionality.
- Environmental Factors: PC surroundings play a role in CPU socket contamination. Dusty areas, production sites, or pet hair can contribute to debris buildup. Accidental spills, dirt accumulation, and mishandling during installation are common causes. Regular cleaning and maintenance are important for optimal performance and durability.
See Also: How To Disable CPU Throttling On Windows 11: 6 Easy Steps
Preparation Before Cleaning
To ensure a successful and safe method on how to clean CPU socket, it’s essential to make adequate preparations. This includes accumulating the proper tools, presenting a static-loose environment, and taking crucial precautions with the PC’s power supply. 
- Gathering the Right Tools: Before cleaning the CPU socket, acquire the essential equipment to perform the task effectively. Standard tools encompass a compressed air duster, lint-unfastened material, gentle-bristle brush, isopropyl alcohol or electronic contact cleanser, and a plastic or non-conductive device for gentle cleaning.
- Ensuring a Static-Free Environment: Static energy can cause damage to touchy digital additives, consisting of the CPU and motherboard. Therefore, it’s critical to work in a static-unfastened environment. Consider using an anti-static wrist strap and working on a grounded surface to limit the hazard. Additionally, avoid carrying clothing that generates static strength and work in a non-carpeted location.
- Turning off and Unplugging the PC: Before cleansing, ensure the PC is turned off and unplugged from the power supply. This precautionary measure prevents electrical accidents and safeguards the user and computer components.
By taking these preparatory steps, you can create a secure and suitable environment for cleansing the CPU socket. Let us now look at some of the how to clean CPU sockets.
See Also: What Is A Safe CPU Temp? Guidelines For Optimal Performance
Guide to Cleaning the CPU Socket
Cleaning the CPU socket requires cautious attention to detail and following the proper steps. Here is a step-by-step manual to efficaciously clean the CPU socket:
- Safety First: Disconnecting Power and Grounding Yourself: Ensure the PC is turned off and unplugged from the electricity source. This removes the threat of electrical accidents. Additionally, ground yourself using an anti-static wrist strap connected to a grounded floor to save you static discharge.
- Visual Inspection: Identifying the Type and Extent of Contamination: Carefully study the CPU socket for any seen dust, particles, or thermal paste residue. Take note of the extent of contamination to determine the perfect cleaning technique.
- Gentle Cleaning: Using Soft Brushes and Recommended Solutions: Using a tender-bristle brush or compressed air duster, gently eliminate unfastened dust and particles from the CPU socket. Avoid applying immoderate force to save you detrimental the sensitive pins or contacts. If essential, gently dampen a lint-loose fabric with isopropyl alcohol or an electrical contact cleaner to dispose of stubborn residue.
- Dealing with Thermal Paste: Safe Methods to Remove Accidental: If there are any unintended spills of thermal paste inside the CPU socket, it’s essential to deal with them nicely. Use a non-conductive tool, consisting of a plastic pick, to do away with the hardened thermal paste without scratching or bending the pins. Avoid using sharp or metal tools that could cause damage.
- Final Check: Ensuring All Pins Are Straight and Undamaged: Inspect the pins inside the CPU socket after cleansing. If you notice any bent or broken pins, seek professional assistance or replace the motherboard. Be careful and patient to avoid accidental damage while following the cleaning process. So this is how to clean CPU socket.
See Also: How To Fix GameCube Disc? [Complete Guide]
Preventing Future Contamination
It is essential to enforce preventive measures to reduce the chance of future CPU socket contamination. Here are a few effective techniques.
- Proper CPU Installation Techniques
When putting in a CPU, apply the best thermal paste to avoid excessive spills. Follow the manufacturer’s instructions cautiously to align the CPU effectively and steady it in the socket without using immoderate force that can cause harm. 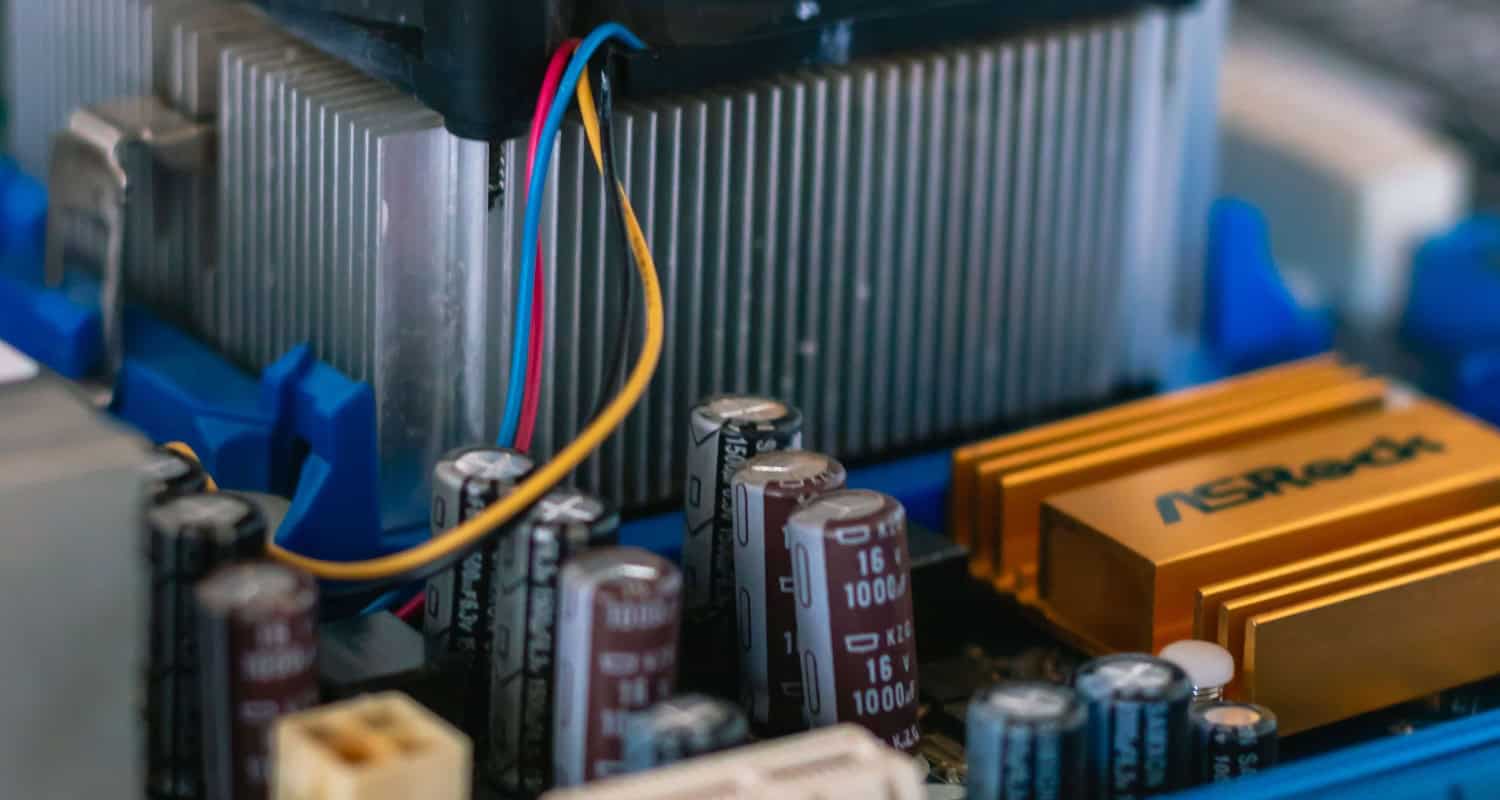
- Maintaining a Clean PC Environment
Maintain clean and dust-free surroundings on your computer. Regularly clean the PC case, lovers, and filters to prevent dust accumulation. Consider using air filters and retaining the PC in a clean and well-ventilated region to reduce the ingress of contaminants.
- Regularly Scheduled PC Check-Ups
Create a recurring schedule for PC maintenance to prevent potential issues. Regular check-ups include analyzing and cleaning the CPU socket to ensure a clean PC environment and optimal performance. These preventive measures enhance the longevity of your PC and reduce the risk of future CPU socket contamination. So, this is all about how to get thermal paste out of the CPU socket.
Don’t forget to check out this article to learn how CPU computations are stored!
FAQs
Should I clean the socket whilst the PC is powered on?
No, it's essential to show off the PC and unplug it from the electricity supply earlier than cleaning the CPU socket to save you from electrical accidents.
Can I reuse thermal paste after cleaning the socket?
It is typically encouraged to use fresh thermal paste after cleaning the socket. Reusing old thermal paste can also affect heat switch performance.
How frequently ought I clean the CPU socket?
The frequency of cleansing depends on the surroundings. Generally, it is advisable to clean the CPU socket every 6 to 12 months or if you notice performance issues or contamination.
Can I clean the CPU socket with a vacuum purifier?
It is not recommended to apply a vacuum cleaner as it could generate static power and potentially damage touchy digital components. Stick to using compressed air or soft brushes for cleaning.
Conclusion
Maintaining a smooth CPU socket is essential for excellent PC performance and longevity. In this article, we explored the importance of cleaning the socket’s not unusual contamination causes and furnished a step-by-step manual for effective cleaning. We can ensure our computer systems run well and extend their lifespan by promoting safe and routine maintenance procedures. This article on how to clean CPU socket has helped you know everything about it.
See Also: How To Clean Wii U Gamepad Properly | [Complete Guide]
