Are you tired of your go-to streaming add-ons because they are not working? Learn how to set up Stream Engine, a powerful replacement streaming platform for Kodi. Our easy-peasy step-by-step guide on how to install Stream Engine on Kodi will have you searching and selecting your favorite movies and shows in no time!
To get Stream Engine on Kodi, first turn on unknown sources. Then, add the Mucky Duck source and install it from its zip file. This adds the repo, then install Stream Engine from there. Afterward, you can find and use it under Videos to watch free movies and shows.
Actually, stream Engine is an addon for Kodi that lets you find movies and TV shows for free. You can install Kodi on boxes, phones, and computers as well. It helps you watch video content from the internet. Stream Engine works inside Kodi – you add it as an app to Kodi. Then, you can search and find links to stream new and old movies, TV shows, documentaries, and more from other websites straight through Kodi using Stream Engine. Let us read to know how to install Stream Engine on Kodi.
Table of Contents
Is it safe to use Stream Engine on Kodi?
Many people wonder if installing Stream engine on Kodi is safe or not. Stream Engine lets you watch free movies and TV shows. Some think this might not be legal or safe. But Stream Engine does not host any content – it only finds links to videos from other sites. The videos come from places that share videos online. Actually, Stream Engine only works if you have an addon for Kodi. Addons are like apps you add to make Kodi do more. It should be fine if you get Stream Engine from its official place or the Kodi addon site. The only time using add-ons could be unsafe is if the site links videos from shared private or not nice things.
The most important is to use a VPN when using Kodi and addons. A VPN hides your internet traffic and keeps your info private from others. Using a good VPN and getting Stream Engine from safe places should be no problems. Kodi and add-ons make it easier to find videos – the videos still come from other websites. So Stream Engine is not risky; use a VPN to stay safe online.
How to install Stream Engine on Kodi: Step-by-Step Guide
When setting up Kodi, seamlessly integrate the experience by installing the Stream Engine. Navigate to the Kodi addon browser, search for Stream Engine, and select and install it. After installation, locate Stream Engine under videos, where you can click on it to stream a vast array of free movies and TV shows.
See Also: How To Install Vader Streams On Kodi? Complete Guide
Install Stream Engine Addon for Kodi 20.3 Nexus
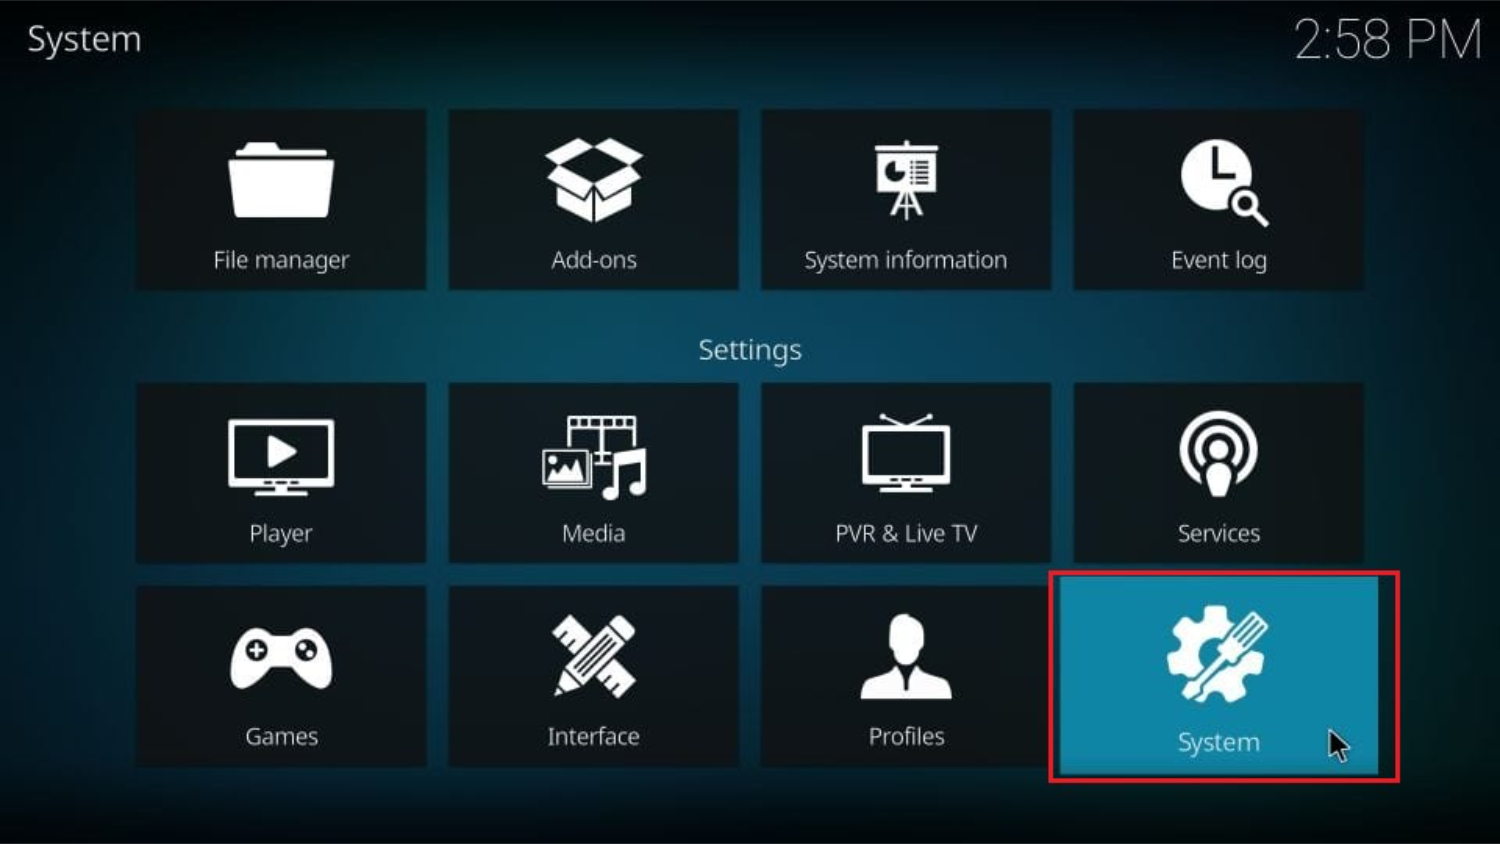
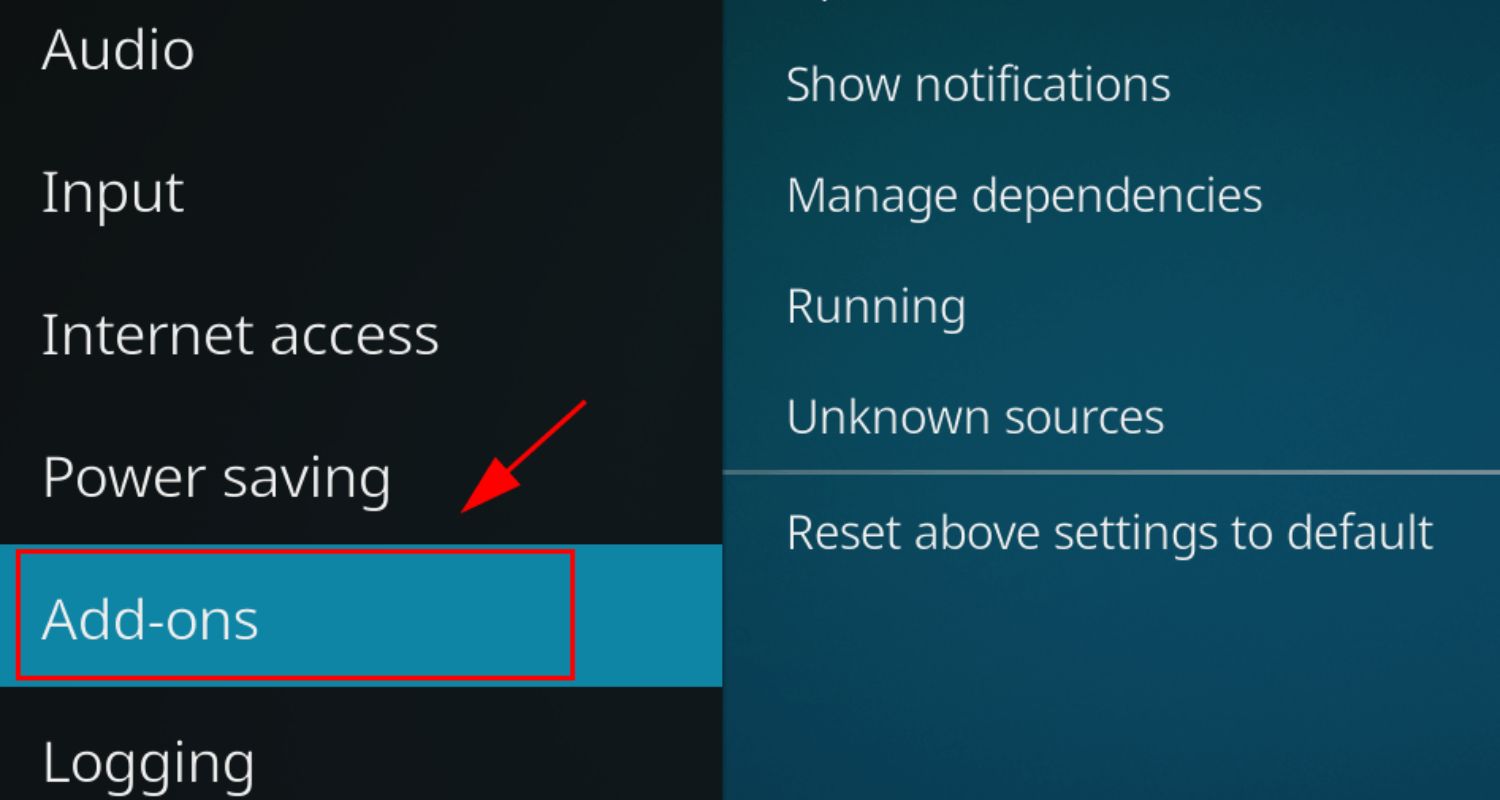
To Stream Engine Kodi install, follow a few simple steps. First, make sure you have enabled Unknown sources on Kodi. Go to the Kodi home screen and click the System option to do this. Then, select the System settings and choose Addons. From there, toggle on the Unknown Sources option.
Once Unknown sources are enabled, you can proceed with the installation process. Here are the steps to go further with how to install Stream Engine on Kodi:
- Click on the System option from the Kodi home screen and select File Manager.
- On the next page, you’ll see two mirrored lists. Click on the Add Source option.
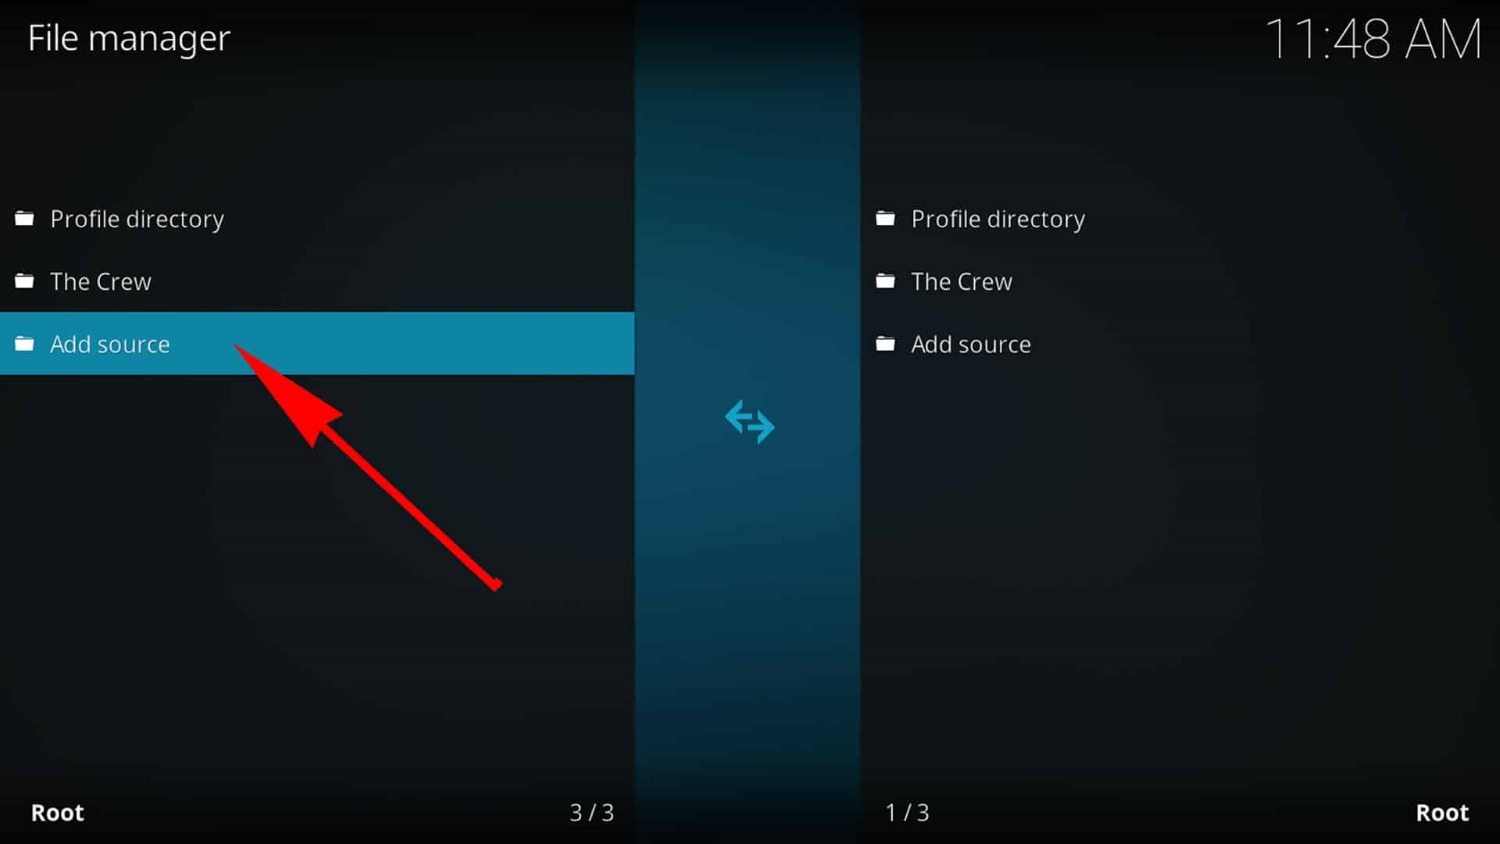
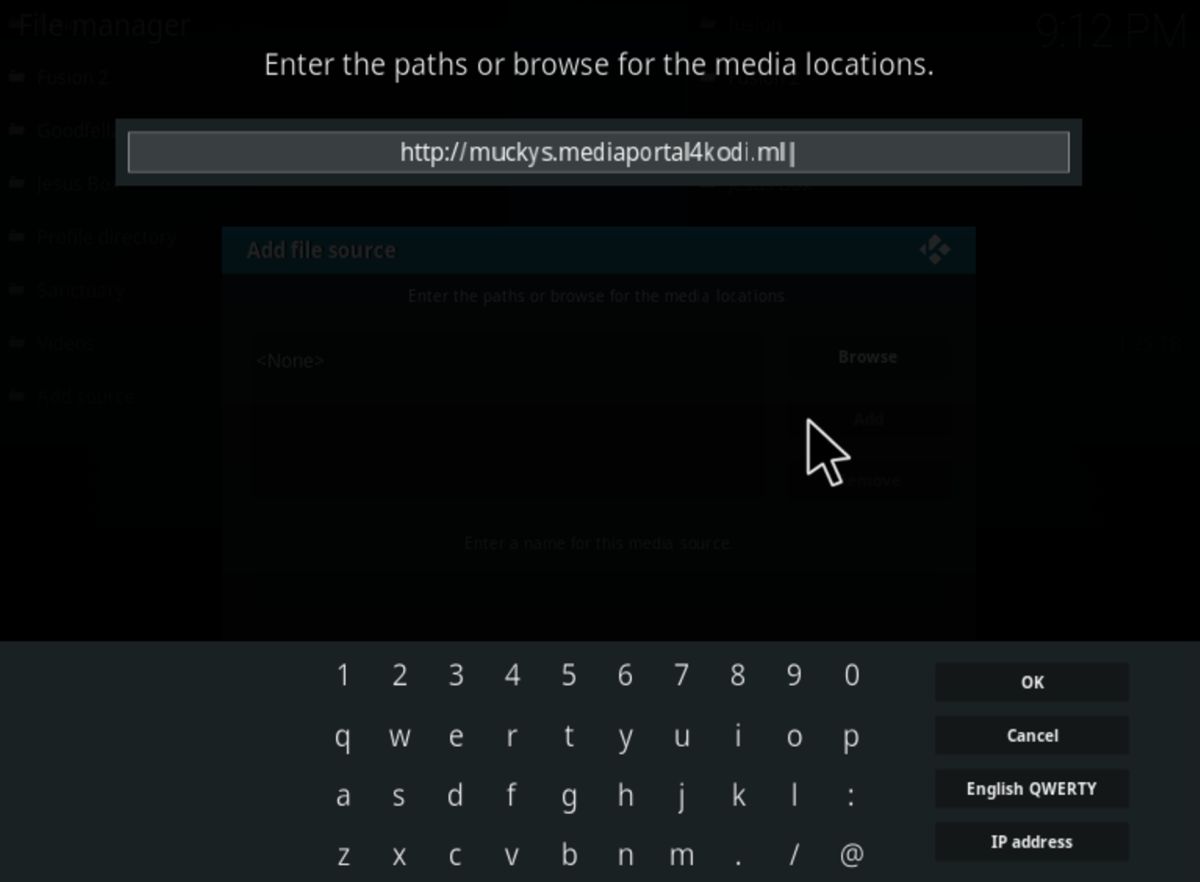
- A window will appear, and you must click the None text field. This will open a box where you can enter a media path.
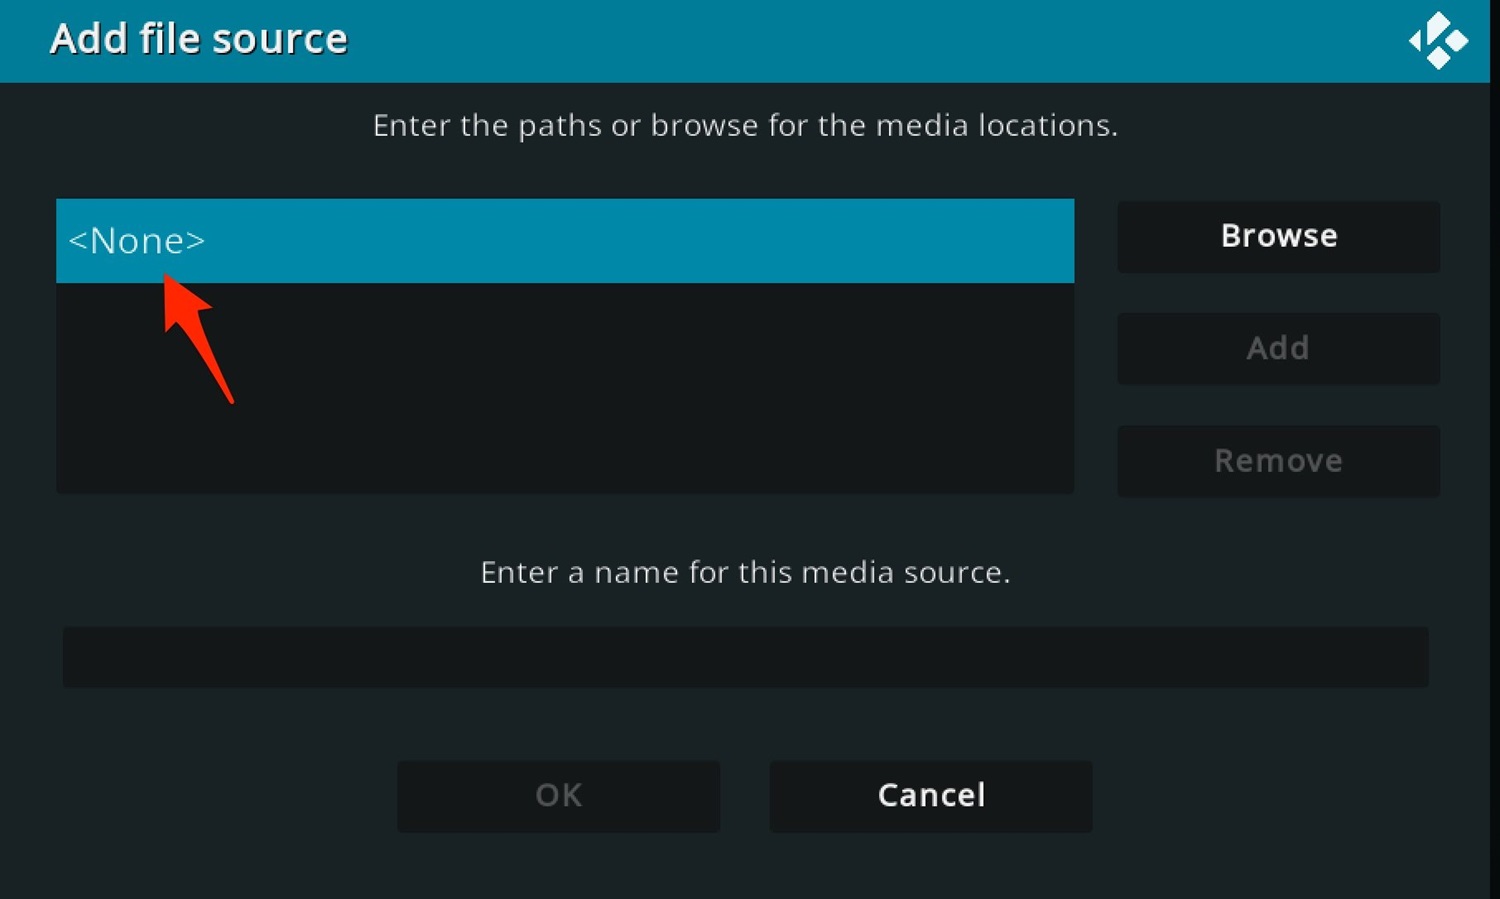
- Enter the following media path: http://muckys.mediaportal4kodi.ml/ and click on Done.
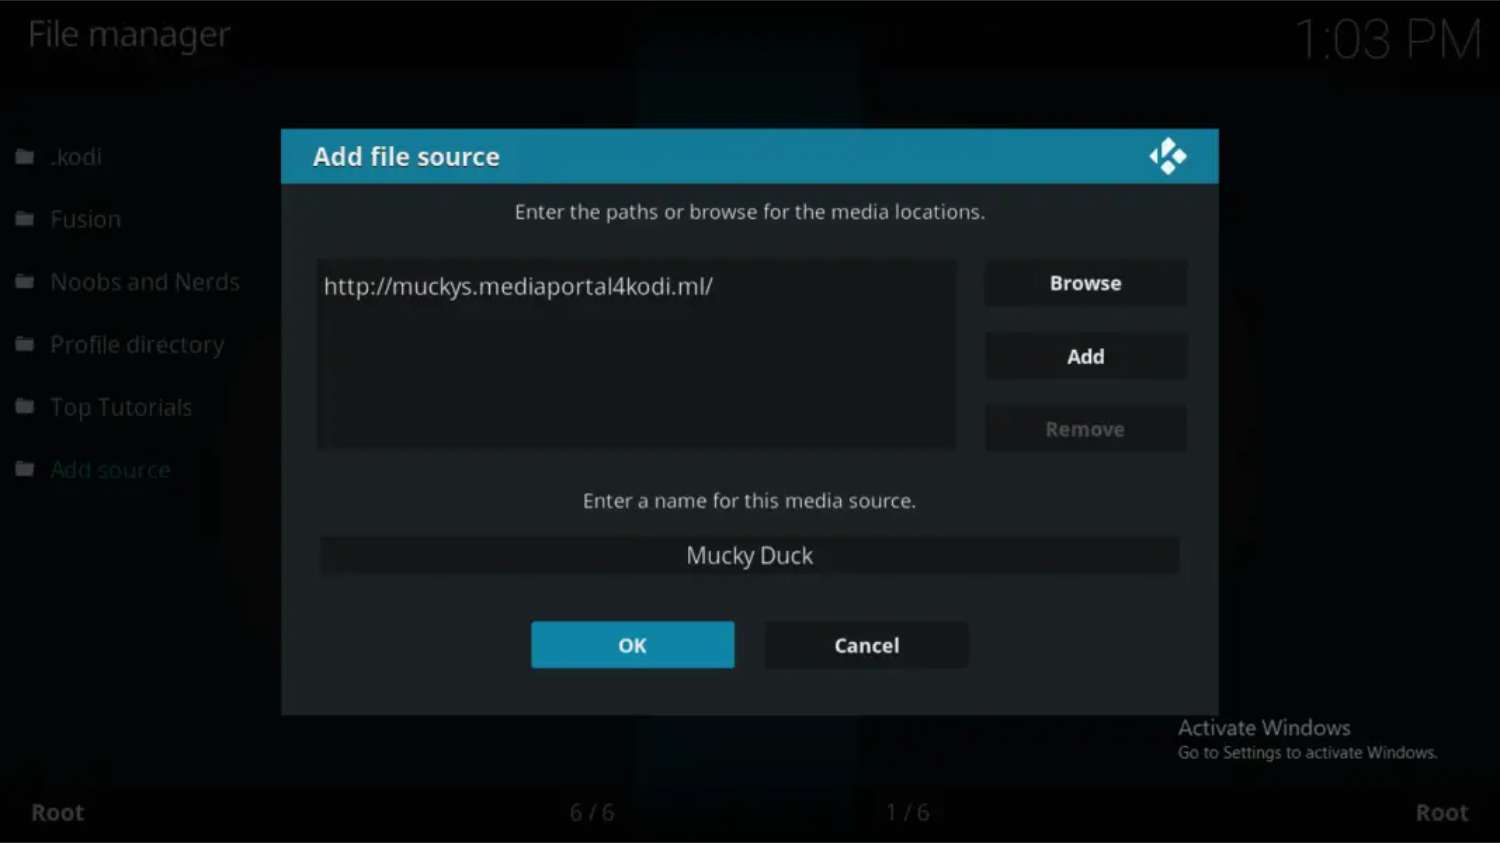
- You will be prompted to enter a name for the media source. You can choose any suitable name, such as “Mucky Duck.” After adding the name, click on OK to save it.
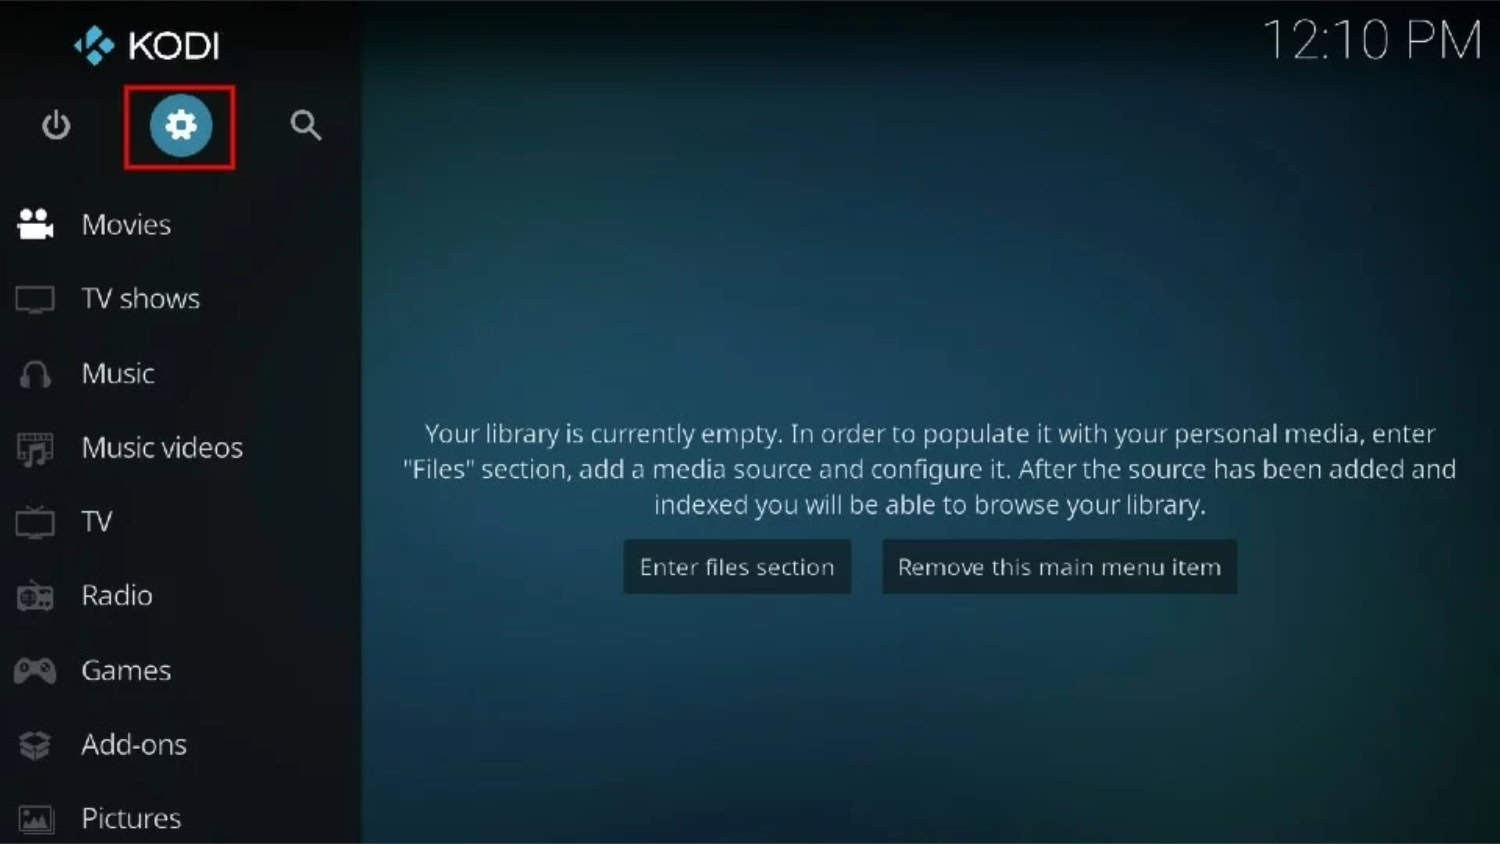
- Thereafter, return to the Kodi home screen, click System, then select Settings.
- On the left-hand side, you’ll find a list of options. Click on Addons.
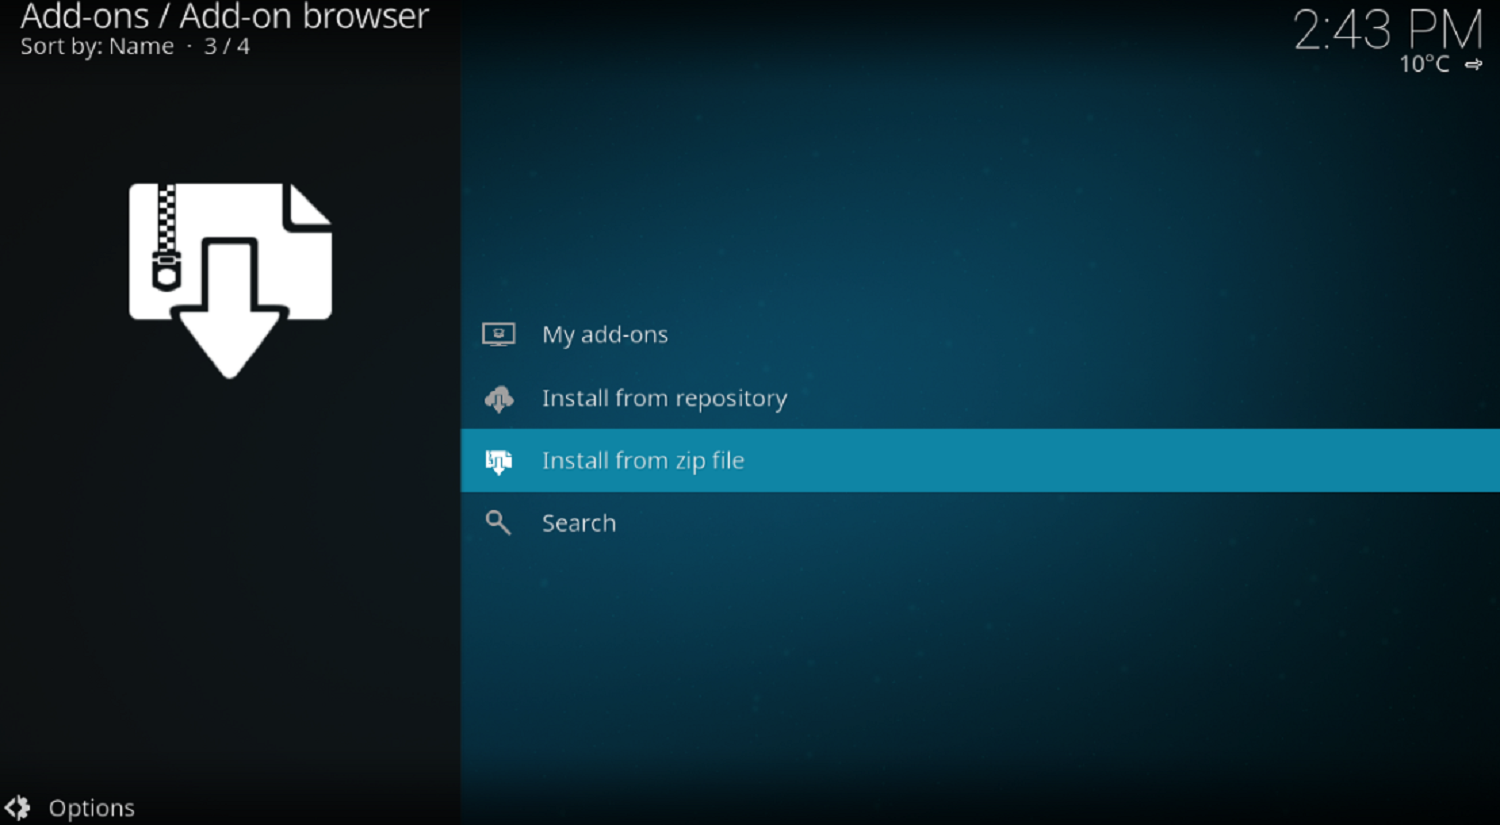
- The Addons page will open. Click on Install from the zip file and locate the file name you previously saved, such as “Mucky Duck.” Click on it.
- Inside the folder, you’ll find a zip file named “repository.ndrepo-1.0.2.zip” or a similar name, depending on the version.
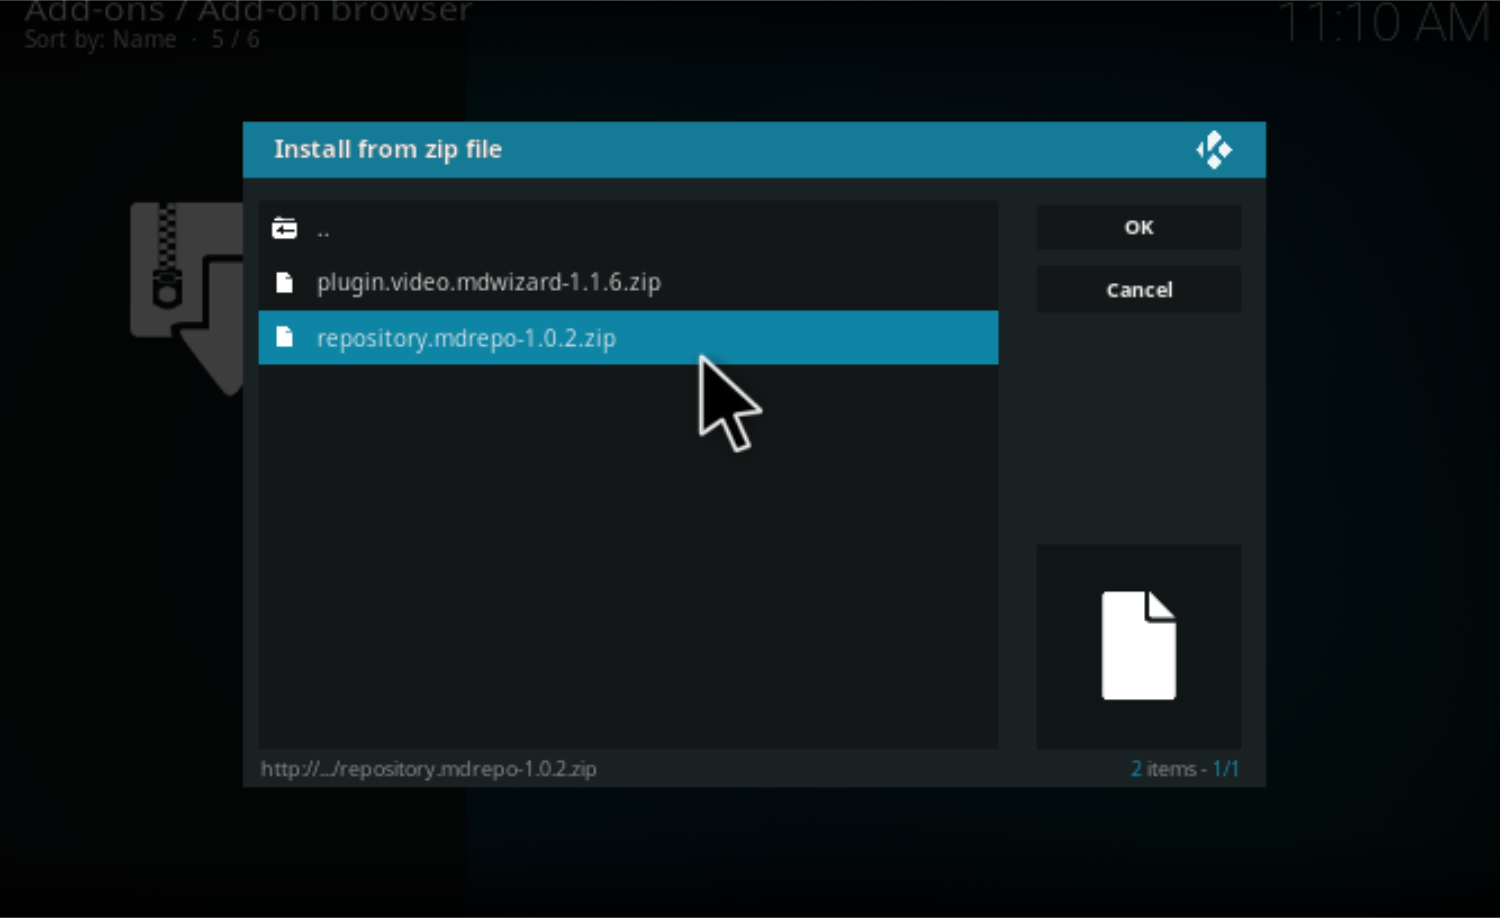
- Wait for a little while until the zip file installation is complete. You’ll see a pop-up message at the bottom right corner of the screen.
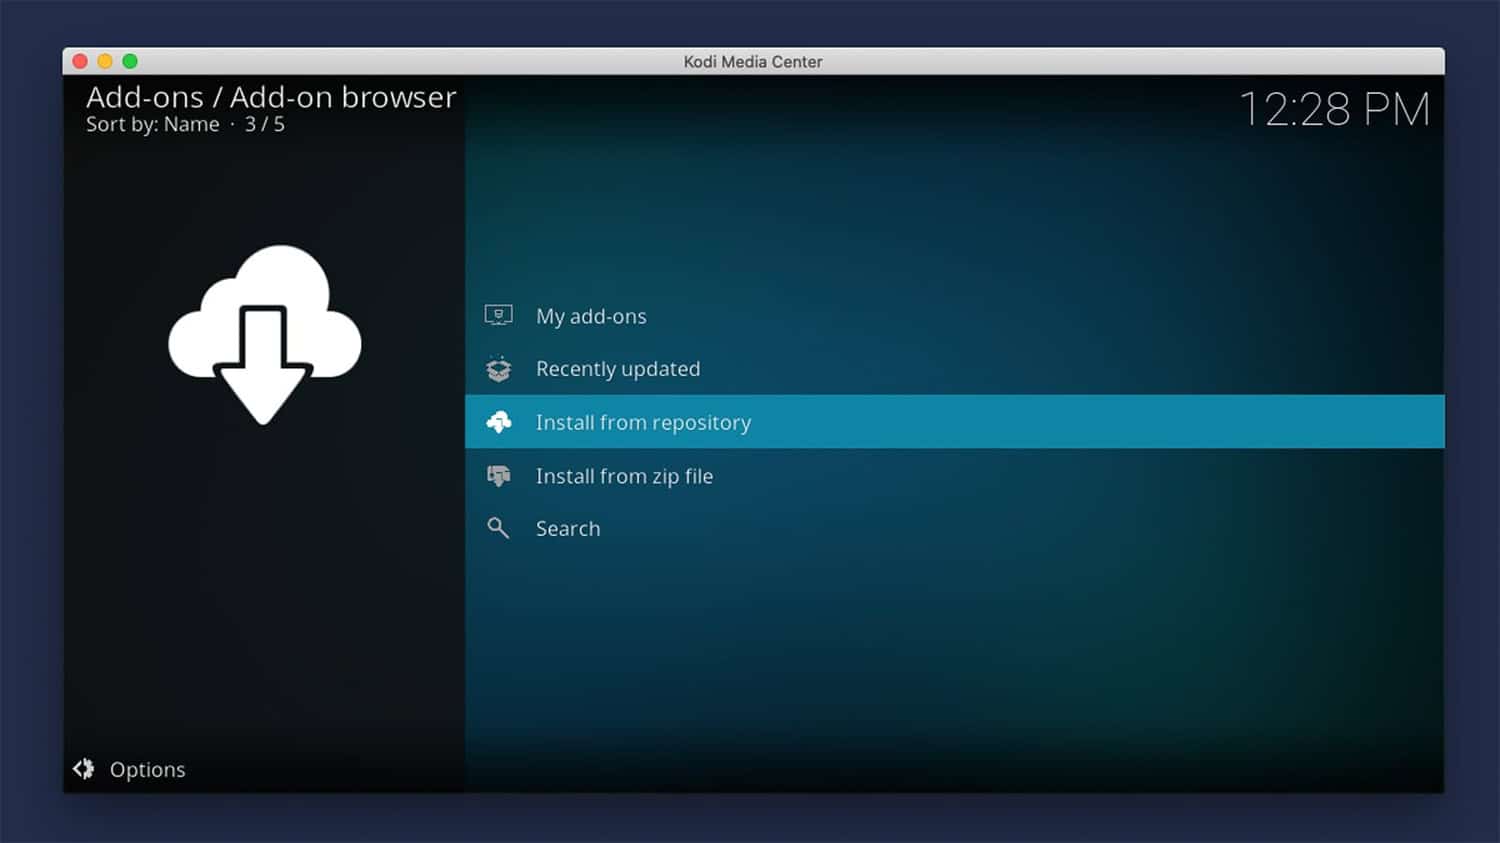
- Now, return to the Addons page and click on Install from Repository.
- Choose Mucky Duck Repo, navigate to Video addons, and select Stream Engine.
- Last of all, the installation page for the Stream Engine add-on will open. After clicking on the Install option, wait a few seconds until the addon is enabled.
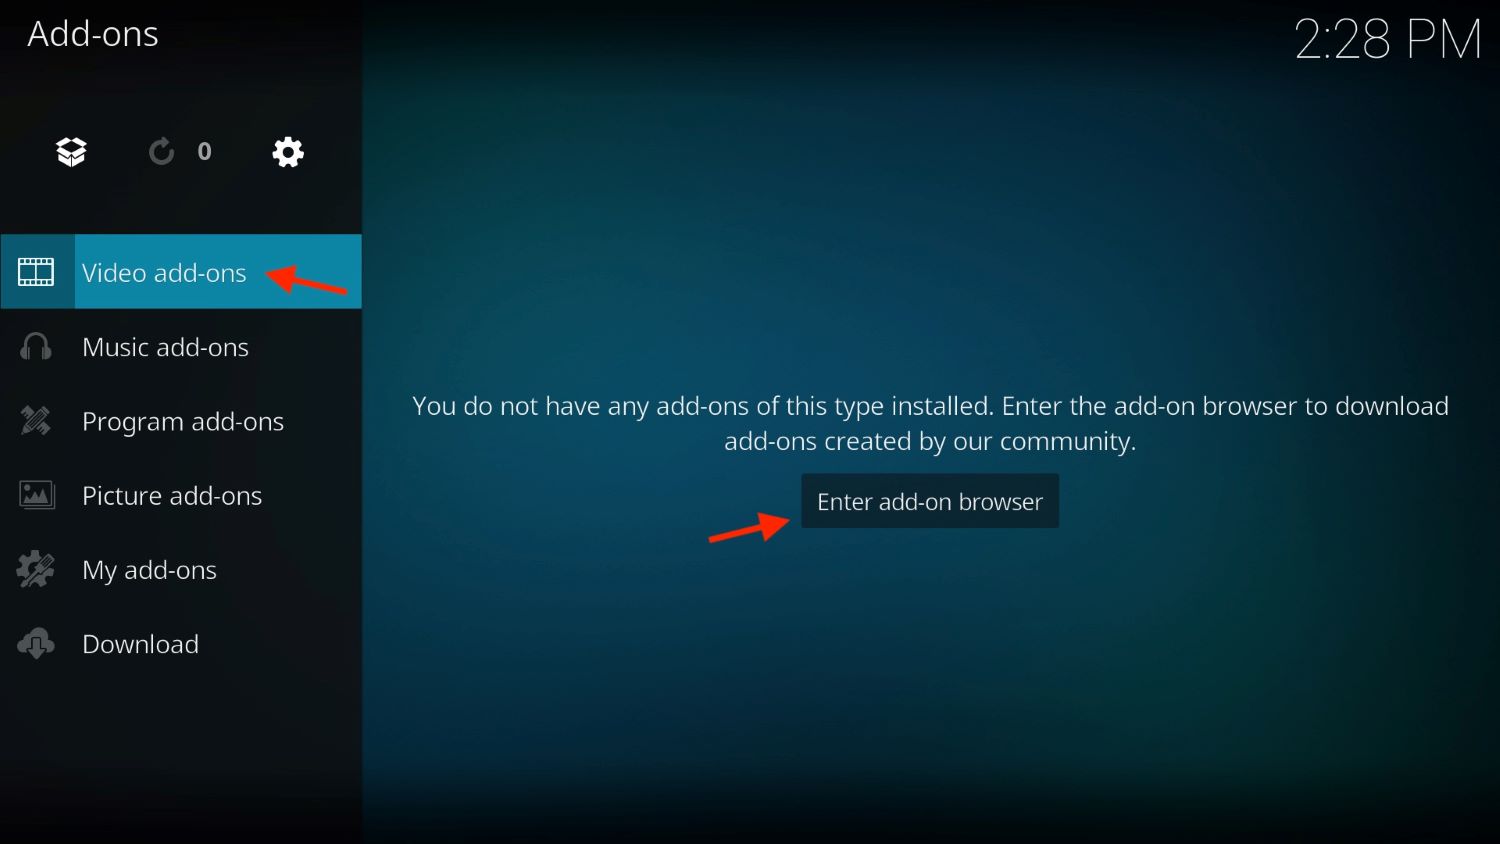
- Finally, you can enjoy the Stream Engine addon from the Video tab. Under the Video tab, click on Addons, and you’ll find the Stream Engine option.
Note: Installing the well-known Stream Engine addon on Kodi 2.0 Nexus or any older versions like 19, 18, or below is the same as the above steps.
Always use a strong VPN while using Kodi to ensure privacy and security. Enjoy streaming your favorite content with Stream Engine on Kodi!
See Also: How To Watch Pay-Per-View On Kodi?
FAQs
How do I install things on Kodi?
Download add-ons from the official Kodi website or app store. Open Kodi and go to settings > add-ons > install from the zip file. Select the downloaded add-on.
How do I get Kodi to work?
To get Kodi working, download the Kodi app for your device from the official site. Make sure your device meets the requirements. Open Kodi and sign into your account if needed. You're ready to start streaming!
How do I add files to Kodi?
To add files to Kodi, connect your device to the same network as the files. Open the Kodi files manager and select your device or network location. Navigate folders to find videos, music, or pictures and like to play or add to the library.
How do I add a repository to Kodi?
To add a Kodi repository, open Kodi settings and select add-ons. Choose install from the zip file. Locate the repository zip file and set it to enable access to more add-ons.
Conclusion
To complete the setup for Kodi, follow these steps to install Stream Engine on Kodi seamlessly. Once installed, you can effortlessly search for movies and shows from various websites directly within Kodi.
However, prioritizing online privacy is crucial, so always use a VPN when streaming apps like Smooth Streams. On the other hand, with this guide, adding Smooth Streams on Kodi becomes straightforward.
Finally, dive into your favorite content or discover new shows on your Kodi box anytime. Enjoy the abundance of free content with Smooth Streams!