Kodi is a popular open-source media player software that provides access to a vast library of streaming content, and it is growing widely now. But did you know installing Beast on Kodi is simple? Don’t worry. You are on the right page!
Installing Beast on Kodi is a straightforward process:
- Download the Beast repository ZIP file, and launch Kodi. Navigate to “Addons” on the main menu.
- Choose “Install from a ZIP file,” find and select the downloaded repository ZIP file to start the installation.
- After installation, access the Beast addon from “Install from repository” under the Addons menu.
![]()
In this blog, you will read the process of installing Beast on Kodi, Enhance Your Kodi Experience, and much more! Keep reading!
See Also: How To Install Incursion On Kodi? Everything You Need To Know
See Also: Kodi Genesis vs. Exodus: Which One Should You Choose?
See Also: How To Set Up Kodi? Complete Step-By-Step Guide
❗❗Attention, Kodi Users!
Kodi Addons and builds let you stream unlimited content, but could also expose you to legal risks if you're caught streaming copyrighted material. Currently, your IP is visible to everyone. We strongly recommend using a VPN to hide your identity, bypass geo-restrictions, and avoid ISP throttling for a smoother streaming experience.
I personally recommend Surfshark, one of the fastest and most secure VPNs. It's incredibly easy to set up on any device, including Amazon Fire TV Stick. With our special offer, you get 80% off and 2 months free on Surfshark's plans. Plus, Surfshark offers a 30-day money-back guarantee. If you're not satisfied, getting a refund is easy.
Table of Contents
How to Install Beast On Kodi?
Before we begin, it’s important to note that some of the content provided by Kodi addons may be illegal in your region.
As a result, you should always use a reputable VPN service when using Kodi to protect your online privacy and security.
Enable Unknown Sources
Before installing Beast on Kodi, you must enable “Unknown sources” in the Kodi settings. Here’s how to do it:
- On the Kodi home screen, select the “Settings” icon.
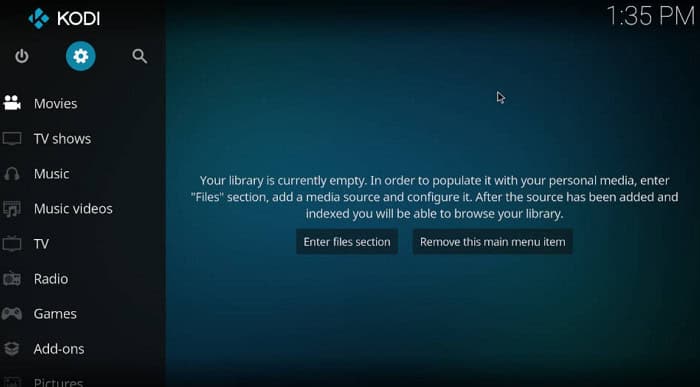
- From the settings menu, select “System.”

- In the “System” settings, select “Addons.”
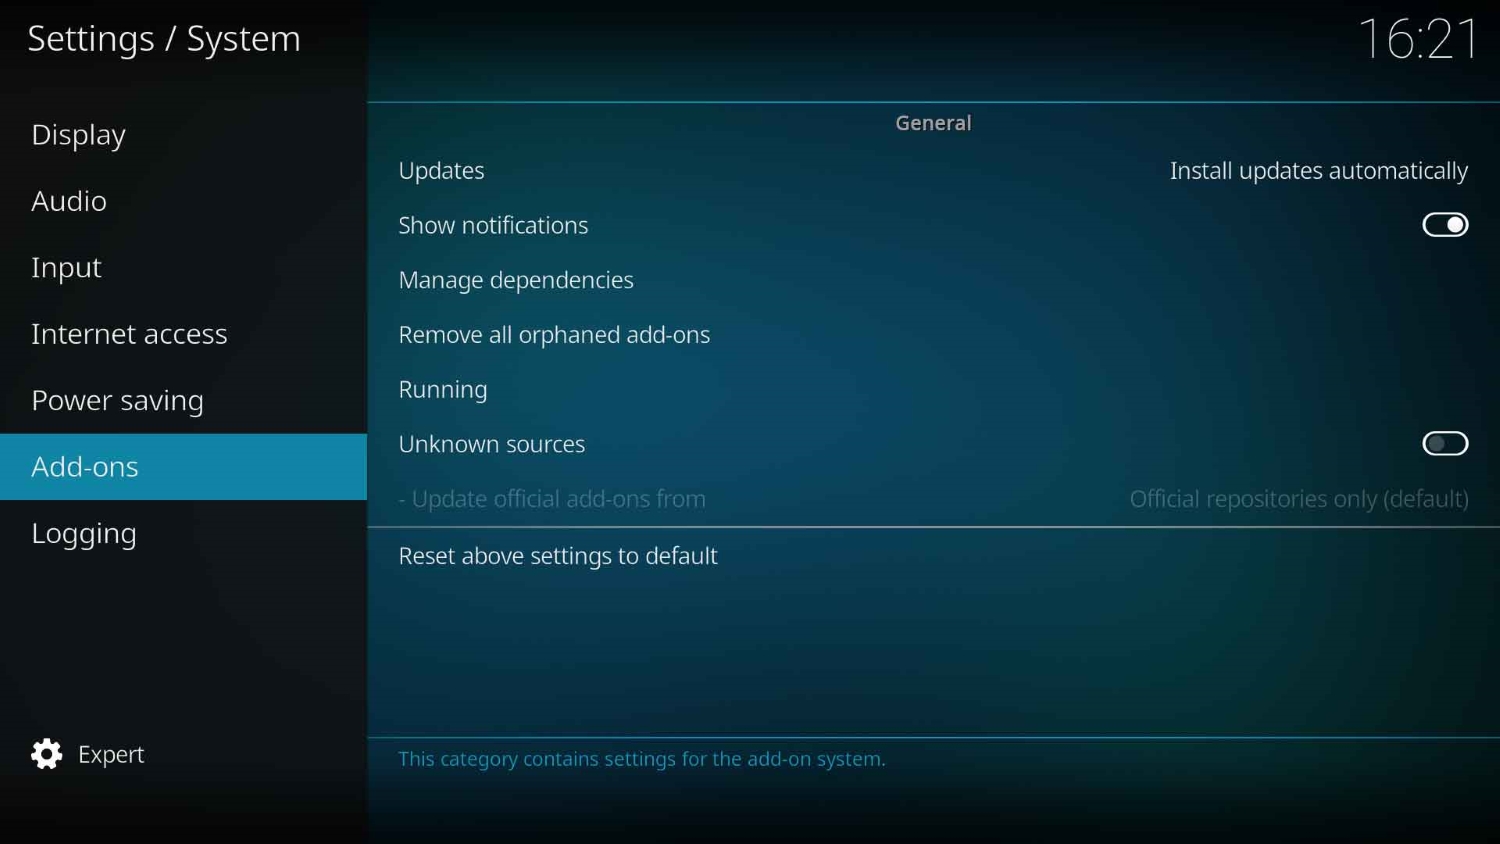
- Select “Unknown sources” from the “Addons” page.

- You will see a cautionary message reminding you that installing addons from unidentified sources can be risky.
- Select “Yes.”
Add the Beast Repository to Kodi
Next, you need to add the Beast repository to Kodi. The Beast repository is a file collection containing the addon and its dependencies. Here’s how to install the Beast on Kodi:
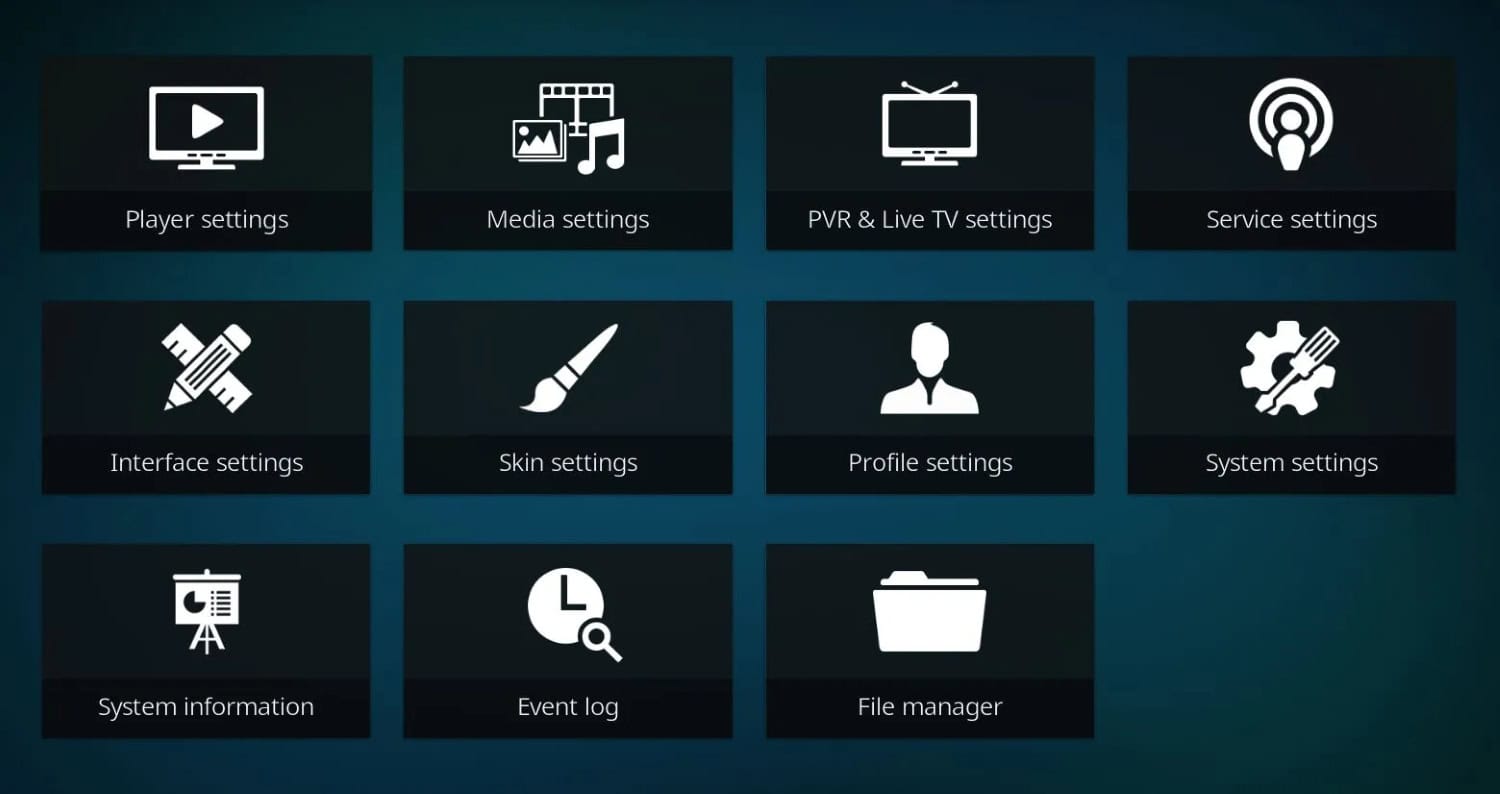
- Firstly, in the top-left corner of the Kodi home screen, select the “Settings” icon and select “File Manager.”
- In the file manager, select “Add source.” In the “Add file source” window, select on the “None” field and enter the following URL: “http://musclebuild.xyz/repo/”

- Give the repository a name, such as “Beast Repo.”
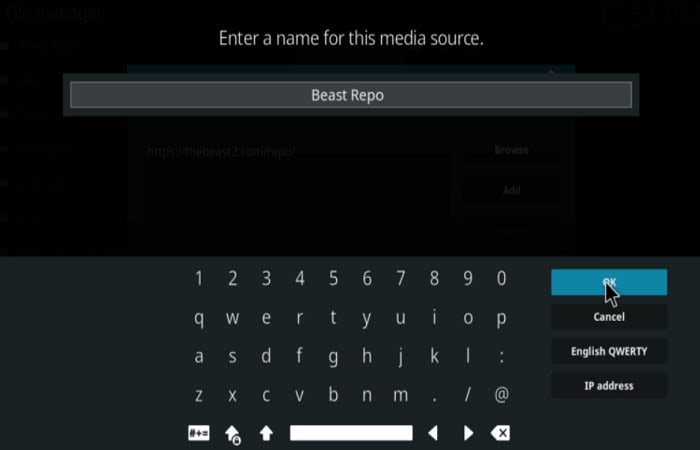
- Select “OK” to save the repository source.
Install the Beast Repository to Kodi
Once you’ve added the Beast repository to Kodi, you can install the repository. How to execute:
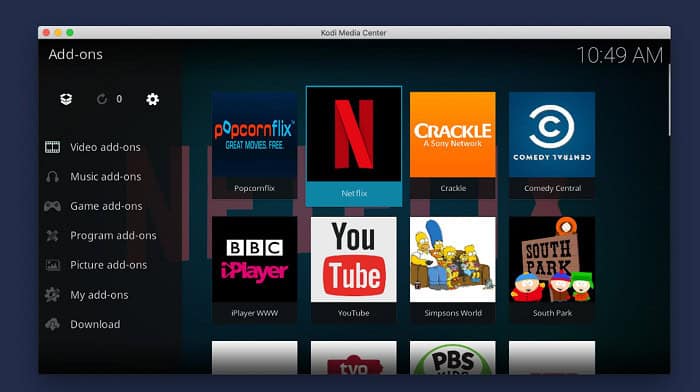
- First, go to the main Kodi page and select “Addons.”
- In the addons menu’s upper-left corner, select the open box icon. From the open box menu, select “Install from zip file.”
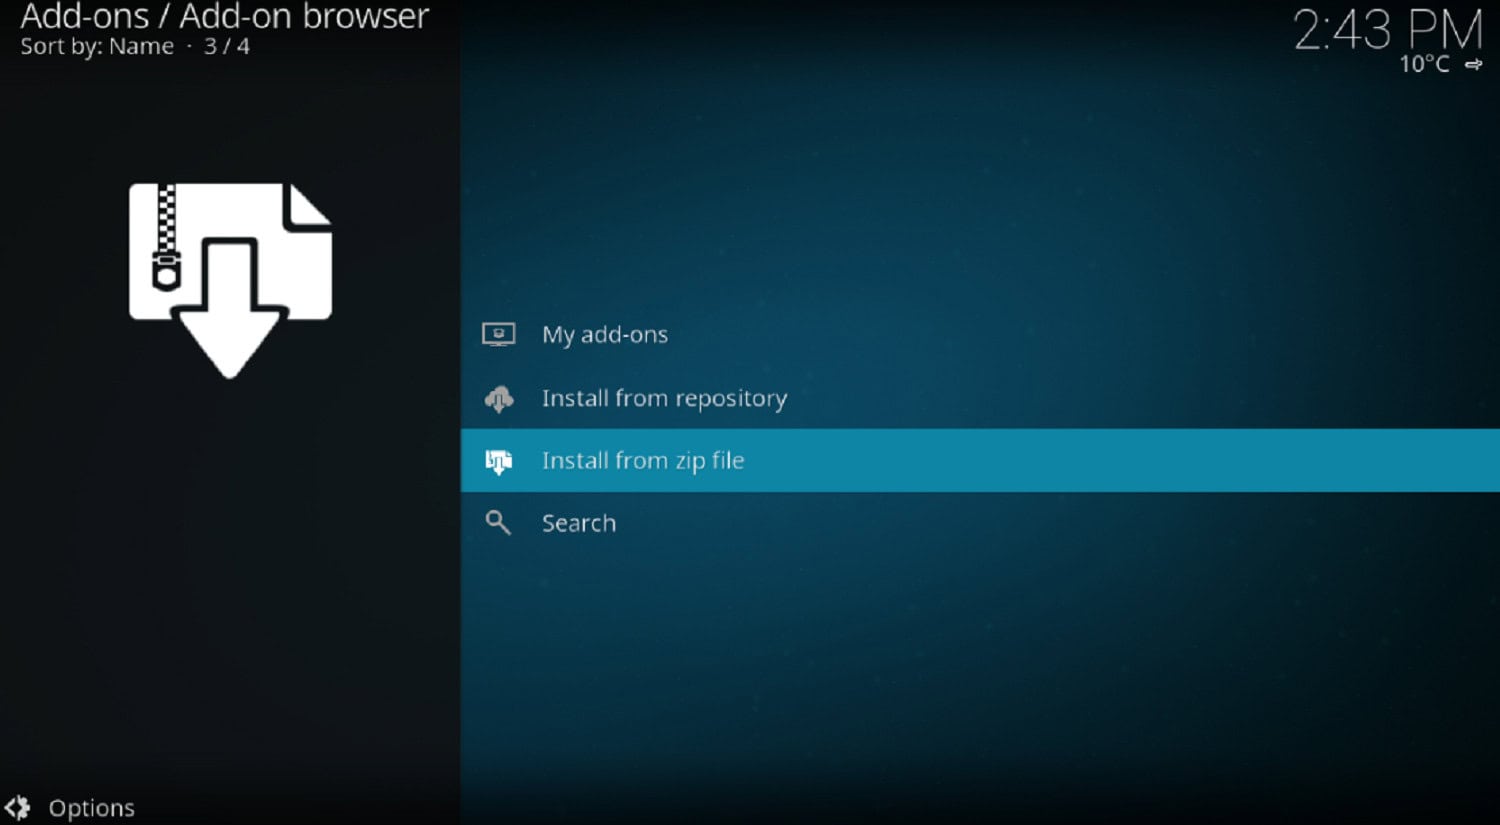
- From the “Install from zip file” menu, select the “Beast Repository” source you added in the previous step. Furthermore, To install, choose the repository ZIP file. Something along the lines of “repository.Beast-x.x.zip” should be the file name.
- Await the installation of the repository. A notification will appear in the screen’s top-right corner when the installation is done.
Install Beast Addon For Kodi
Once the Beast repository is installed, you can install the Beast addon for Kodi. Here’s how:
- Return to the open box menu in the addons section. “Install from repository” should be chosen.
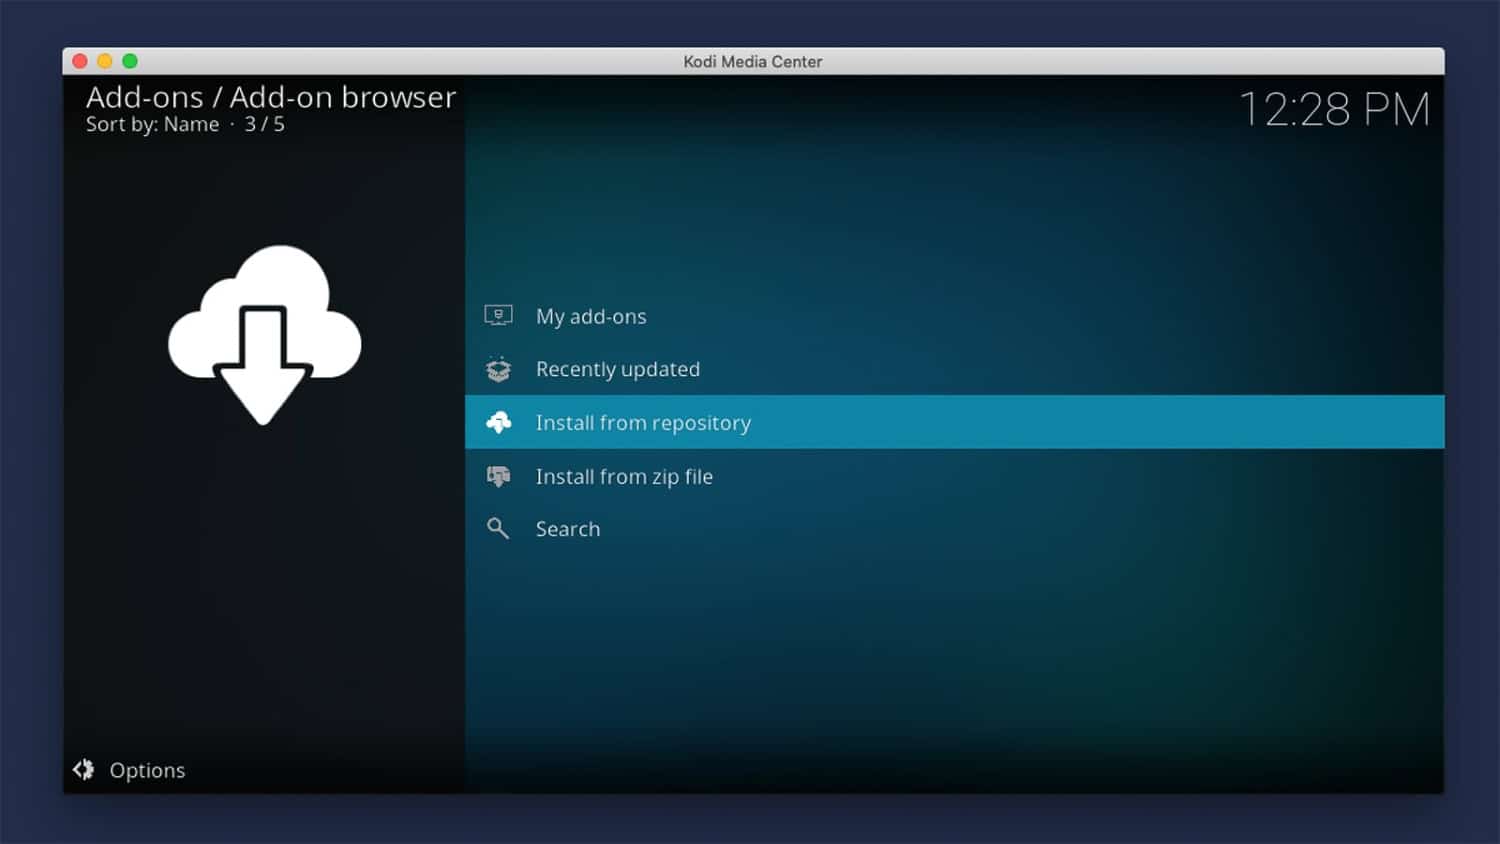
- Choose the “Beast Repository” from the “Install from repository” menu.
- Furthermore, Locate the “Beast” addon by scrolling down to the “Video add-ons” section.
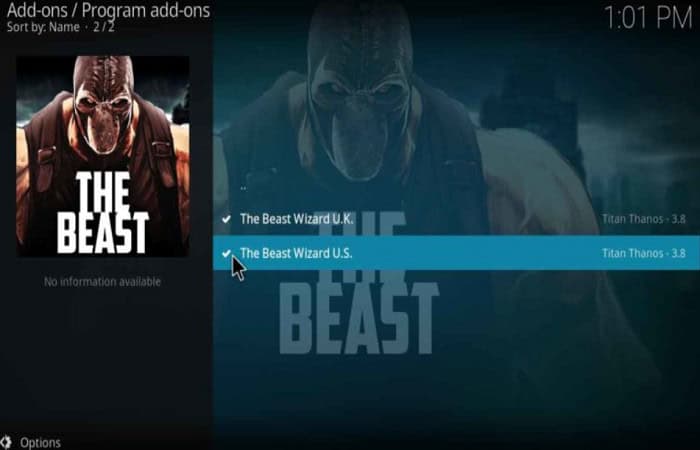
- By selecting it, the “Beast” addon can be installed.
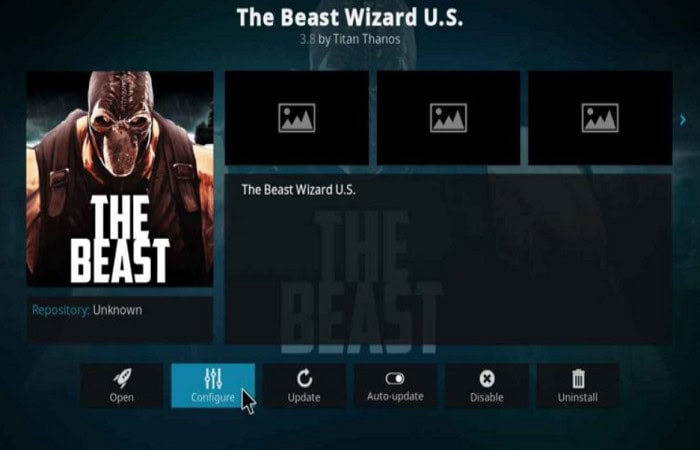
- Wait till the installation is complete.
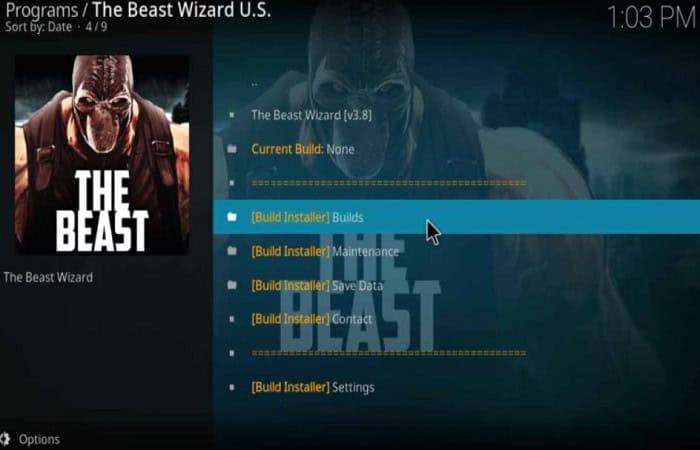
- You’ll get a notification that the addon has been installed once the installation is finished. Finally, You can access the Beast addon from the Kodi addons menu to stream your favorite TV shows and movies.

With these simple steps, you can install Beast on Kodi and enjoy a wealth of streaming content through your media player.
See Also: How To Add Apps To Vizio Smart TV | 4 Simple Methods
Note: Installing addons from unknown sources can put your device at risk and compromise your privacy. It’s important to only install addons from reputable sources and to use a VPN to protect your privacy and security when using Kodi.
See Also: How To Install Netflix On Kodi | Best 3 Methods In 2023
FAQs
How to download the Beast on Kodi?
Installing the Beast on Kodi requires a few simple steps, including enabling unknown sources, adding the Beast repository, installing the repository, and finally installing the Beast addon. You can follow this step-by-step guide to install the Beast on Kodi easily: Enable Unknown Sources Add the Beast Repository Install the Beast addon
Do I need to log in to use the Beast on Kodi?
No, you need not log in to use the Beast on Kodi. Follow the installation steps to start using the Beast addon.
Can I install the Beast on Kodi without enabling unknown sources?
You cannot install the Beast on Kodi without enabling unknown sources. This is because the Beast addon is not part of the official Kodi repository, and enabling unknown sources allows you to install addons from other sources.
Is installing Beast on Kodi available in the official Kodi repository?
No, the Beast addon for Kodi is unavailable in the official Kodi repository. To install the Beast addon, you need to add the Beast to the Kodi repository and install it from there.
See Also: How To Install Latino Total On Kodi? Simple Guide 2023
Conclusion
In conclusion, installing Beast on Kodi can provide a comprehensive and convenient way to access a wide range of content and features. However, being cautious when installing builds is essential, as some may pose security risks.
By downloading builds from trusted sources and exercising caution, users can enjoy the benefits of using a build on Kodi while avoiding potential issues. You may also like to learn how to install Release Hub on Kodi with a detailed guide.