Are you looking at how to remove Thermaltake CPU fan? In this article, we can provide an easy-to-follow manual for safely removing your Thermaltake CPU fan without damaging the system.
To accurately remove a Thermaltake CPU fan, power off and disconnect your computer, unscrew the fan from the motherboard or heatsink, lift it away without damaging other components, unlatch it from any bracket, and seek advice from the specific commands for your model. To know more, read on to learn more.
Proper CPU fan preservation performs an essential function in ensuring the top-of-the-line performance and toughness of a PC device. The CPU fan is responsible for cooling the processor and stopping overheating, which could cause machine instability and hardware harm. Among the famous brands in the market, Thermaltake stands out as a trusted one known for its reliable and efficient CPU fan solutions. Let us now know more about how to remove Thermaltake CPU fan. Looking for the Best Fan Control Software For Your Windows PC? Check Out this.
Table of Contents
Why You Might Need to Remove Your CPU Fan
There are numerous reasons why you may need to remove your CPU fan. One common problem is overheating. If your computer is experiencing frequent shutdowns, overall performance slowdowns, or unusual noise, it could be a sign of overheating. In such instances, disposing of the CPU fan lets you clean it very well, casting off any amassed dirt or debris that may be obstructing airflow and inflicting overheating. 
Another reason for removing the CPU fan is to upgrade to a brand-new one. As generation advances, more efficient and quieter CPU fan models are coming. Upgrading to a new fan can regulate CPU temperature better, reduce noise degrees, and enhance overall gadget stability.
Additionally, periodic cleansing is critical for maintaining the most desirable cooling efficiency and keeping your CPU at a safe temperature. Over time, dust and dust can collect at the fan blades and heatsink, lowering their effectiveness. By eliminating the CPU fan, you may ease it and ensure it is free from any obstructions, allowing it to function successfully and efficaciously in cooling the CPU.
Whether addressing overheating problems, upgrading to a higher fan, or acting recurring cleaning, putting off the CPU fan is an essential step in maintaining the fitness and performance of your laptop machine.
Read this article to learn how to Clean CPU Socket Safely!
Precautions Before Starting
Before you start putting off your CPU fan, it’s crucial to take positive precautions to ensure your safety and prevent any harm to your computer components. 
- Firstly, constantly disconnect the power source. Shut down your laptop and unplug it from the wall socket. This prevents any unintentional electrical shocks and protects both you and your computer from any potential damage.
- Secondly, create a static-unfastened surroundings. Static electricity can cause damage to touchy electronic components, including your CPU. To prevent static discharge, work on a non-static floor, such as an anti-static mat or a wood desk. Avoid carrying clothing made of materials that generate static strength, and recollect the use of an anti-static wrist strap to ground yourself.
- Lastly, gather the right tools before you start. You will commonly want a screwdriver (typically a Phillips head or a Torx screwdriver, depending on the kind of screws used), thermal paste remover or isopropyl alcohol for cleaning, cotton swabs or a lint-unfastened material, and a small brush for dust elimination. Having those tools quickly will make the system smoother and ensure you have the whole lot you want to eliminate and clean the CPU fan.
By following those precautions, you can reduce the risk of accidents, protect your computer components, and ensure a successful and safe elimination of your CPU fan.
See Also: What Happens If Thermal Paste Gets On CPU Pin?
Identifying Your Thermaltake Model
Thermaltake gives a lot of CPU fan models, and every model may additionally have barely unique mechanisms for removal. Before trying to remove your Thermaltake CPU cooler, it is crucial to pick out the precise version of the model you have got.
The first step in identifying your Thermaltake model is to check for any visible labelling or markings on the fan. Look for the Thermaltake brand or any product names or numbers that may be imprinted on the fan or its housing. These records can provide precious clues about the model you’ve got. 
If you have an issue identifying your Thermaltake model based totally on bodily markings on your own, it’s recommended to seek advice from the product guide. The guide typically incorporates distinct facts about the fan’s specs, installation method, and elimination commands particular to the model. It may additionally encompass diagrams or illustrations to help you identify the fan and its components.
Alternatively, you can visit Thermaltake‘s reliable internet site. Thermaltake often offers comprehensive product help, together with downloadable manuals and support resources. By entering the model number or name of your CPU fan at the website’s search feature, you may get the right of entry to specific statistics related to your Thermaltake model, which include removal commands, if available.
Taking the time to efficiently pick out your Thermaltake model through visible inspection, referring to the Thermaltake ux100 manual, or visiting the official website can make sure that you comply with an appropriate removal approach in your particular CPU fan, minimizing the threat of damage and making sure a clean removal method.
See Also: How to Perform a PS4 HDMI Port Repair – Complete Guide
Steps for Removal
The following are steps to take away a CPU fan. However, it’s essential to know that the particular removal technique may also vary depending on the Thermaltake model or other factors. Always discuss with the manual or precise commands for your CPU fan model if to be had.
- Start by powering off your laptop and disconnecting the energy supply.
- Locate the screws that secure the CPU fan to the motherboard or heatsink. Typically, there are four screws placed at the corners of the fan. Use a screwdriver to slowly and thoroughly unscrew them, making sure no longer to apply immoderate force.
- Once the screws are eliminated, detach the fan from the motherboard or heatsink. Gently raise the fan away, being cautious no longer to harm any surrounding components or cables.
- In a few cases, the CPU fan can be latched onto a bracket. Carefully observe the fan and bracket mechanism to perceive any latches or clips. Follow the precise commands furnished via Thermaltake or the manual to unlatch the fan from the bracket. This step requires urgent down firmly on the latch even as concurrently sliding or lifting the fan.
- Suppose you stumble upon a problem with the latch. In that case, some customers have determined achievement by pressing down at the latch while using a flat screwdriver to pry the fan far away from the bracket carefully. However, exercise warning to avoid damaging the fan or different components.
Remember, these steps are preferred on how to remove Thermaltake CPU fan. Always consult the manual or unique commands in your particular model to ensure proper and secure removal.
Addressing Common Challenges
Removing a CPU fan can sometimes present challenges. Here are some tips to address common issues: 
- If one side of the fan remains caught even after eliminating the screws, avoid using immoderate pressure. Instead, gently wiggle the fan from side to side, even by applying slight upward stress. This can assist in loosening any cussed connections. If you want, seek advice from the guide or are trying to find online forums for precise advice associated with your Thermaltake model.
- It is critical only to apply excessive force through the elimination manner. Excessive force can harm the fan, motherboard, or other components. If you stumble upon resistance, double-check for any neglected screws or latches that can secure the fan. Take it slow and be an affected person to avoid unnecessary damage.
- Dealing with older models may also require extra care. Some older CPU fan models can also have extraordinary mechanisms or designs compared to more modern ones. In such instances, talk to the manual or look for unique instructions Thermaltake provides for older models. Online forums and groups can also be precious sources, as experienced users may have encountered similar demanding situations and may offer guidance or solutions based on their reviews.
By being cautious, patient, and looking for suitable guidance, you can overcome common challenges during the CPU fan removal process and ensure a successful removal without causing any damage to your computer components.
See Also: Intake VS Exhaust Fan for PC | Comparison Tips
Reinstalling the Fan
Once you’ve cleaned the CPU fan and completed any essential maintenance, you may reinstall it. Here are the steps on how to remove the cooler from the CPU.
- Align the fan with the mounting holes on the motherboard or heatsink. Ensure that the fan cables are well located and are not obstructing any components.
- Carefully lower the fan onto the mounting holes, aligning the screw holes with the corresponding holes at the motherboard or heatsink.
- Insert the screws through the holes and tighten them lightly, but now not excessively, using a screwdriver. Start with one screw, circulating to the opposite nook, regularly tightening the last screws in a diagonal pattern. This facilitates to make sure even pressure distribution.
- Double-check all connections to make sure that the fan is securely attached. Confirm that the electricity cable is connected to the ideal fan header at the motherboard.
By following these steps and ensuring all connections are nicely made, you can reinstall the CPU fan securely. This allows you to maintain the proper cooling and ensures the fan functions optimally to keep your CPU cool and solid.
Alternatives to Thermaltake Fans (If Considering an Upgrade)
If you are thinking about upgrading your CPU fan and exploring options for Thermaltake, there are several different famous brands and models to be had in the market. Some well-regarded options encompass: 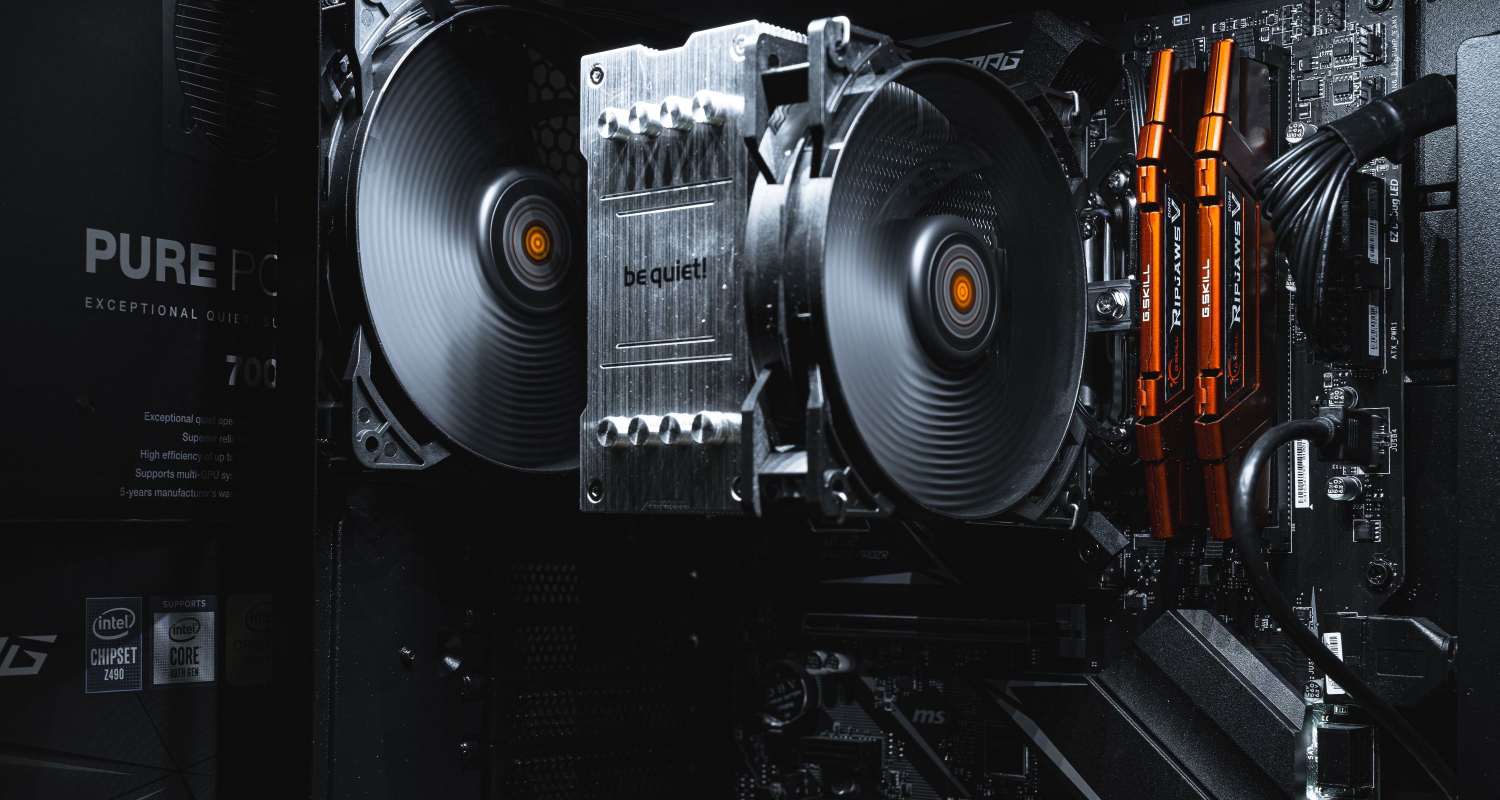
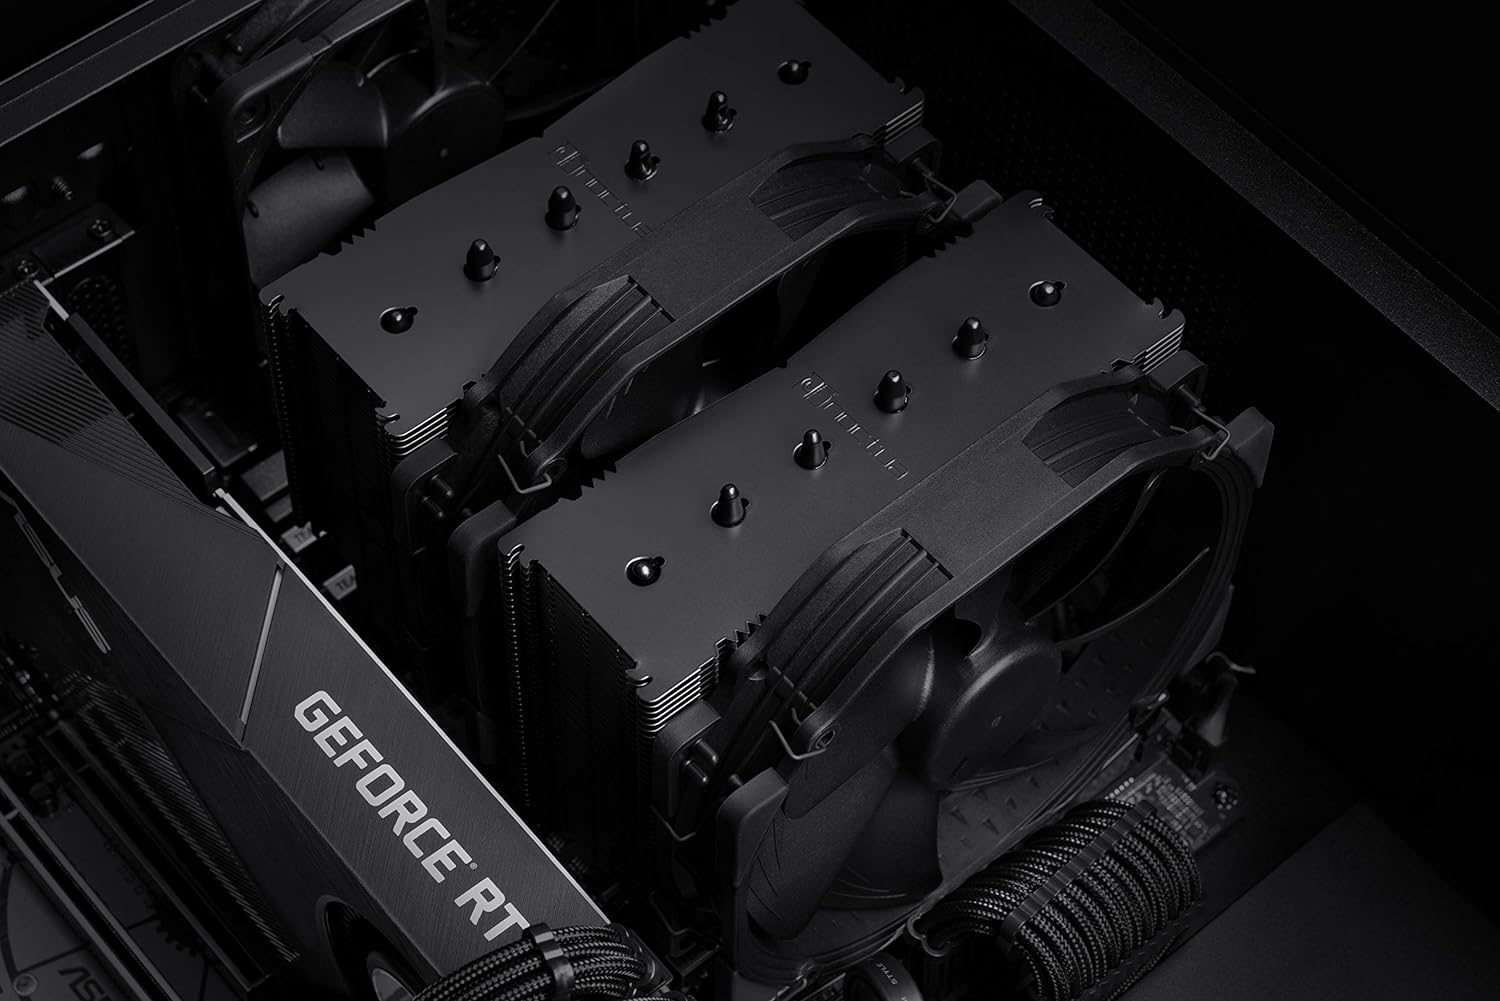
- Noctua NH-D15: Known for its excellent cooling performance and occasional noise stages.
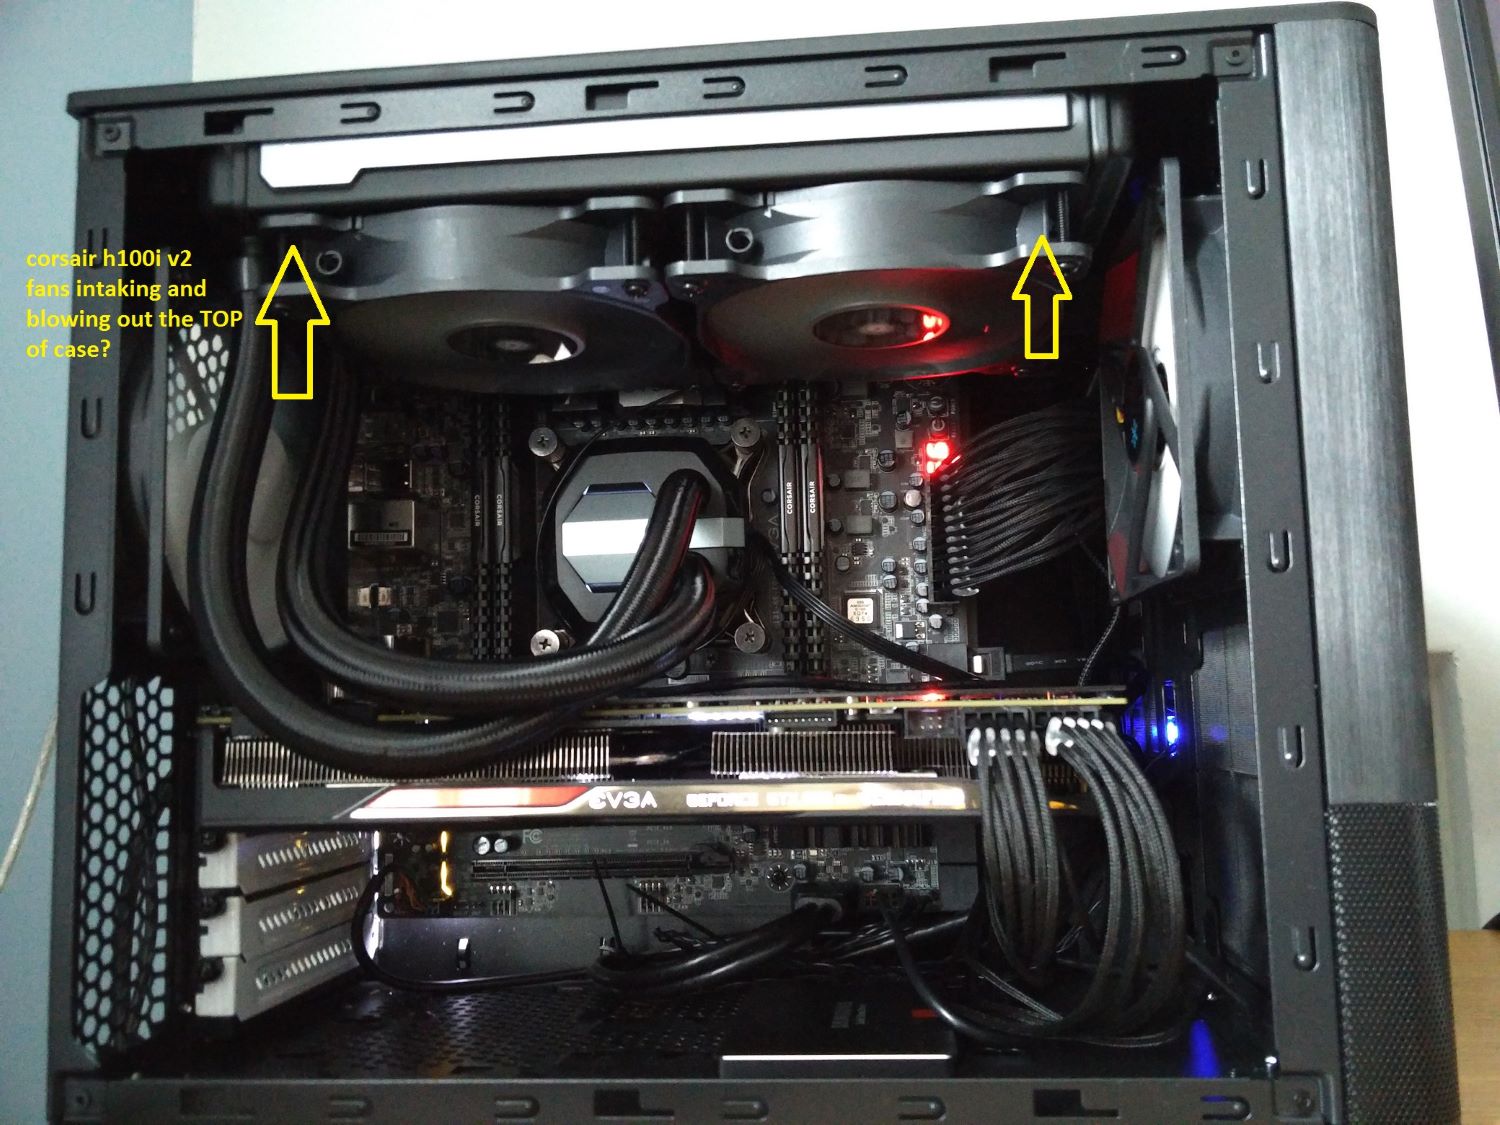
- Corsair Hydro Series H100i: A liquid cooling solution that offers efficient cooling and customizable RGB lights.
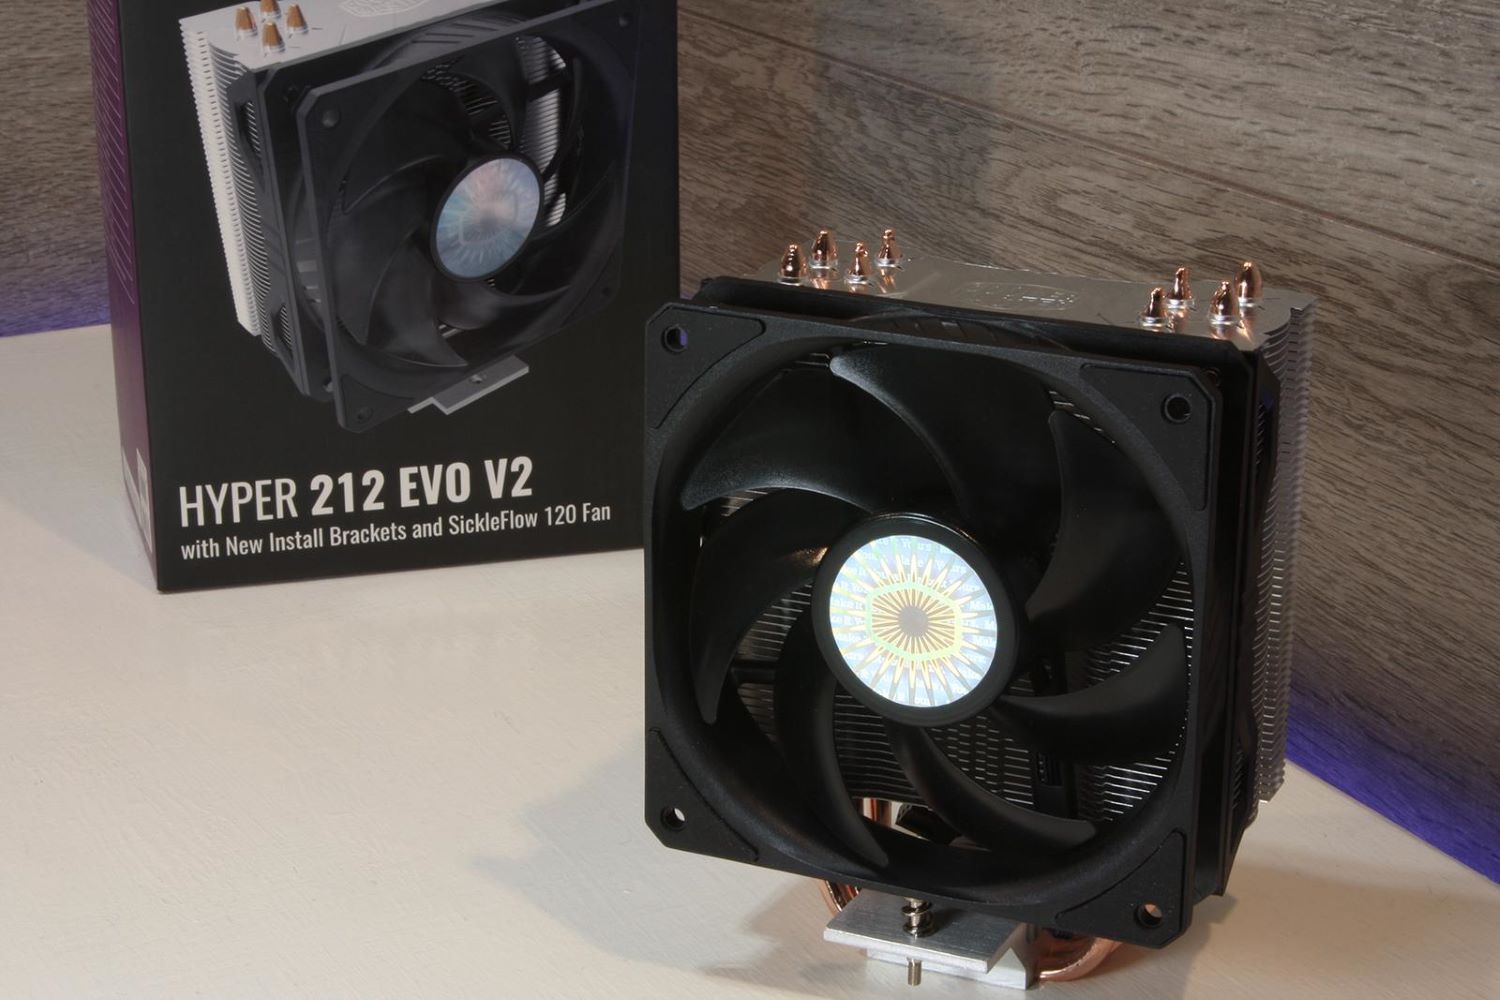
- Cooler Master Hyper 212 Evo: A budget-pleasant choice with desirable cooling abilities.
- Be quiet! Dark Rock Pro 4: A high-performance air cooler with a swish layout and quiet operation.
The benefits of upgrading your CPU fan encompass advanced cooling performance, quieter operation, and potentially higher overclocking competencies. Upgrading can also help prolong the lifespan of your CPU by preserving temperatures in check and decreasing the risk of overheating. Consider factors such as your particular cooling needs, finances, and compatibility with your system while exploring opportunity manufacturers and models for improvement. So that’s all in how to remove Thermaltake CPU fan.
FAQs
Is it vital to clean the CPU heatsink after doing away with the Thermaltake fan?
It is a superb exercise to smooth the CPU heatsink while removing the fan. You can use compressed air or a soft brush to remove dirt or particles that could have gathered on the heatsink fins. This allows for preserving the best cooling performance.
Can I reuse the Thermaltake CPU fan after removal?
Yes, you may reuse the Thermaltake CPU fan after removal, provided it's still in top running condition. If the fan is broken or not functioning nicely, it's encouraged to replace it with a brand-new one.
Is there a selected order in which I need to cast off the mounting screws/clips of the Thermaltake CPU fan?
There is not any particular order. However, it is advisable to start with the aid of doing away with the screws or clips diagonally opposite each different to make sure even strain distribution. This can assist save you any potential harm to the CPU or heatsink.
Should I be cautious about static energy while doing away with the Thermaltake CPU fan?
Yes, static electricity can damage sensitive computer components. To avoid static discharge, it's encouraged to floor yourself by touching a metallic item before coping with the CPU fan. Additionally, avoid touching the fan's electric contacts and circuitry to save you any static-associated problems.
Conclusion
Regular maintenance of your CPU fan is critical for the most efficient performance and toughness of your laptop. By following the correct cleaning methods, identifying the proper elimination and installation techniques, and consulting manuals or reliable sources, you may ensure a safe and successful enjoy. Remember, taking care of your CPU fan now not only improves cooling efficiency but also facilitates shielding your precious components. We hope this article on how to remove Thermaltake CPU fan has helped you know everything about it.
See Also: How To Assign Static IP Address To a Wireless Device- COMPLETE GUIDE