Whether through social media or your local retail store, if you are an American, you have heard of metroPCS. Thus, you must know about metroPCS APN Settings.
metroPCS (yes, with a small ‘m’) is a USA-based prepaid wireless service provider. It was founded in 1994 by Roger D. Linquist and Malcolm Lorang. metroPCS was a network giant in the USA operating its sixth largest telecommunications network on the pillar of “code division multiple access” (CDMA) technologies. You can also check out our guide comparing metroPCS and Cricket in depth!
See also: Straight Talk APN Settings – Step-by-Step Guide
Table of Contents
metroPCS APN Settings
In October 2012, the networking giant struck a deal with another competitor, now known as T-Mobile USA, Inc., eventually leading to the merger of both.
They now operate under the T-Mobile US, Inc. umbrella, providing text, call, and data plans using GSM, HSPA, HSPA+, and 4G LTE.
An access Point Name (APN) is required for network carriers to distinguish between different consumers and helps allocate specific data plans and IP addresses to each user.
While your SIM should automatically allocate the settings for APN upon activation, it can also be done manually in a few steps.
It is not uncommon to encounter problems while surfing the web, and there can be many reasons. It never hurts to ensure your APN is set straight because it is one of the primary reasons any device misbehaves while consuming data.
Also, there are cases when we have to reset our device, whether for malware removal or to start fresh as a new device. In such cases, the APN settings might need to be configured manually, which can be a hassle for many. Kick back and relax! We have got you covered. Also, don’t forget to check out this step-by-step guide onAPN settings for LycaMobile!
See also: H2O Wireless APN Settings | A Step-by-Step Guide
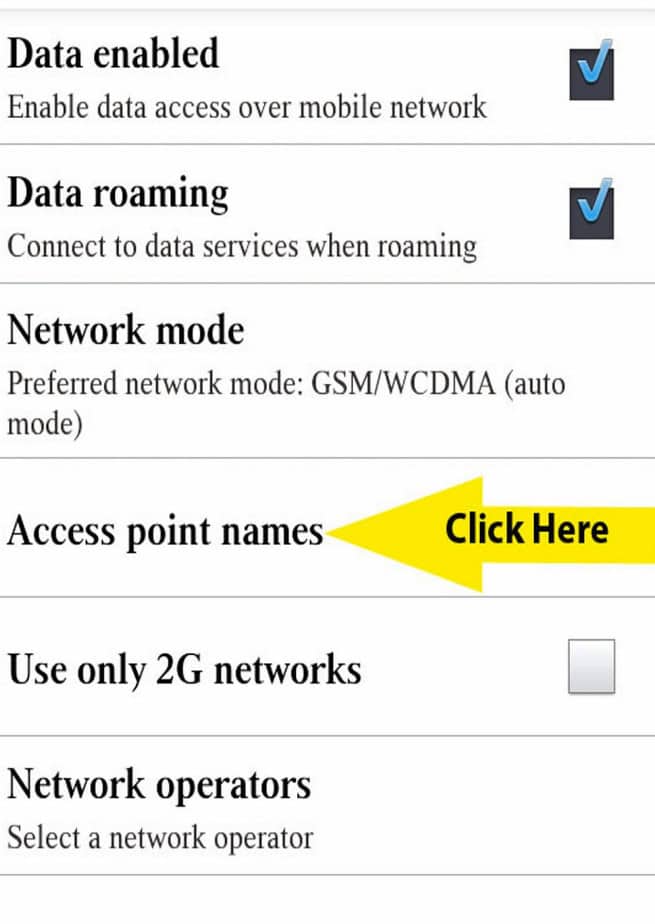
metroPCS APN Settings for Android
- Open “Settings”
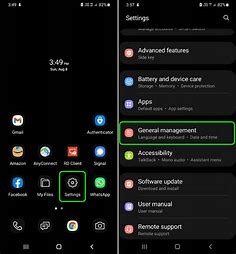
- Choose “Wireless and Communication” / “More”
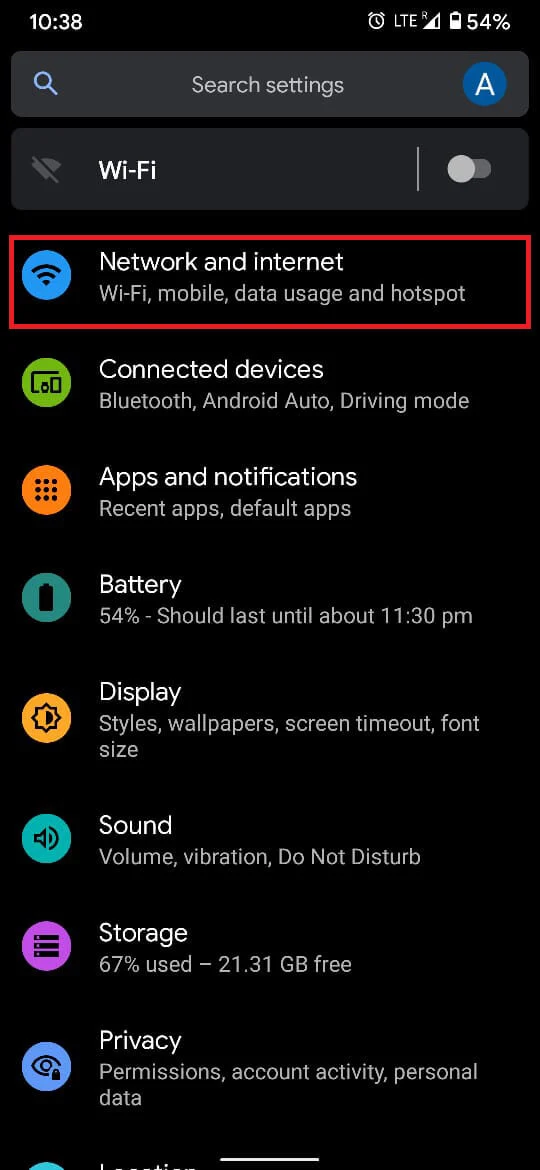
- Available “Mobile Networks”
- Select “Access Point Name”
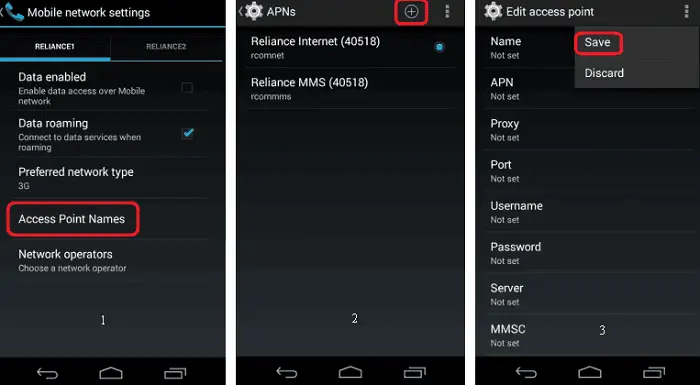
- Tap on the symbolic three dots for the menu or the plus (+) icon
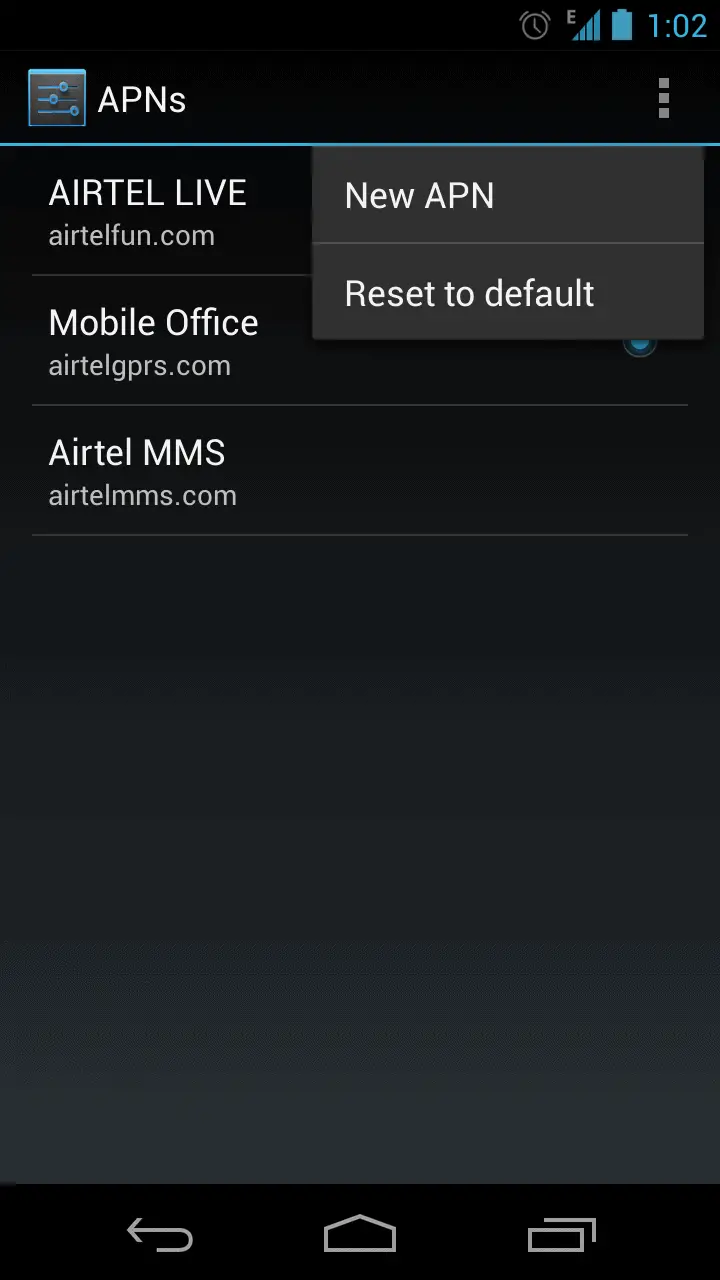
- Select “Add new APN.”

- Fill in the following boxes as shown:
- Name: MetroPCS
- APN: fast.metropcs.com
- Proxy: Not Required
- Port: Not Required
- Username: Not Required
- Password: Not Required
- Server: Not Required
- MMSC: http:// metropcs.mmsmvno.com/mms/wapenc
- MMS proxy: leave it blank
- MMS port: leave it blank
- MCC: 310
- MNC: 16
- Authentication type: Not Required or use the default value shown
metroPCS APN Settings for iPhone/iOS
- Open “Settings”
- Choose “Cellular Data”
- Open “Cellular Data Network”
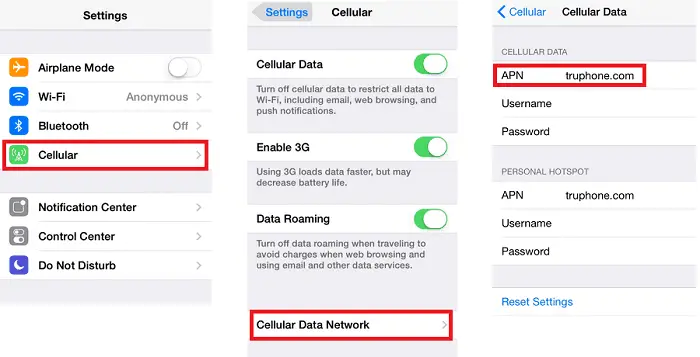
- Fill the following boxes as shown:
- Cellular Data:
- APN: fast.metropcs.com
- Username: Not Required
- Password: Not Required

- MMS (Optional):
- APN: fast.metropcs.com
- Username:
- Password:
- MMSC: http://metropcs.mmsmvno.com/mms/wapnec
- MMS Proxy:
- Max Message Size: 1048576
- MMS URL: http://www.apple.com/mms/uaprof.rdf
See Also: Family Mobile APN Settings | A Step By Step Guide
metroPCS APN Settings for Blackberry
- Open “Settings”

- Select “Network and Connections”
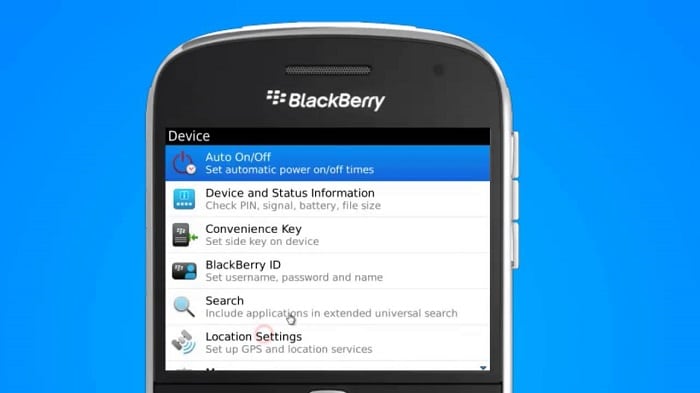
- Available “Mobile Networks”
- Choose “APN” (Tap on the gear icon)

- Fill the following boxes as shown:
- APN: fast.metropcs.com
- Username: Not Required
- Password: Not Required
- Authentication Type: None
- MMSC URL: http://metropcs.mmsmvno.com/mms/wapnec
- Proxy URL: None
See also: Net10 APN Settings | Step-by-Step Guide
metroPCS APN Settings for Windows Smartphones
- Open “Settings”
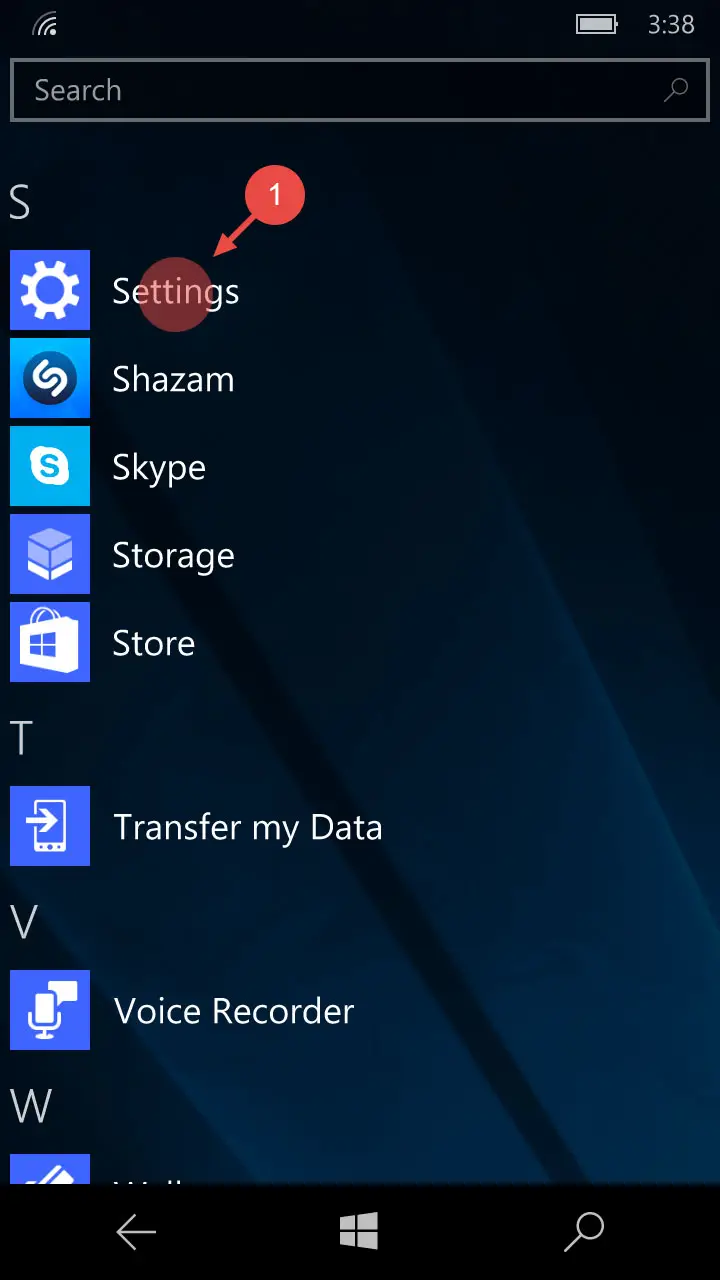
- Select “Cellular + SIM”
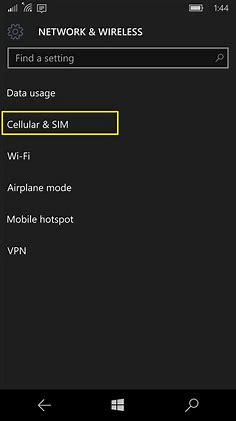
- Choose SIM 1 or 2 (Where your metroPCS SIM is)
- Open “SIM Settings”
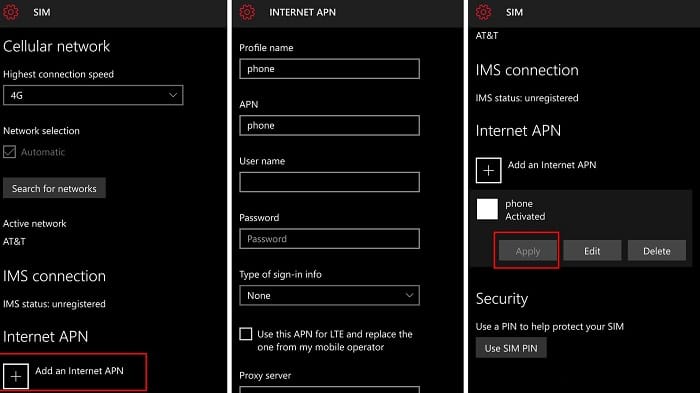
- Tap on “Add Internet APN”

- Fill the following boxes as shown:
- APN: fast.metropcs.com
- Username: Not Required
- Password: Not Required
- Authentication Type: None
- Proxy URL: None
- Proxy Port: None
- IP Type: IPv4
The path to reach the APN settings may vary from device to device depending on the OS, ROM installed, and the version update. The easiest way is to search for “Access Point Name” in Settings if the option exists.
Also like:
Simple Mobile APN Settings | Step-by-Step Guide
Sprint APN Settings | Step-by-Step Guide
GoSmart APN Settings | Step-by-Step Guide
FAQs
How do I configure my MetroPCS APN?
Navigate to Settings > More > Access Point Names > Menu on your smartphone. Then, name your new APN MetroPCS (or anything else you like) by tapping the plus symbol or overflow menu. Next, enter the necessary details into MetroPCS's APN.
What is APN configuration?
Your device only needs an Access Point Name (APN) to establish a connection to mobile data. When installing a new device or initially inserting a SIM card into a device, your network provider should disclose their APN information in a configuration message.
How can I resolve the lack of mobile data?
Even though restarting can seem simple, sometimes all that it needs is to fix a bad connection. If necessary, restart the device, then exchange between Wi-Fi and mobile data. Depending on the phone, these selections can be different.
Which APN configuration is ideal?
The optimum APN settings don't exist. Each cellular service has the APN settings, which should install to the device automatically if the device runs Android 8.0 or later. After a two-tap installation procedure, MMS and data should work without issues.
What is a custom APN?
When employing wireless business accounts, a company can access numerous mobile telemetry device connectivity possibilities unavailable when using consumer wireless accounts. These choices include mobile terminated data connections, static public or private IP addressing, and personalized firewall configurations.
Are APN settings necessary?
Your phone stores the APN settings, which then transmits to the mobile network to which you are currently connected so that it can determine how to manage the data traffic coming from your device. Your data sessions will be sent to the wrong gateway if the APN settings are misconfigured.
Final Words
The APN settings are usually easy to find; tap open all the settings related to the network. Happy searching!
Must see:
Consumer Cellular APN Settings | Step-by-Step Guide
Family Mobile APN Settings | A Step By Step Guide
