You must learn how to fix grainy photos if you have done photo shooting sessions in poor lighting conditions, accidentally mistuned your camera settings to be too sensitive, or have taken long exposures that haven’t worked out. Grainy photos will lack vibrancy, have muted colors, and look pixelated, as the visual distortion is manifested as pixels, dots, or dotted specks on the photograph.
So can you fix a grainy photo? The Reduce Grain filter feature, already embedded in default Photoshop filters, can fix grainy pictures. First, open the photo with noise, navigate to the filter menu, search for “Grain,” and then reduce the grain.
Enhance grainy photos without Photoshop or Lightroom using these tips: Set your digital camera to a low ISO for smoother results. Employ artificial lights and reflectors to improve lighting. Adjust exposure settings to brighten the image—Disable noise reduction for a more authentic look. Opt for shooting in RAW format instead of JPEG for better control over post-processing. Let’s look at how to fix grainy photos and why grain & noise appear in photographs in the first place.
See also: Top 10 Best Picture Morphing Apps To Download In 2023
Why Does Grain & Noise Appear in Photographs?
While grain and noise are used interchangeably to describe the pixelated look, these are two different terms. Grain appears in the highlights of the photograph, while digital noise (like sound distortion) will impact your photos’ luminance, brightness, and color. However, both attributed to an uneven, unappealing look.
While minor visual distortion may look evenly scattered across the photo and may even go unseen in some photographs, it still seriously impacts the quality of the image. If you were ever to try to size the picture up, print it for a photograph frame, or try and retouch it, you would end up with a photograph with poor color balance and low-quality visual detail. Here are a few reasons why your pictures come out grainy.
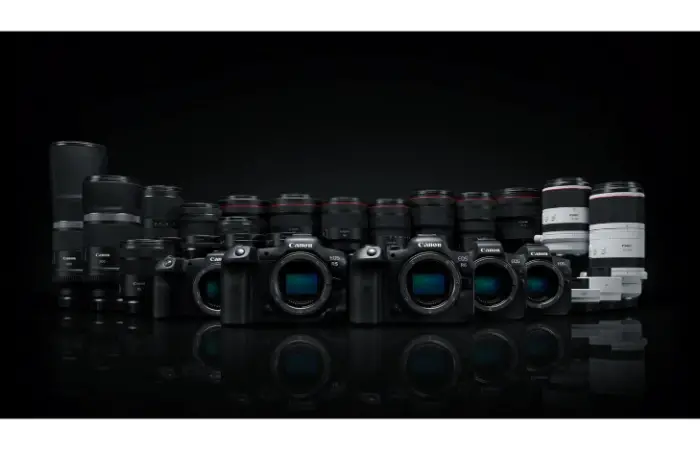
- A small photosite on your camera. The smaller the sensor is, the noisier your photograph will be. The larger your sensor is, the more light it can take in and the more data it can record.
 Therefore, many smartphones come out with grainy photos since the sensor is of terrible quality or too small.
 - You are using high ISO settings. If you increase your camera’s sensor settings, it will produce more noise automatically.
 Keep your ISO setting at its lowest to maintain proper image exposure. If you capture in common light conditions and your ISO settings are higher, overexpose during shooting.
 - If you have lousy exposure, you will get a lot of unwanted noise. Constantly adjust your exposure settings when you lack natural light.
- The grainy image can also be attributed to the camera type. If you have a professional-grade camera but are still obtaining an intensely noisy image, your camera is malfunctioning.
 If your camera is affordable, you should know that some concessions had to be made to keep the price low.
 - Lighting techniques for photography are lacking. The leading cause of noisy and grainy photos is poor lighting. Insufficient lighting causes the images to become blurry. Agencies or professional photographers use the studio lighting set-up. We found professional model shots to be flawless and alluring as a result.
See Also: How to Remove Watermark from Photos Quickly
Top 3 Ways to Fix Grainy Photos Easily
If you still have grainy photos after addressing the above points, you can always fix grainy photos in post-production by using editing software like PhotoWorks, Photoshop, or Lightroom.
Get Rid of Digital Noise in PhotoWorks
If you are not an expert with photo retouching software or are entirely new to how grain works within photographs, it is best to use intuitive editing software that requires little prior knowledge. For novice photographers, PhotoWorks lets you jump into its content-aware modules and make the corrections seamlessly.
- Download and launch PhotoWorks from the official website. You will want to download this to the hard drive with the most space. During the installation process, create a desktop shortcut for easy access.

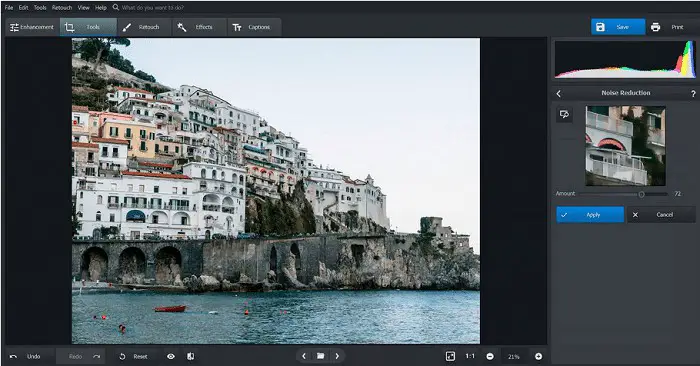
- Open the PhotoWorks program and switch to the Tools tab at the top of the window. Then, choose the Noise Reduction tool from the side panel on the right.

- The software will automatically zoom in on a section of your photograph. Relocate the Amount slider to the right to smooth out the noise. Make sure to hit Apply when you are happy with the result. If the image looks too blurry, adjust its Clarity, a setting under the Enhancement tab.
This helps to fix grainy photos that you want to look spectacular.
See Also: 10 Best Free Video Editing Software for Mac OS – TechWhoop
Use Sliders in Photoshop to Decrease Noise
If you have invested a lot of your time and are skillful at using the tools within Photoshop, then the process of fixing grainy photos will be a breeze.
- Open your image in Photoshop and click on the magnifying lens icon in the top left-hand corner of the software. The magnifying lens will have a “plus” sign on it. This allows you to find the grainy areas of the photo more easily.
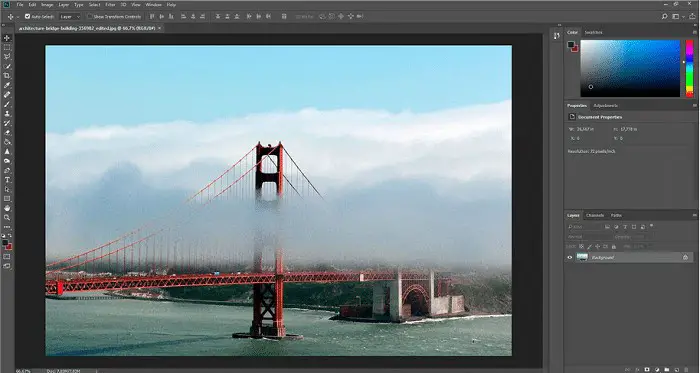
- Once you have identified the grainy areas, click on the filter button, which is found in the toolbar at the top of the program. Select noise and then reduce noise to get a window to pop up. Adjust the settings by either using the sliders or changing the numbers.
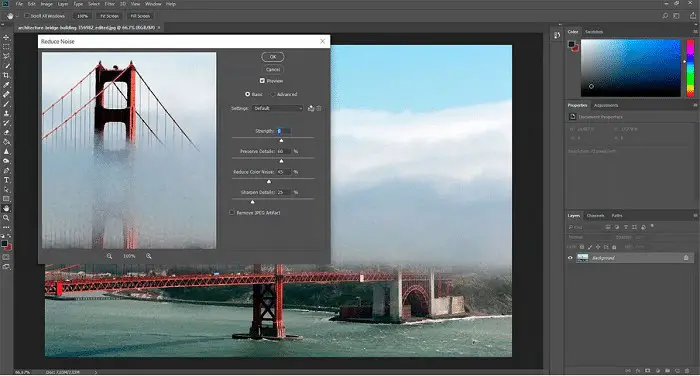
- If your image is still grainy after the above step, head back to the filter button, but click on Blur this time and choose Smart Blur. This will smooth out any bumpy surfaces on the image.

This way, you can fix grainy photos using Photoshop.
See Also: Transfer Photos From Android To IPhone Without A Computer
Adjust Colors to Remove Noise in Lightroom
Suppose you are a proud owner of Lightroom and would rather use this software than Photoshop. In that case, you can either import RAW images to have it automatically apply noise reduction, or you can follow the steps below.
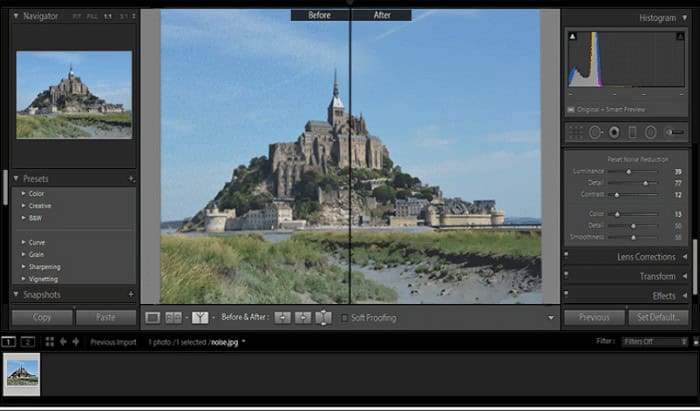
- Open your grainy photo in Lightroom and click the Develop button in the top right-hand corner.

- On the right-hand side, you will notice your photo’s Histogram and a panel with Noise Reduction written on it. Move the Luminance slider or Color slider to the right to remove noise. You may also desire to adjust the Contrast and Detail sliders as well.

- Once done, click on the before/after button and compare it to make sure you like the changes made.
We have found Lightroom to be the easiest of all to fix grainy photos.
See Also: Top 10 Tools to Unblur Photos Online
How to Prevent Grainy Pictures
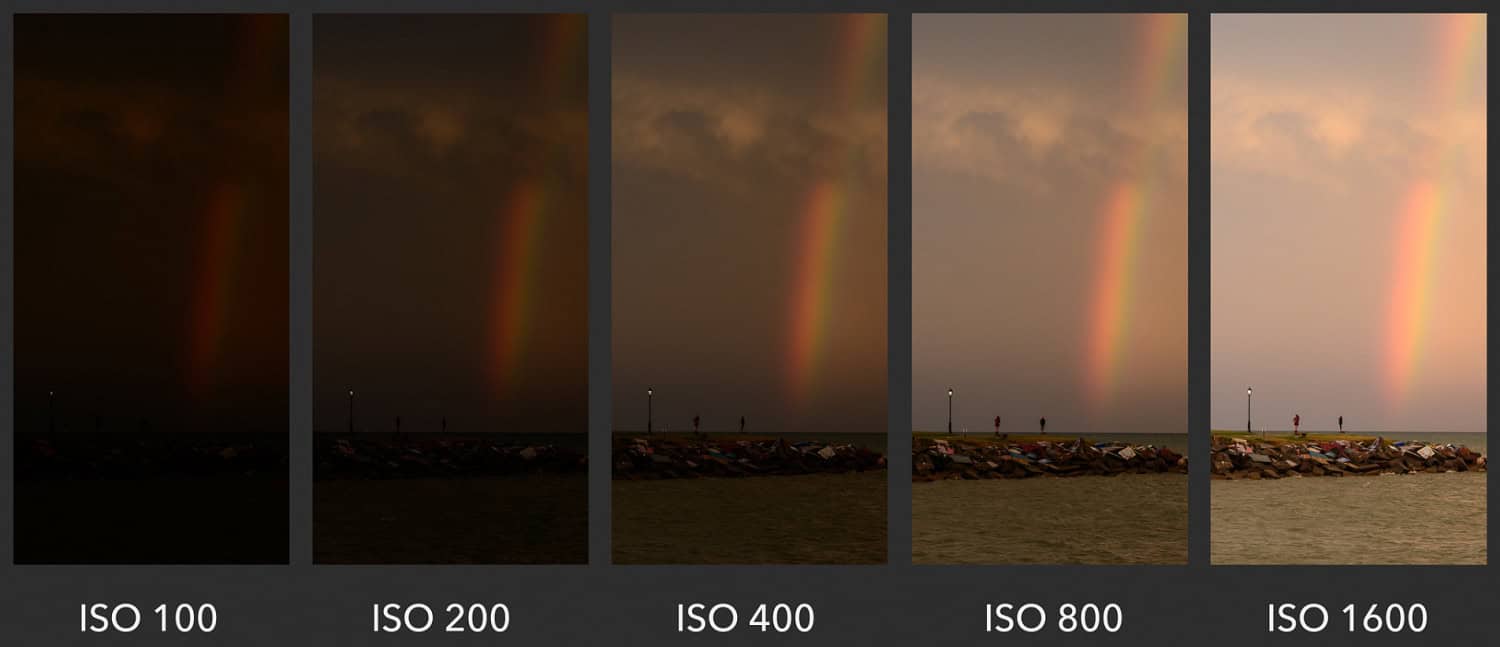
Prevention is preferable to treatment. So that we may prevent the grainy impact on our photographs, we can avoid performing things or take some precautions. Finding the right ISO setting for your photography is crucial because, as we’ve already covered, it dramatically reduces the likelihood that your images will be noisy or blurry.
Low ISO settings, like 100 or 200, generate the least amount of noise or grain, but ISO settings of 3200 or above produce a lot of grain. We advise keeping your ISO as near to 100 as you can. You may occasionally take images in dim light, so ISO 100/200 won’t cut it.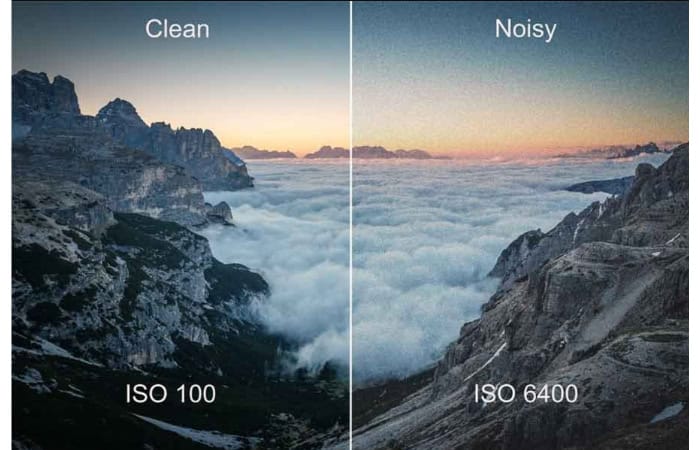
To keep your ISO low in this scenario, try adjusting your shutter speed (up to 1/60 without a tripod or wall). Utilize photography lighting kits to enhance your illumination. Your camera will not over-extend the image to catch darker areas if you force it to focus on the lighter image portions.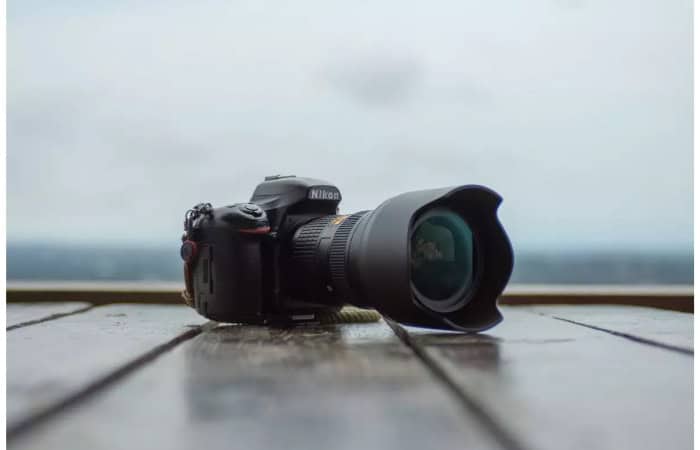
A strobe or flash unit is handy for enhancing light and essential for event photography. The reflector may help to lighten the shadows in other situations, such as portraits and studio photography. You won’t always need to utilize light, such as while taking concert photos. Try using available lighting and the surroundings. Using a tripod, you can lower your shutter speed and, consequently, your ISO.
See also: How To Save Photos To SD Card By Default on Android [Complete Guide]
FAQs
Why are my photos so blurry?
Digital noise is another name for pixelated visuals. For various reasons, a photo becomes distorted in this way, confusing or unsightly. Therefore, let's first discuss the causes of a grainy image before moving on to its repairs.
How can I make an iPhone photo's grain less noticeable?
The lower the ISO level, the less grain will be visible in your images and the more light there is in the scene. Swiping down on the camera screen to lower the exposure will assist if you're having trouble with low light and still getting fuzzy pictures.
Can the quality of a photo be enhanced?
You can use editing tools to enlarge images (and even add pixels). Still, you'll frequently notice that the image becomes grainier.
How can I fix a blurry photo?
The noise setting in Photoshop, Lightroom, and Pixlr Editor could be accessible in the Filter toolbar. This option is available as 'grain' in some picture editing software.
Conclusion
While there are plenty of ways to adjust grainy photos so they no longer appear pixelated, these ways greatly range in difficulty. If you are new to grainy photos in general or do not have the time to sit down and learn the complicated tools of Photoshop, PhotoWorks tends to work best from this list. Not only does it have automatic photo editing and content-aware modules, but once you’re done removing the grain, you can also change the background around, color correct, or even change the photo’s flair with filters and effects.
